
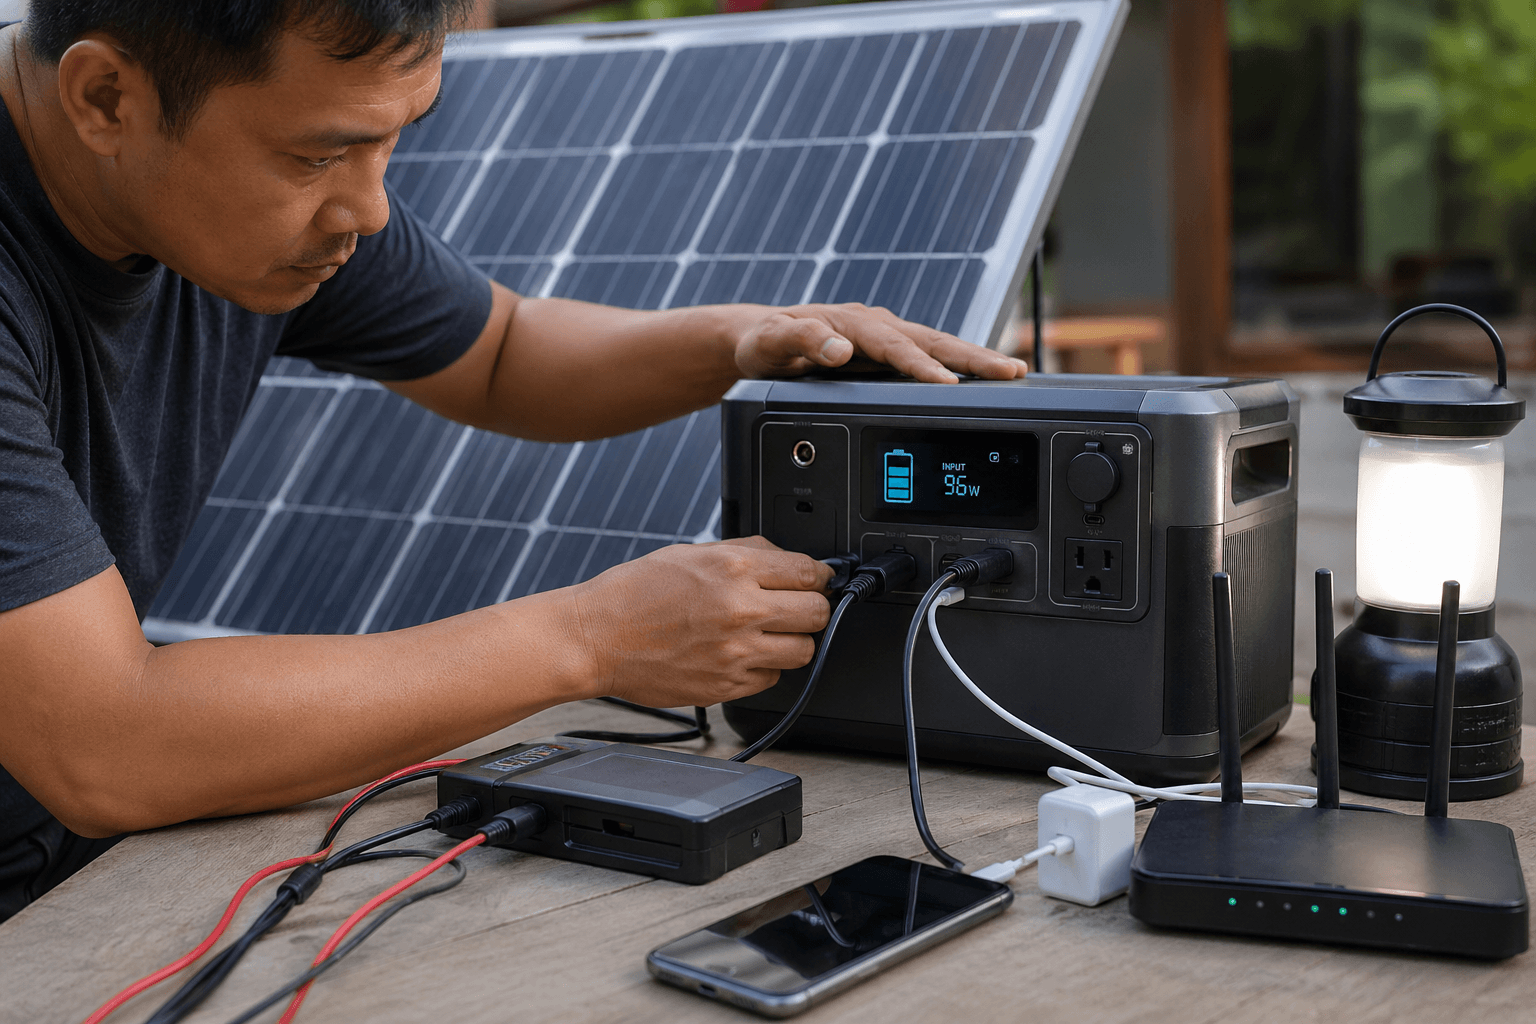
Charging batteries solar for small backup systems should start with measurable checks. A battery icon, a blinking light, or a “charging” label does not prove that the system is charging fast enough or safely. The user needs to compare battery capacity, actual solar input, solar charger or controller settings, cable condition, and charging temperature.
The basic calculation is simple: Battery capacity ÷ actual solar input = rough charging hours
A 500Wh battery needs about 8.3 hours at 60W input or 12.5 hours at 40W input before losses. Real charging takes longer because angle, shade, dirt, wiring loss, and charging taper reduce usable input, and one noon reading does not represent the full day.
Check Battery Type Before Charging Batteries Solar
Check battery chemistry first. Lead-acid, AGM, gel, lithium-ion, and LiFePO4 batteries need different charge profiles, so confirm the type, voltage, charge limit, and charging temperature range from the label or manual.
| Check Item | What to Confirm | Why It Matters |
|---|---|---|
| Battery chemistry | Lead-acid, AGM, gel, Li-ion, LiFePO4 | Sets the correct charging mode |
| Nominal voltage | 12V, 24V, or device input range | Prevents wrong controller setup |
| Charge voltage | Manual or label value | Reduces undercharge or overcharge risk |
| Temperature range | Charging range, not storage range | Prevents heat or cold damage |
| Protection system | BMS, low-temp cutoff, overcurrent protection | Shows what the battery can block |
Cold charging needs extra care with lithium batteries. Do not charge below 32°F / 0°C unless the battery has low-temperature protection. Freezing conditions can reduce performance and may damage cells if the battery cannot safely accept charge current.
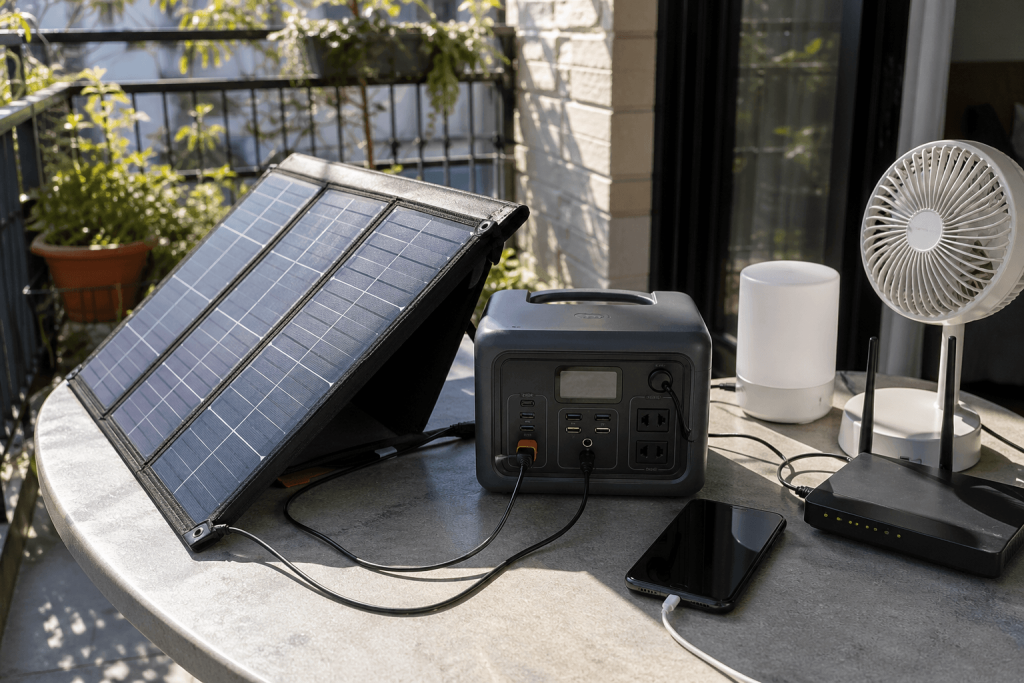
Match the Panel Input Before Charging
Check the solar input range before charging. Panel wattage is not enough; the controller or power station must match the panel’s voltage, current, connector type, and max input. Also check open-circuit voltage, especially in cold weather or series wiring.
Use actual input watts to judge whether a 100W panInput forms normally:
| Actual Input from 100W Panel | Status | What to Check |
|---|---|---|
| 70–90W | Fast | Good sun, clean panel, correct angle, low cable loss |
| 40–70W | Normal | Common field range with heat, angle, or light variation |
| 20–40W | Slow | Shade, poor angle, dirty panel, long cable, controller limit |
| Under 20W | Problem likely | Loose plug, heavy shade, wrong input range, weak sunlight |
This table works best in clear daylight. Cloudy weather can make it low in Inputormal. Clear midday sun with a stable reading under 40W needs inspection.
Charging time also needs a capacity check:
| Battery Size | 40W Input | 60W Input | 100W Input |
|---|---|---|---|
| 256Wh | 6.4 hrs | 4.3 hrs | 2.6 hrs |
| 500Wh | 12.5 hrs | 8.3 hrs | 5 hrs |
| 1,000Wh | 25 hrs | 16.7 hrs | 10 hrs |
These are rough math estimates before losses. If the system only gets 4–5 useful sun hours per day, a 500Wh or 1,000Wh battery may need more than one day to recover after heavy use.
Set the Controller Correctly Before Solar Charging
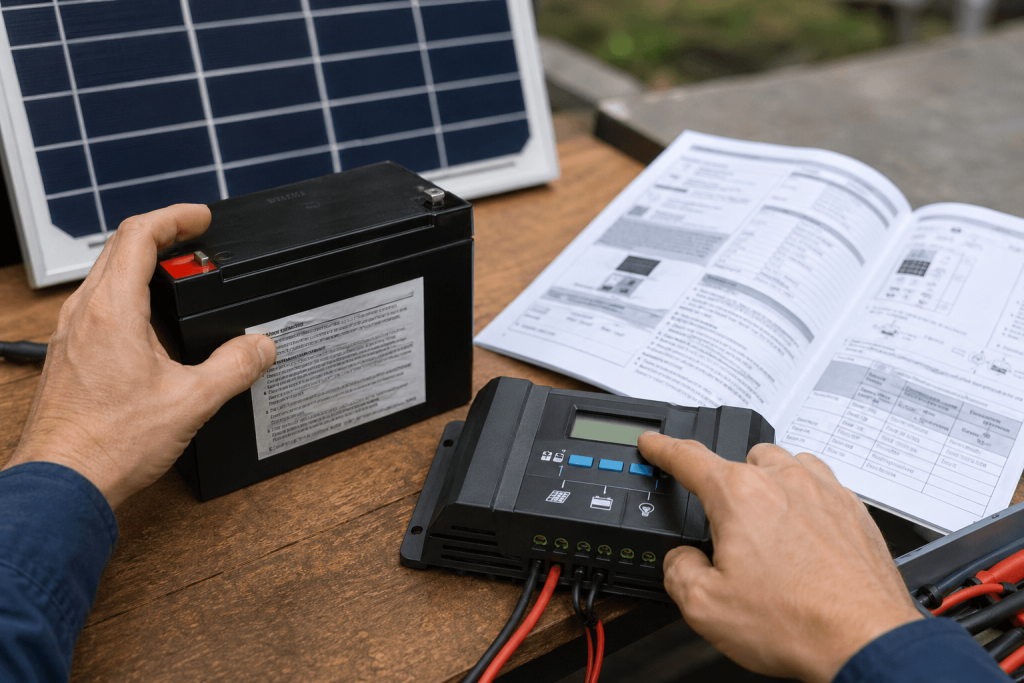
Set the controller before solar input starts. Match battery type, system voltage, charge mode, and low-voltage disconnect settings. Many controllers should connect to the battery first, then to the panel, because they need battery voltage to manage solar input.
| Controller Item | Correct Check | Warning Sign |
|---|---|---|
| Battery type | Matches battery chemistry | Default mode left unchanged |
| System voltage | Matches 12V/24V setup | The controller detects the wrong voltage |
| Charge voltage | Matches the battery manual | The battery stops early or warms up |
| Load disconnect | Matches backup load needs | The load cuts off too early or too late |
| Temperature sensor | Used when supported | Charging continues in unsafe conditions |
An incorrect controller setting can make the battery appear to charge while it never reaches a useful state of charge. If the battery warms, stops too early, or barely gains power after hours of sun, check the controller mode before blaming the panel.
Charging Batteries Solar in Heat, Cold, or Wet Conditions
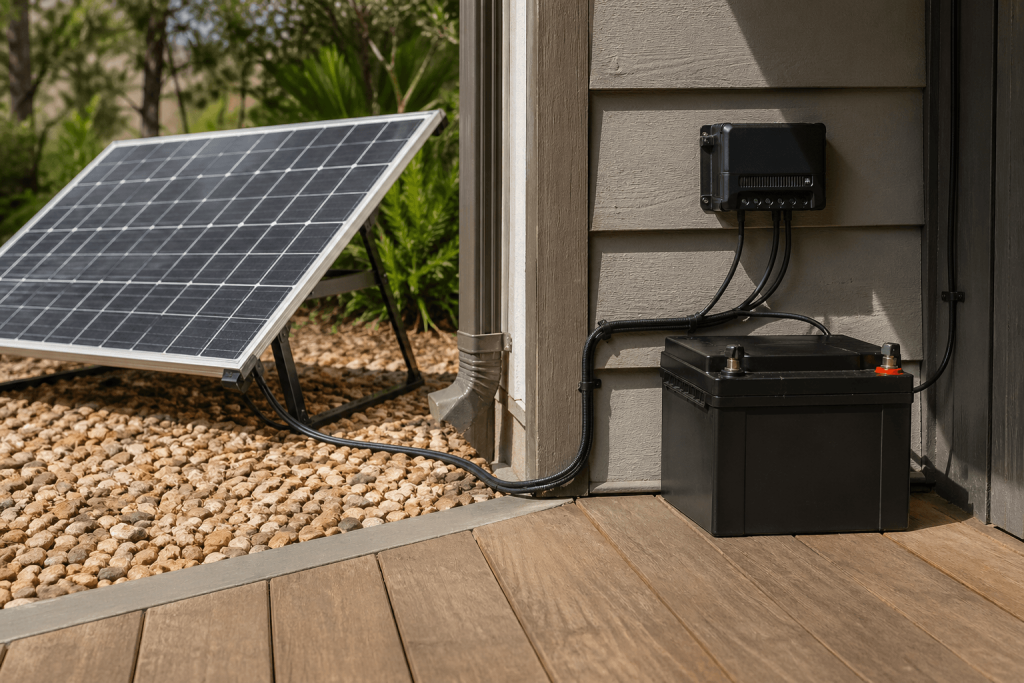
Charging batteries solar outside does not mean every part can sit outside. The panel may handle outdoor exposure, but the battery, controller, connectors, and adapters may require a dry, temperature-controlled location.
| Condition | What to Watch | Action |
|---|---|---|
| Below 32°F / 0°C | Lithium cold-charge risk | Do not charge unless low-temp protection exists |
| 32–113°F / 0–45°C | Common lithium charging range | Confirm with the battery manual |
| Hot-sealed box | Heat buildup and faster aging | Move battery/controller to shade with airflow |
| Rain or wet ground | Corrosion, short risk, unstable contact | Keep the controller, battery, and adapters dry |
Do not use storage temperature as charging temperature. A battery may survive storage at a given temperature but reject charging at the same temperature. Check the charging range specifically.
Watch for Slow Charging, Voltage Drops, and Loose Cables
Slow charging should be judged by input watts. A 100W panel showing 70–90W in strong sun is performing well; 40–70W is usually normal; under 40W needs checking; and under 20W likely means a setup problem.
| Symptom | Likely Cause | What to Check |
|---|---|---|
| Input jumps from 70W to 15W | Loose plug or moving shade | Reseat plugs, move panel |
| The connector gets hot | Poor contact or weak adapter | Stop charging and replace it |
| Voltage drops under load | Long or thin cable | Shorten the cable or use a thicker wire |
| The batter Inputely gains charge | Low in input, wrong setting | Compare the Wh input with the battery size |
Watch the input reading while moving the cable near adapters and plugs. If the wattage jumps or drops out, the connection is unstable. Replace weak adapters before relying on the system during an outage.
After Charging Batteries Solar: What to Check
After solar charging, compare the expected input with the battery result. If the panel averaged 60W for 4 hours, the battery received about 240Wh before losses. A 500Wh battery should show a clear increase. If not, check controller errors, cable loss, battery aging, or charge settings.
Before storage, run a short load test with the devices the system needs to support, such as a router, LED light, or phone charger. If the battery drops quickly under a light load, it may not be fully charged or may have weak cells. Store it in a dry location within the recommended temperature range and check the charge level regularly if it sits unused.