

Solar power equipment can work correctly as separate products and still fail when connected as one system. A panel string may exceed the controller input limit on a cold morning. An inverter may demand more current than the battery or cable can supply. Connectors may look similar while using different contact systems. These mismatches often appear after equipment has already been purchased. Use this compatibility checklist before ordering or assembling solar power equipment. Start with the loads and system architecture, then verify electrical limits, interfaces, environmental ratings, cables, and protection. A qualified designer or installer should confirm the final design and applicable local requirements.
Define Loads Before Selecting Solar Power Equipment
List every load, its rated power, startup surge, operating hours, and priority. Separate continuous loads from short-duration loads. Motors, compressors, pumps, and some power supplies can draw a high startup current even when their running power looks modest. Calculate expected daily energy consumption as well as maximum simultaneous power. Daily energy helps determine array and battery capacity. Maximum power and startup surge affect inverter, battery, cable, and protective-device selection.
Choose the system architecture before matching components. Define the project as grid-connected, off-grid, or hybrid. Record the nominal DC bus voltage, AC output voltage and frequency, charging sources, backup expectations, and any generator or grid input. The architecture determines which components must communicate and where power conversion occurs. A grid-connected module-level system follows a different compatibility path from an off-grid system with a battery bank and central inverter.
Check Solar Panel and Controller Limits
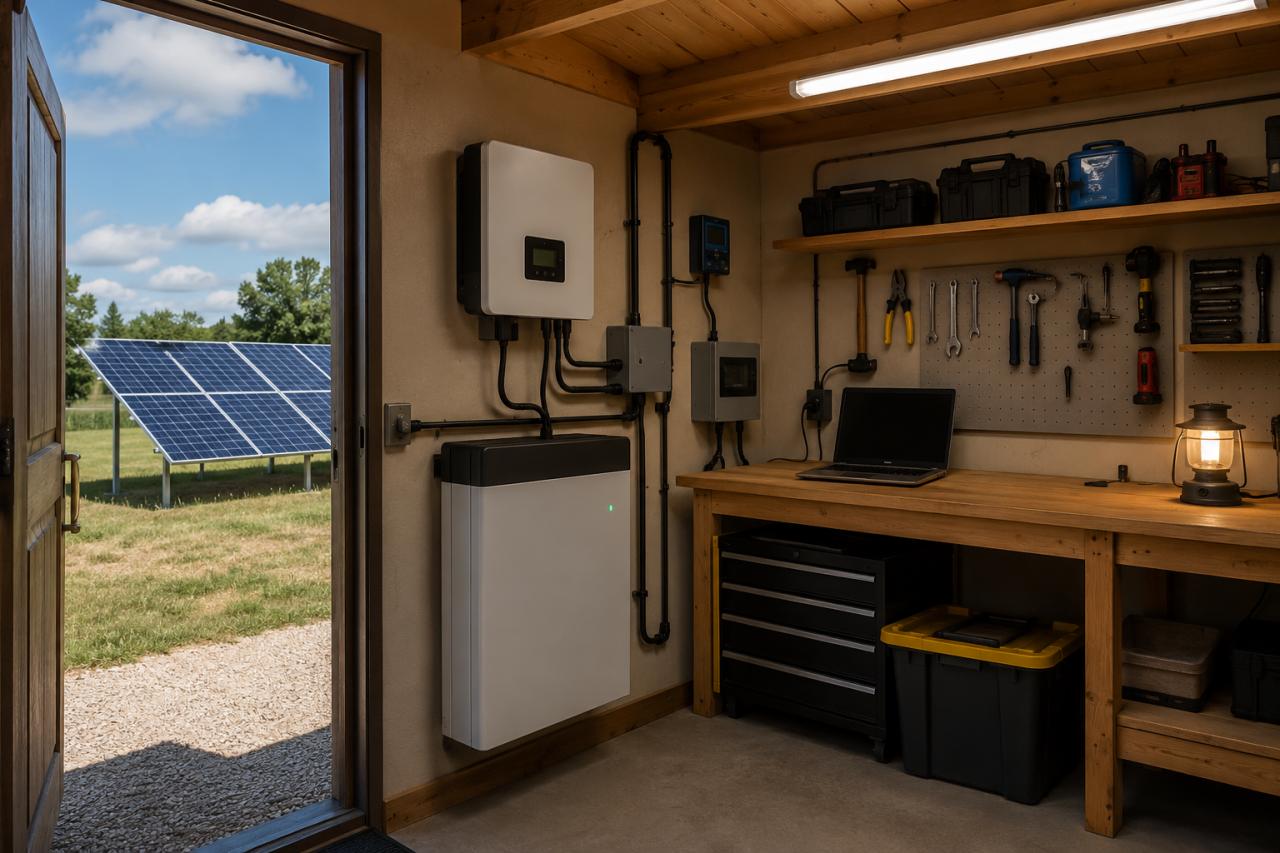
Start with the module’s open-circuit voltage, maximum-power voltage, short-circuit current, maximum-power current, and temperature coefficients. Then calculate the series-string voltage and parallel-string current for the planned array. Cold conditions can raise open-circuit voltage. The calculated maximum string voltage must remain within the charge controller or inverter input limit at the lowest expected temperature. Hot conditions reduce operating voltage, so confirm that the string remains within the equipment’s tracking range.
Compare the controller’s permitted PV power and input current with the proposed array. Matching wattage alone does not prove compatibility. Voltage, current, string configuration, and temperature conditions must all remain within the specified limits. Physical connections require the same review. Cable polarity, conductor rating, connector series, contact type, and mating compatibility must suit the selected solar panel and the remaining array equipment. Do not assume that visually similar connectors can be mixed. Confirm the connector manufacturer and series, permitted conductor size, current and voltage ratings, sealing method, and required crimping tool.
Match Battery, Charger, and Inverter Ratings
Confirm the battery’s nominal voltage, operating voltage range, charge-voltage limits, maximum continuous charge and discharge current, peak current, usable energy, communication requirements, and permitted temperature range. Use the documentation for the exact battery model. Generic values for a battery chemistry cannot replace model-specific voltage, current, temperature, and protection limits. The charger or controller settings must match the battery requirements. If the battery includes a management system, confirm how it controls charging and discharging and what happens when it opens the circuit.
Some systems require communication between the battery and inverter. Other systems depend on configured voltage thresholds. The battery and inverter must use the same intended control method. A communication mismatch may produce incorrect charging, alarms, reduced output, or an unexpected shutdown. Compare the inverter’s DC input range and maximum input current with the battery output capability. Check startup surge against both the inverter rating and battery limits. A battery with enough stored energy may still be unable to supply a short high-current event.
Verify Solar Inverter Compatibility on Both Sides
On the DC side, verify voltage range, maximum current, cable terminals, polarity, overcurrent protection, and disconnect requirements. Confirm that the battery or array remains inside the inverter input range during normal operation and expected voltage changes. On the AC side, check output voltage, frequency, waveform, continuous power, surge behaviour, grounding method, and compatibility with the intended loads or grid connection. Grid-connected equipment may require region-specific settings, protection functions, and approval. The responsible installer should confirm that the selected equipment and installation method meet the applicable utility and local requirements.
A micro inverter uses a different architecture from a battery-based off-grid inverter. Confirm module-level DC input limits, AC branch design, grid requirements, and monitoring interfaces for the exact model. Do not transfer design assumptions from one architecture to another. Also verify the inverter’s environmental and mounting requirements. Clearances, ventilation, installation orientation, sunlight exposure, altitude, and ambient temperature can affect available output and service life.

Size Solar Cables, Connectors, and Protection Together
Cable selection depends on current, run length, installation method, ambient temperature, conductor material, allowable voltage drop, and protective-device rating. A conductor that carries the expected current may still create excessive voltage drop over a long run. Review both ampacity and voltage drop. High voltage drop can reduce charging performance, lower inverter input voltage, waste energy, and cause poor operation during high-load periods. Check every connector pair by manufacturer and series. Verify contact rating, conductor size range, crimping requirements, sealing, locking method, and mating compatibility. Use adapters only after the system designer confirms their electrical rating and protection.
Fuses, breakers, disconnects, surge protection, grounding, and enclosures must match the circuit voltage, available current, conductor size, installation environment, and local requirements. Protective devices also need suitable interruption ratings. A breaker that carries normal current may still be unsuitable for the available fault current or DC circuit voltage. Record which circuits require isolation for installation, emergency response, inspection, and service. Keep equipment accessible without exposing workers to unnecessary live parts.
Check Environmental and Mechanical Fit
Record the expected temperature range, water or dust exposure, ventilation, altitude, corrosion risk, sunlight exposure, mounting orientation, clearance, and service access. Equipment ratings often depend on installation conditions. Placing an inverter in a small, unventilated cabinet can change its thermal behaviour. Installing connectors or enclosures in exposed areas may require additional environmental protection. Measure the installation space and cable-entry paths. Confirm wall strength, equipment mass, bend radius, door clearance, and the ability to remove covers or replace parts. Leave sufficient separation around heat-generating components. Follow the manufacturer’s mounting and ventilation instructions for every selected model. The most compact arrangement may be difficult to inspect or service. Before installation, confirm that technicians can reach disconnects, terminals, filters, communication ports, and replaceable components.
Run a Solar Power Equipment Compatibility Review
Create one equipment schedule listing each component model, electrical ratings, interfaces, firmware or communication requirements, cable and connector details, protective devices, and source documents.
Mark every interface where one product transfers power, data, or control to another. These interfaces commonly include:
- Solar panel to combiner or controller
- Controller to battery
- Battery to inverter
- Inverter to AC distribution
- Battery management system to inverter
- Monitoring equipment to communication network
- Generator or grid input to inverter or charger
Review the design under worst-case conditions instead of relying on nominal values. Check cold-array voltage, hot-array operating voltage, maximum charge current, inverter surge, minimum battery voltage, cable voltage drop, thermal derating, and fault interruption. Independent PV system research can provide useful technical context, while product manuals and the responsible professional remain the authority for the selected equipment. When practical, bench-test compatible components before permanent installation. Confirm startup, charging, load transitions, shutdown behaviour, monitoring, alarms, and recovery after a protection event. A portable power station may integrate the battery, inverter, charging controls, and protection in one product. Verify its input and output limits as an integrated unit, rather than applying assumptions from a separately assembled system.

Avoid Common Solar Component Matching Mistakes
Buying every component by wattage is a frequent mistake. Wattage doesn’t describe voltage range, current limits, startup surge, communication, connectors, temperature behaviour, or protection requirements. Mixing nominal system voltages can also cause problems. Products described with the same general voltage label may use different operating and charging ranges. Compare the full voltage specifications for the exact models.
Other common mistakes include:
- Calculating panel voltage at standard conditions only
- Ignoring inverter startup current
- Selecting batteries by energy capacity without checking discharge current
- Mixing connector brands or series
- Using cable size without considering length and voltage drop
- Omitting DC-rated disconnects or protective devices
- Ignoring equipment clearance and ventilation
- Assuming battery and inverter communication is automatic
- Purchasing equipment before confirming local installation requirements
A written compatibility schedule helps expose these problems before components arrive on site.
Compatible Solar Power Equipment Starts With Exact Models
Compatible solar power equipment depends on model-specific limits and actual system conditions. Match panel strings to controller inputs, charger settings to battery requirements, inverter demand to battery output, cables to current and distance, and protection to the available fault level and installation environment. Before purchasing, gather the manuals and nameplate data for every planned component. Record model numbers instead of using general product categories. Browse available solar equipment and submit the exact models you already own or plan to use. A model-by-model review can identify voltage, current, connector, communication, and control conflicts before the system build begins.