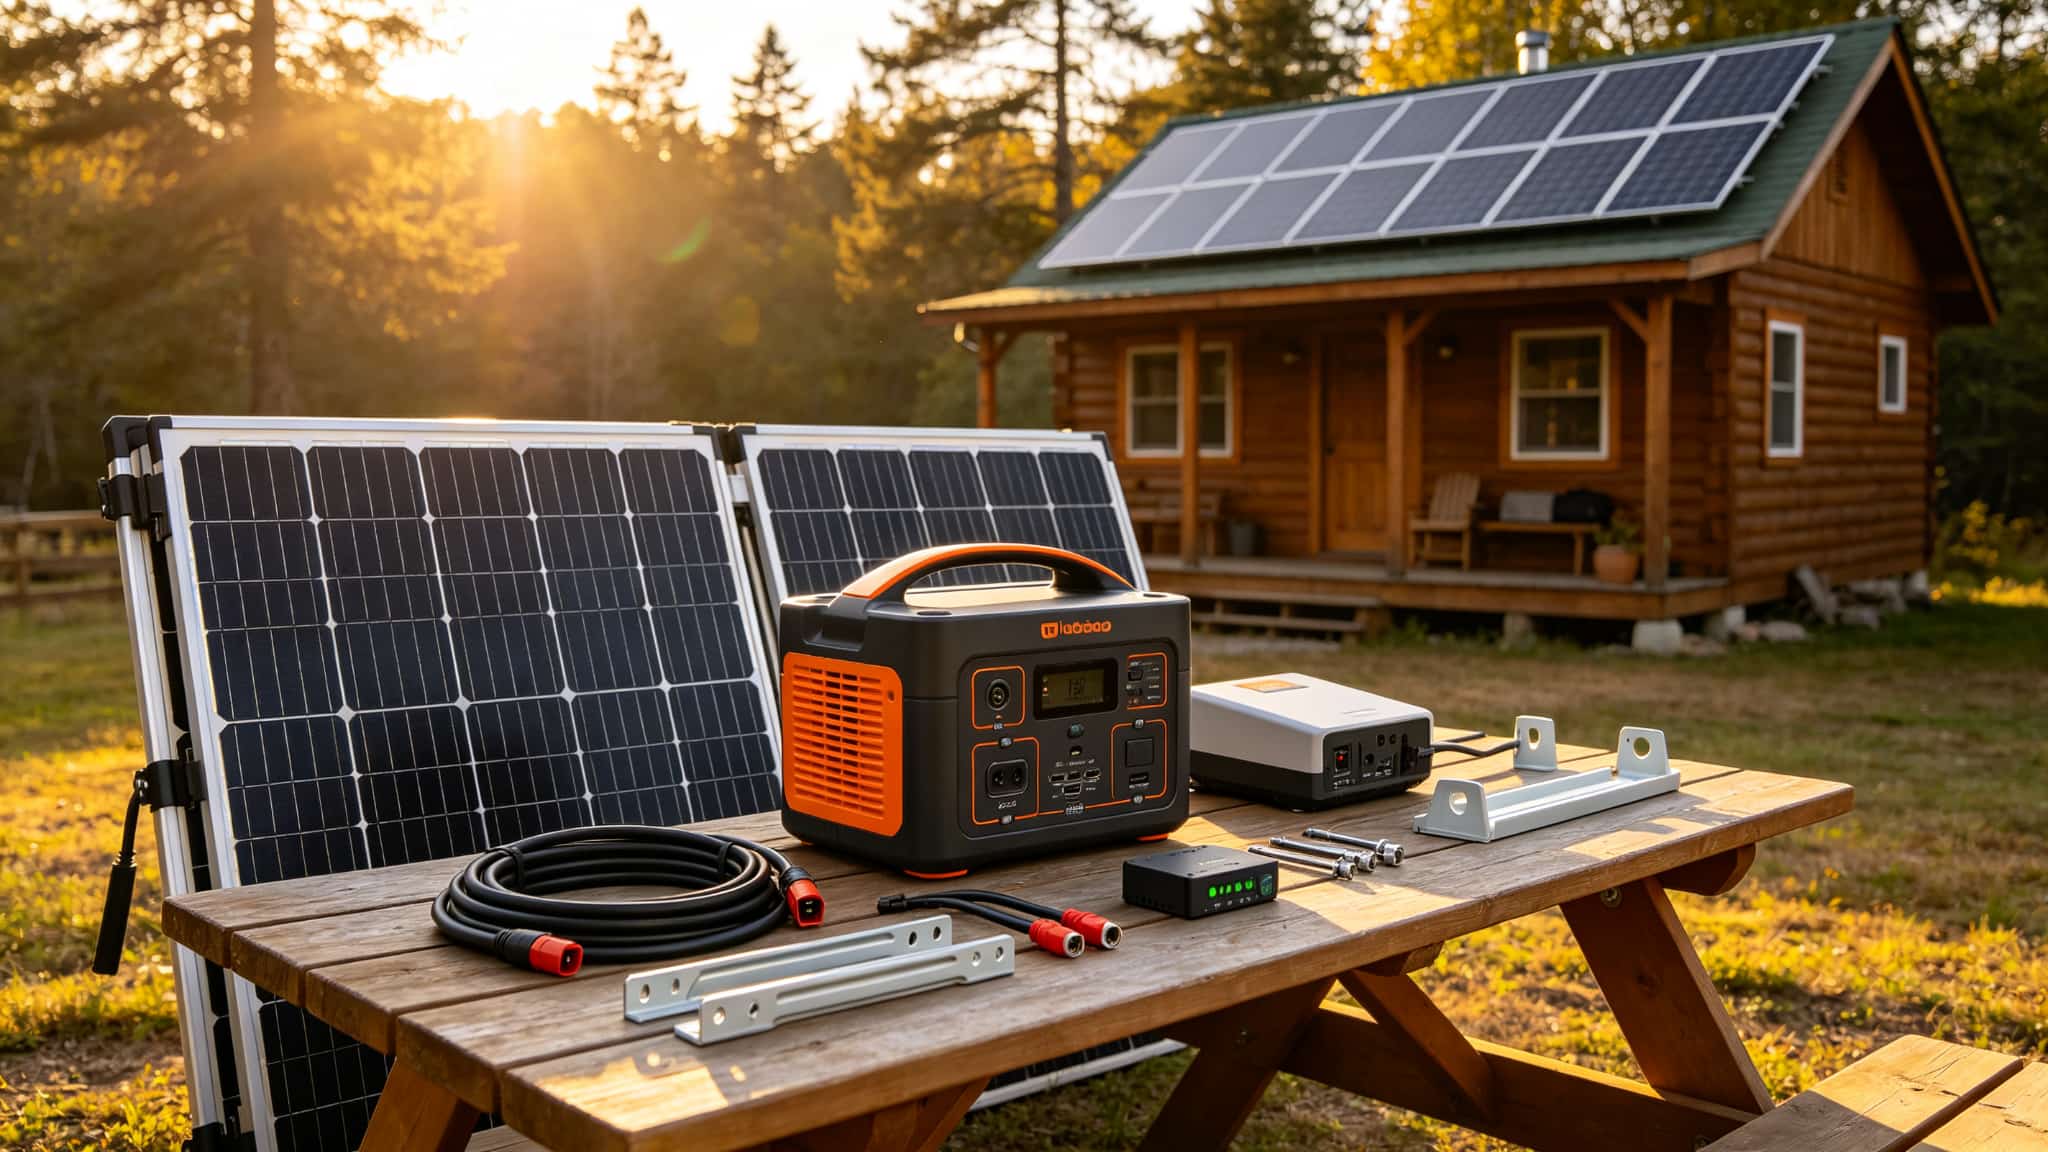
An off-grid solar kit only works when it is sized correctly. Too little capacity means dead batteries and interrupted power. Too much means money spent on panels and batteries that sit idle. The correct size comes down to four steps in strict order.
- First, calculate your daily watt-hour consumption by listing every device and its runtime.
- Second, add a cloudy-day reserve so the battery survives two or three sunless days.
- Third, measure your peak and surge load to size the inverter correctly.
- Fourth, cross-check every component as one system. Confirm the panel open-circuit voltage stays within the controller’s input range across temperature extremes.
These four steps are what separate a reliable off-grid solar system from an expensive disappointment. Work through them with real numbers, and your off-grid solar kit will match your actual needs.
Laying the Foundation for Selecting Off-Grid Solar Panel Kit Components
Most people shopping for an off-grid solar panel kit start with the wrong question. They ask how many watts of panels they need before knowing what they will power. The correct approach works backward from your appliances. Before you open any calculator, gather three things. You need a complete device list, your local peak sun hours, and a clear budget ceiling. Decide which loads are critical and which are optional. A weekend cabin and a full-time homestead have very different requirements, even with the same roof space. Choose your system voltage early: 12V for small loads, 24V for medium cabins, and 48V for full-time homes. With those decisions made, the four steps below will size your off-grid solar system correctly.
Choose the Off-Grid Solar Panel Kit That Meets Your Needs: Calculate Your Daily Load in Watt-Hours
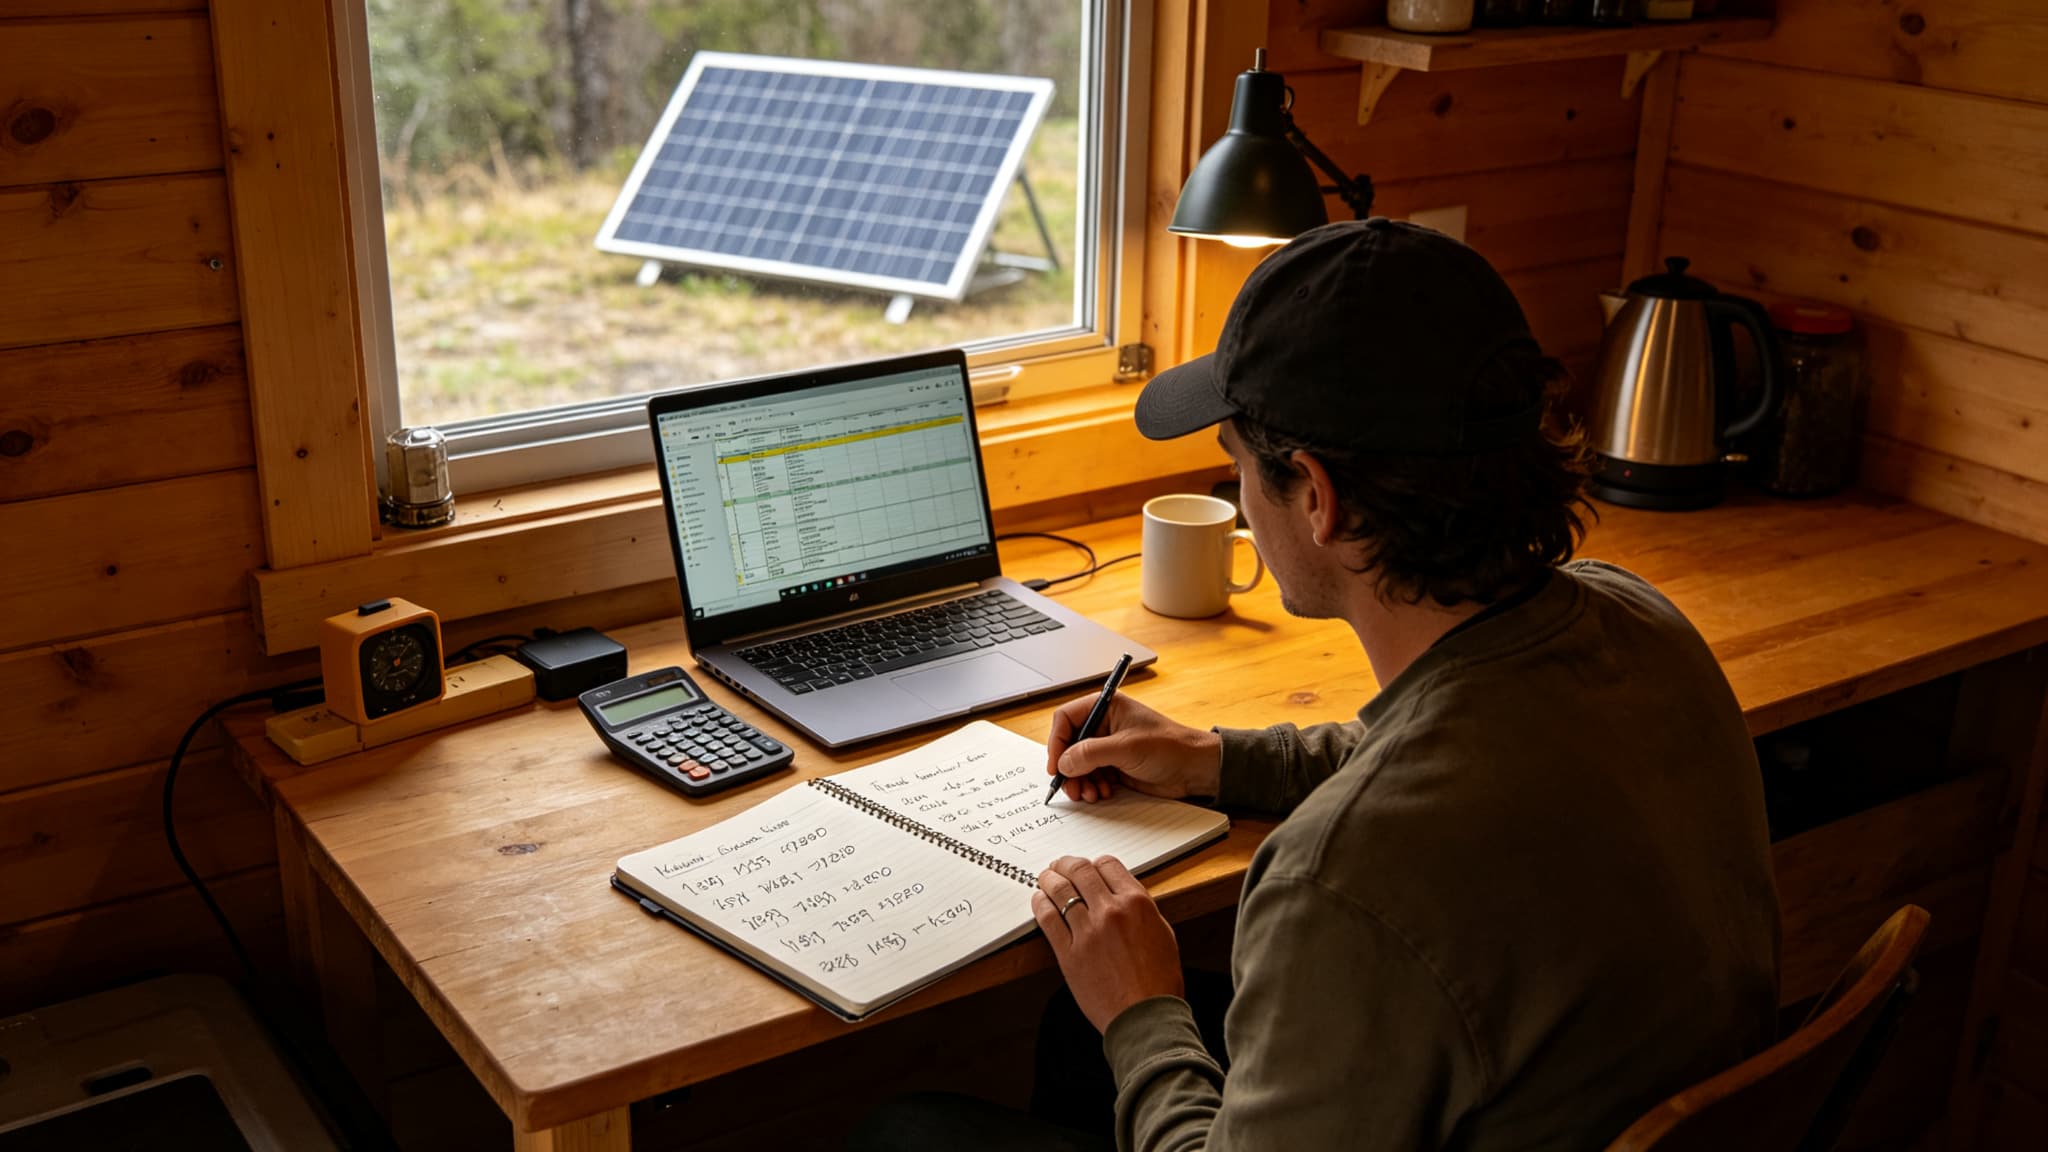
Every sizing decision starts with the load list, not the panel count. List every appliance the off-grid solar system will power. Write down the wattage of each device and the hours it runs per day. Multiply watts by hours to get watt-hours, then add all rows together. For cycling devices like refrigerators, use realistic run time rather than 24 hours. A fridge that cycles on eight hours a day uses far less than its nameplate suggests.
Separate the list into critical and flexible loads. Critical loads include refrigeration, lights, phone charging, and medical devices. Flexible loads include power tools, entertainment systems, and electric cooking. Add a 25 percent buffer to the total for inverter losses and cable inefficiency. The detailed
off-grid solar planning guide covers load grouping and seasonal adjustments in depth. A small cabin using lights, a fridge, and phone chargers might need 1,500 to 2,500 watt-hours per day.
Size the Battery Bank and Charge Controller
The battery bank must carry you through nights and cloudy stretches. Multiply your daily critical load by the number of reserve days you want. Weekend cabins typically need one to two days of autonomy. Full-time homesteads without a generator should plan for three to five days. LiFePO4 batteries allow up to 80 percent depth of discharge, while lead-acid batteries only allow 50 percent. Divide the total reserve energy by the usable depth of discharge to get the required bank capacity.
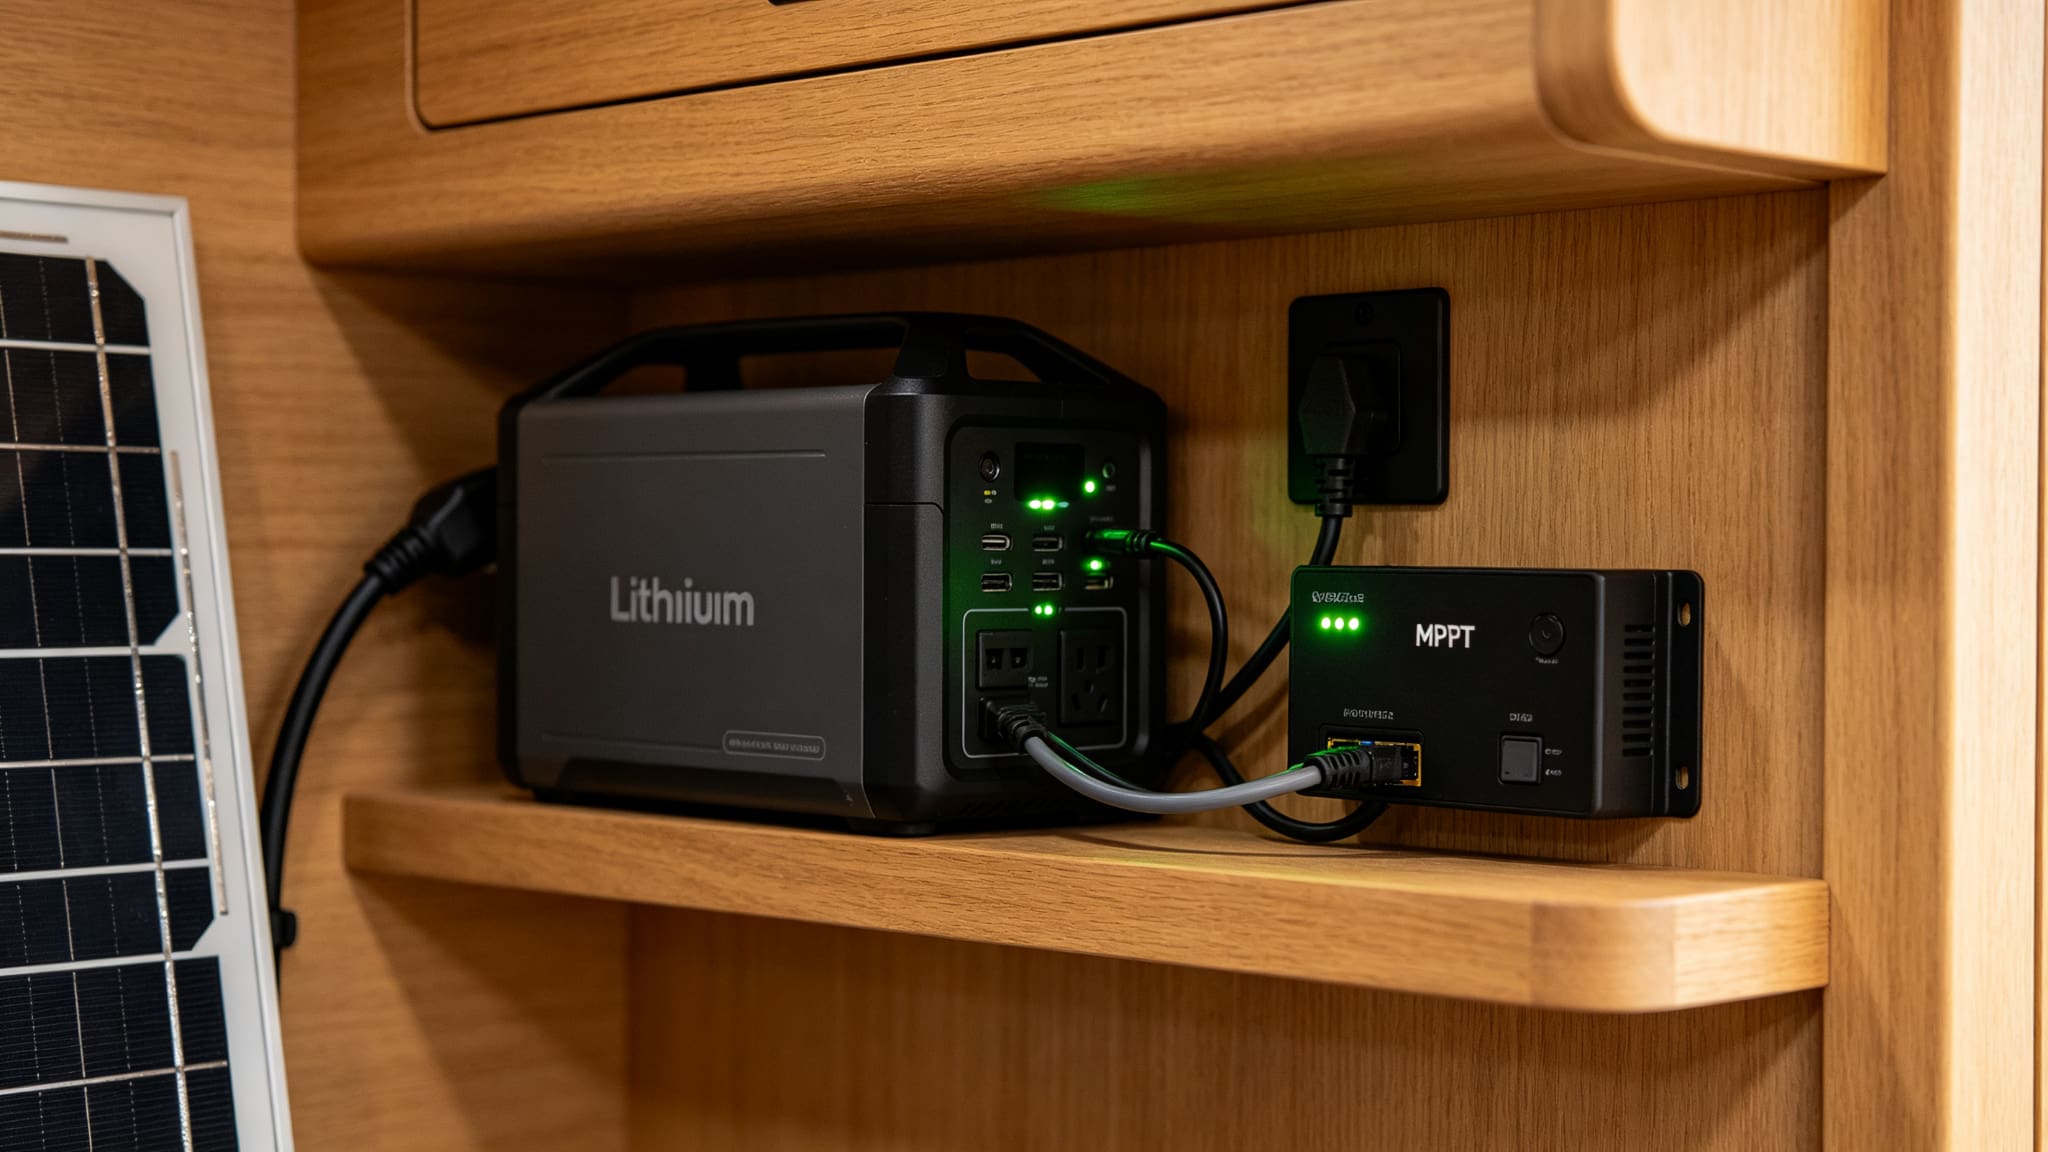
A compact all-in-one option like the HomePower 3600 Plus combines a 3,584Wh LiFePO4 battery with a built-in inverter. It can expand to 21kWh with extra battery modules for larger properties. This type of independent solar power system simplifies the kit by removing the need for separate battery and inverter matching.
Match the Charge Controller to Panel and Battery
The charge controller sits between the solar array and the battery. MPPT controllers accept a wider voltage range and convert excess voltage into extra current. They are the best choice for most off-grid PV systems. To size the controller, divide total panel watts by system voltage and multiply by 1.25. A 600W array on a 12V system needs a 63-amp controller, so round up to the next standard size. Confirm the controller supports your battery chemistry and voltage before ordering.
Size the Solar Panel Array and Inverter
The panel array must recharge the battery bank each day. Divide your daily watt-hours by your local peak sun hours, then divide by a 0.75 derating factor. The derating accounts for heat, dirt, cable losses, and imperfect angles. The free
NREL PVWatts Calculator provides monthly peak sun hours for any location. Use the worst-season month, not the annual average, to avoid winter shortfalls.
A 2,000Wh daily load in a location with four peak sun hours needs about 667W of panels. Monocrystalline panels like the Solar Board deliver the most watts per square foot for limited roof space. The inverter must handle the simultaneous running wattage of all devices plus the startup surge of the largest motor. A 2,000W inverter with a 4,000W surge rating covers most small cabins. Undersizing the inverter causes trips even when the battery still holds enough energy.
Verify Compatibility and Power On
Before ordering, cross-check every component as one system. Confirm the panel open-circuit voltage stays within the controller’s input range across temperature extremes. Verify the battery voltage matches both the controller and inverter. Check cable gauge against the current and distance to avoid voltage drop. MC4 connectors must match the panel output, and Anderson connectors suit high-current battery links.
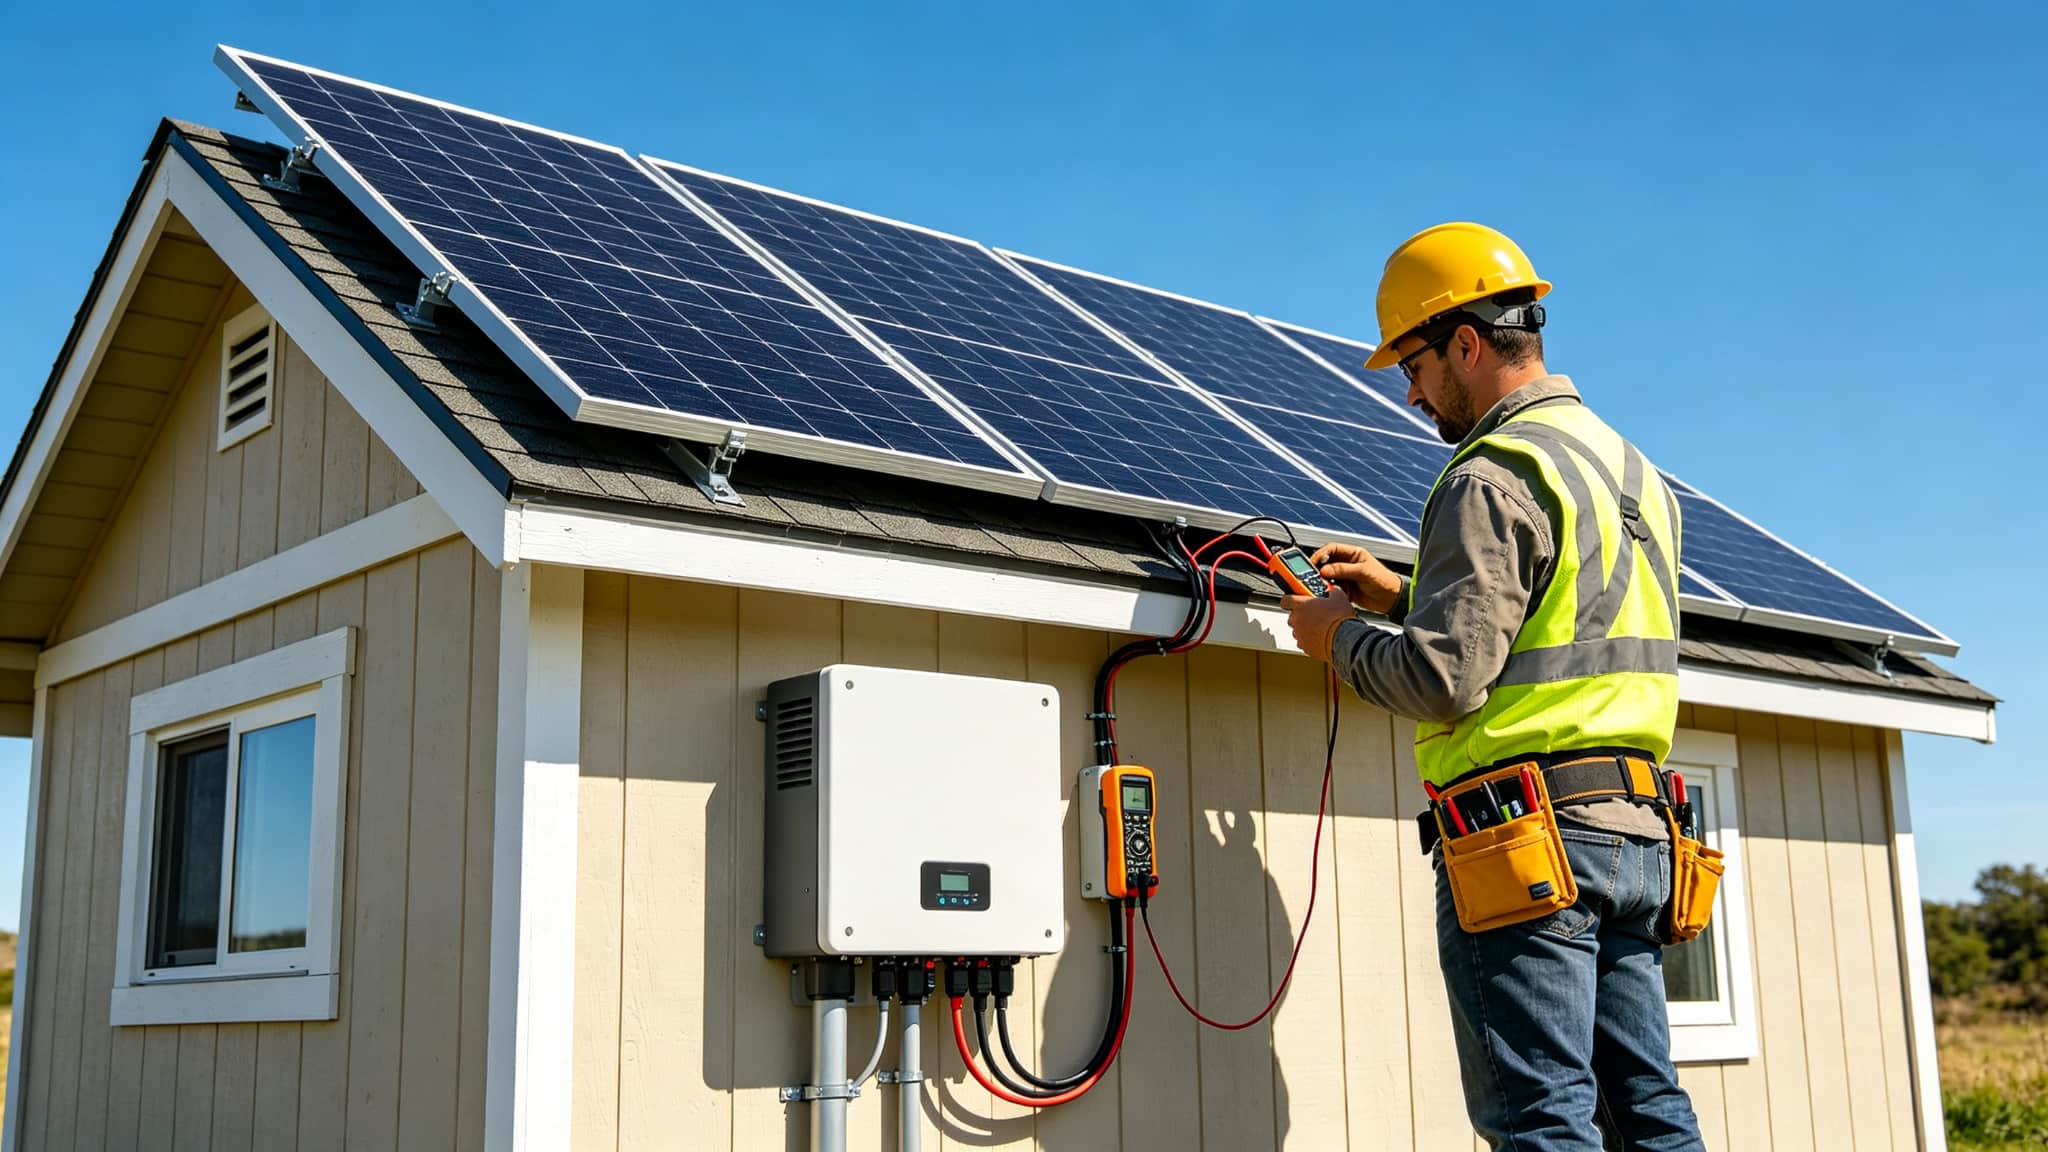
Once assembled, commission the solar power kit in the correct order. Connect the battery to the controller first, then the panels, then the inverter. Use a multimeter to verify voltage at each connection before powering on. Test each appliance individually and monitor the battery voltage under load. The
commissioning guide covers safe testing and verification for mobile and cabin systems alike.
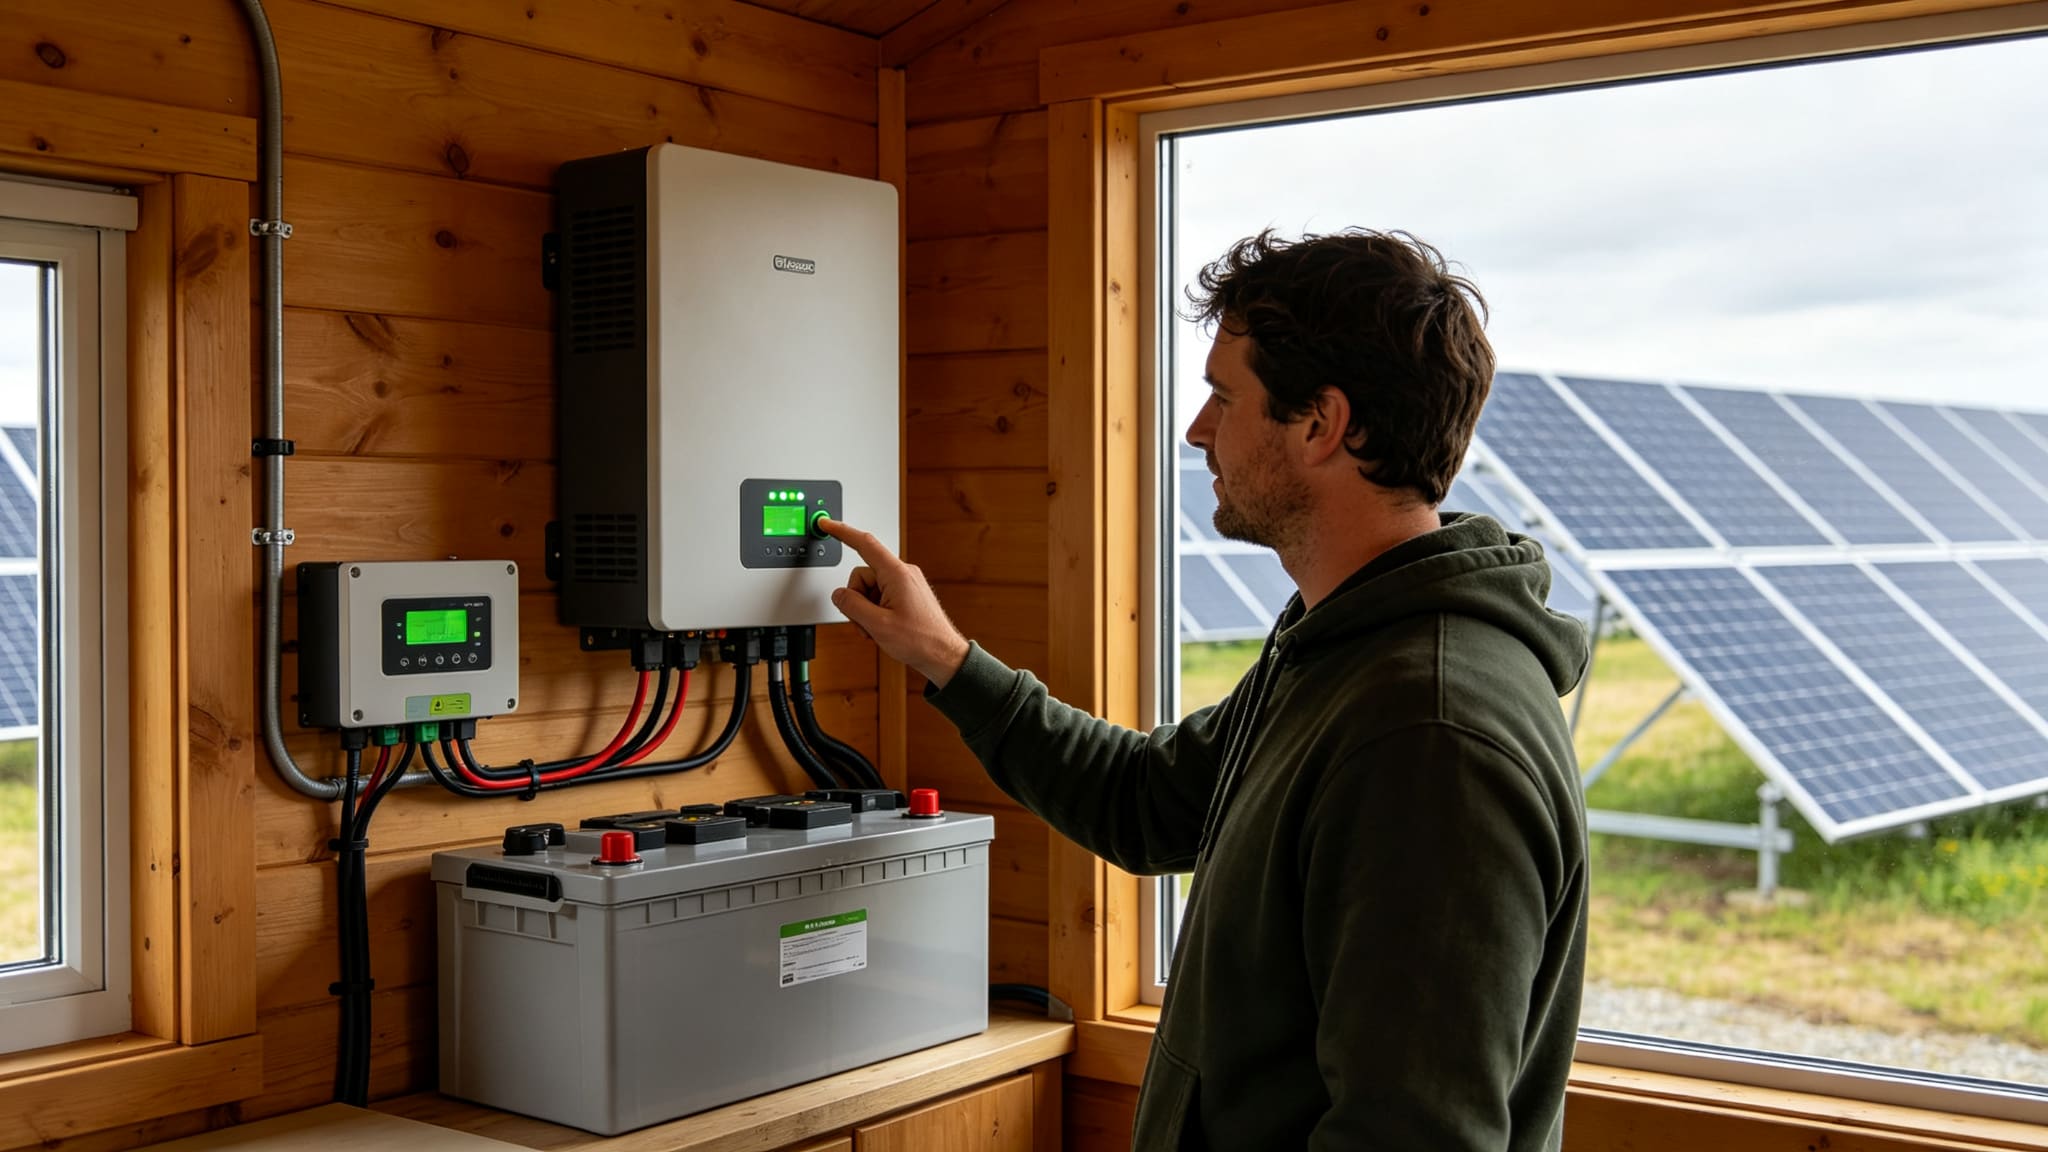
Powering Your Property with the Right Off-Grid Solar Kit
An off-grid solar panel kit works reliably only when every component follows the load calculation. Start with the daily watt-hours, size the battery for reserve days, and match the controller to panel and battery. Then size the array and inverter for the worst season and verify every connection before powering on. Skip the load calculation and you either overspend or run out of power. Do it correctly, and your off-grid solar system delivers years of quiet, clean energy with no utility bill.