
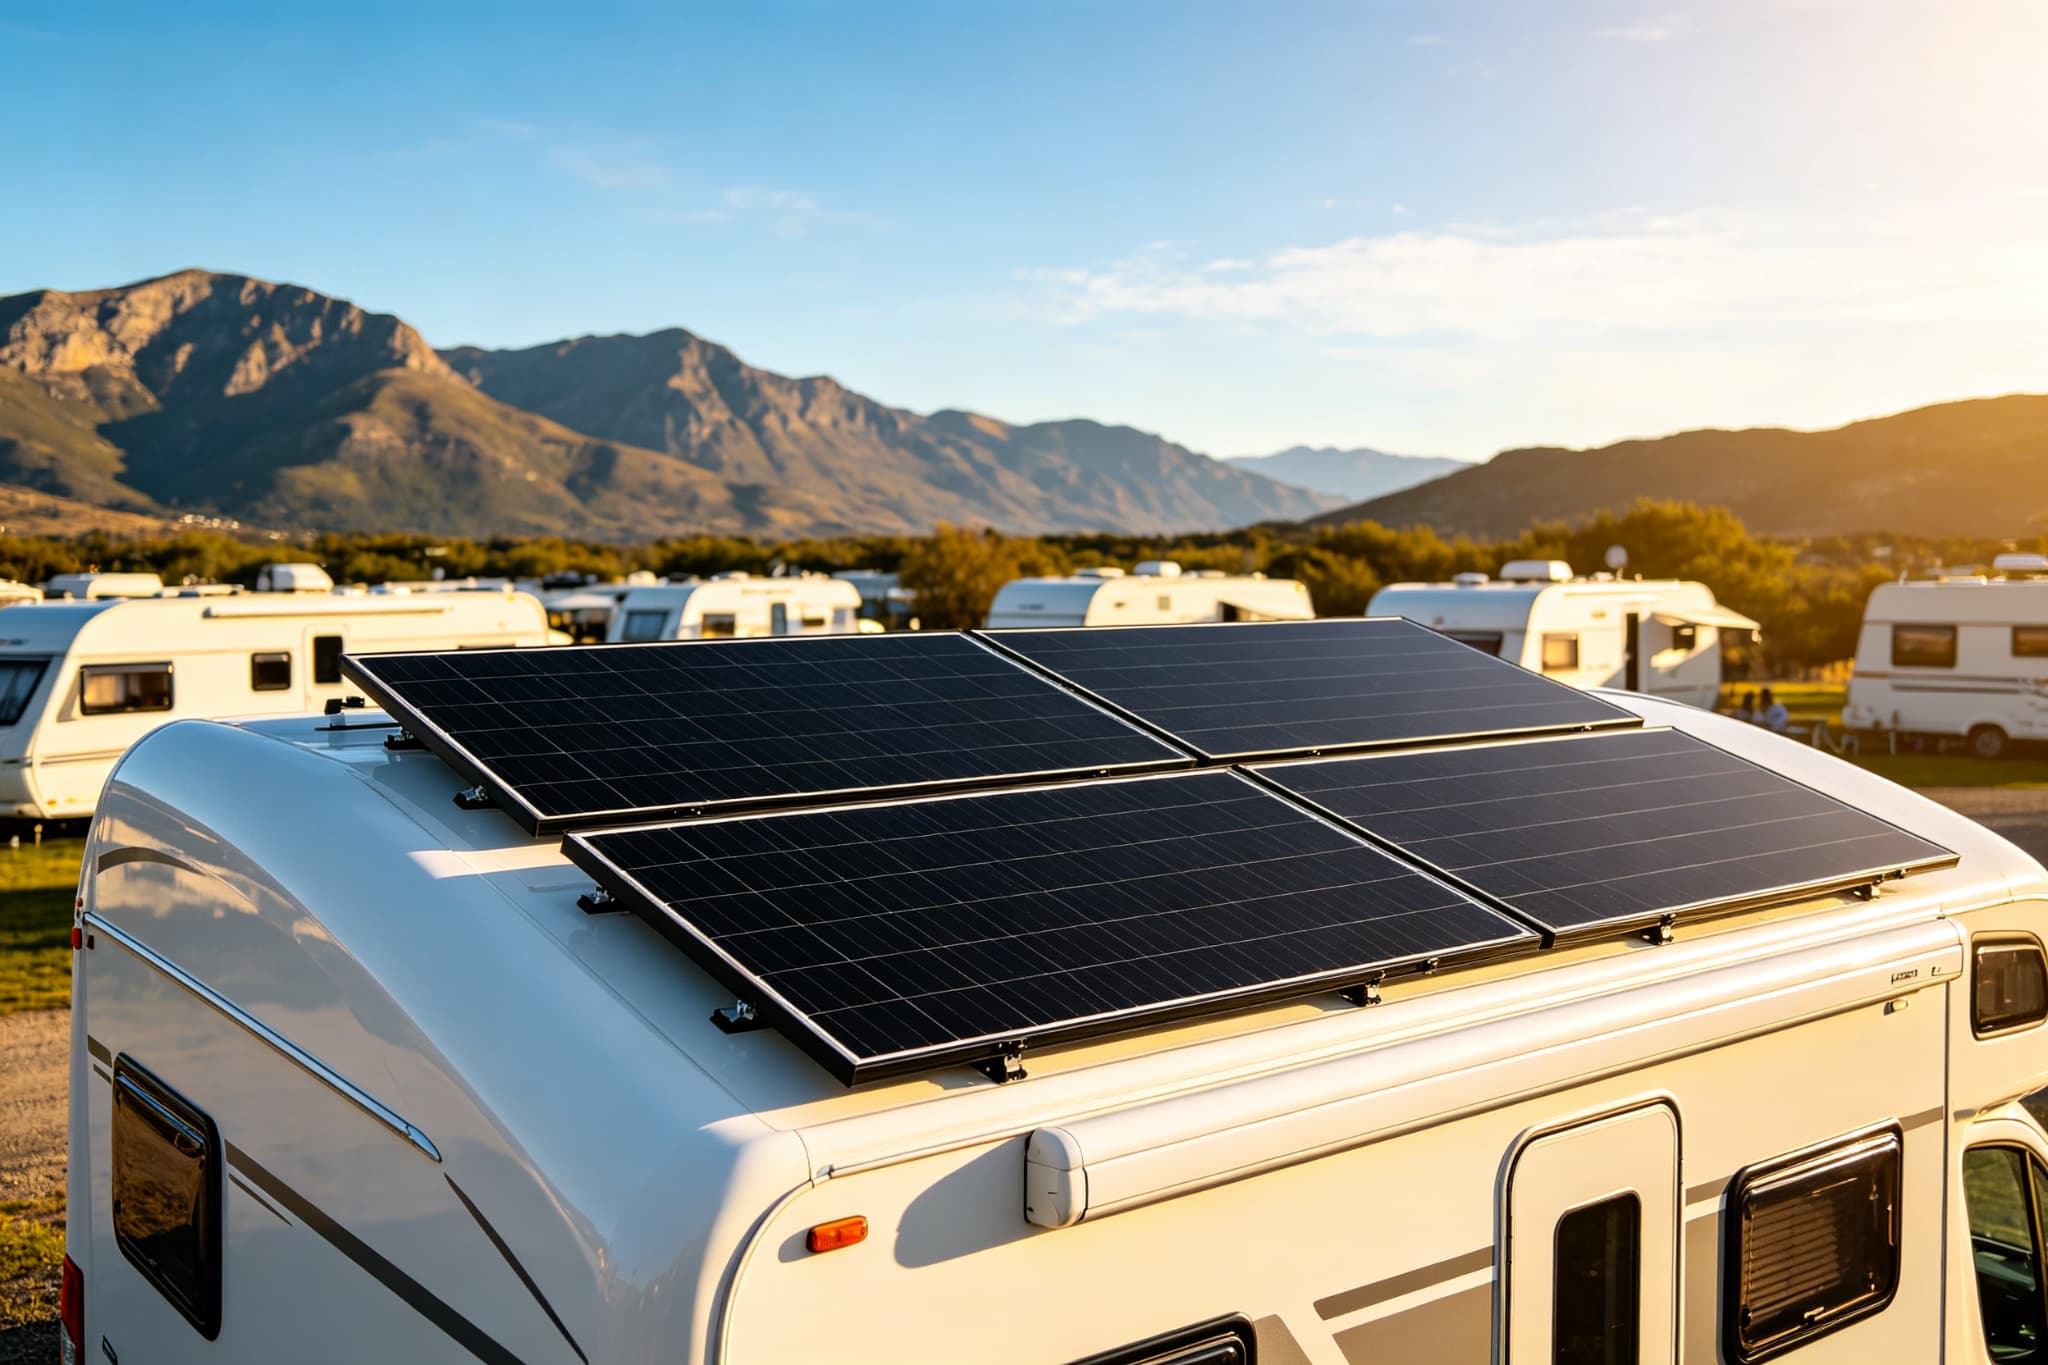
RV Solar Panel Installation only looks complicated from the outside. The whole job breaks into four clear stages.
-
Size the system.
-
Mount the panels.
-
Wire the battery and controller.
-
Then test and seal.
Do them in this order, and you will be done in a weekend. Skip a stage or rush the wiring, and you risk leaks, dead batteries, or a controller that never charges. The order matters more than the tools. Drilling before you size the array leaves you with too little power. Connecting the panels before the battery can damage the controller. Each stage also protects the next, from the roof layout to the final multimeter reading. Get the sequence right, and a reliable RV solar panel installation quietly powers every trip after that.
Planning Your RV Solar Panel Installation Before You Drill
Every clean RV solar panel installation starts before you drill a single hole. The planning stage decides whether your system charges fast enough and survives years of road vibration. Skip it, and you may end up redoing the work at a campsite far from home.
Start by listing the devices you run and their daily watt-hours. A typical couple uses 1,500 to 2,500 watt-hours per day for lights, a fridge, phone chargers, and a water pump. Match that load with 200 to 400 watts of roof panels for moderate travel. The battery bank should hold at least one day of reserve. LiFePO4 chemistry is the standard choice for RV use. Pair the array with an MPPT charge controller sized at least 25 percent above the panel current. The free NREL PVWatts calculator estimates peak sun hours for any route. Use it to size for the cloudiest region you plan to visit.
Gather the Tools and Parts for a Clean RV Solar Panel Installation
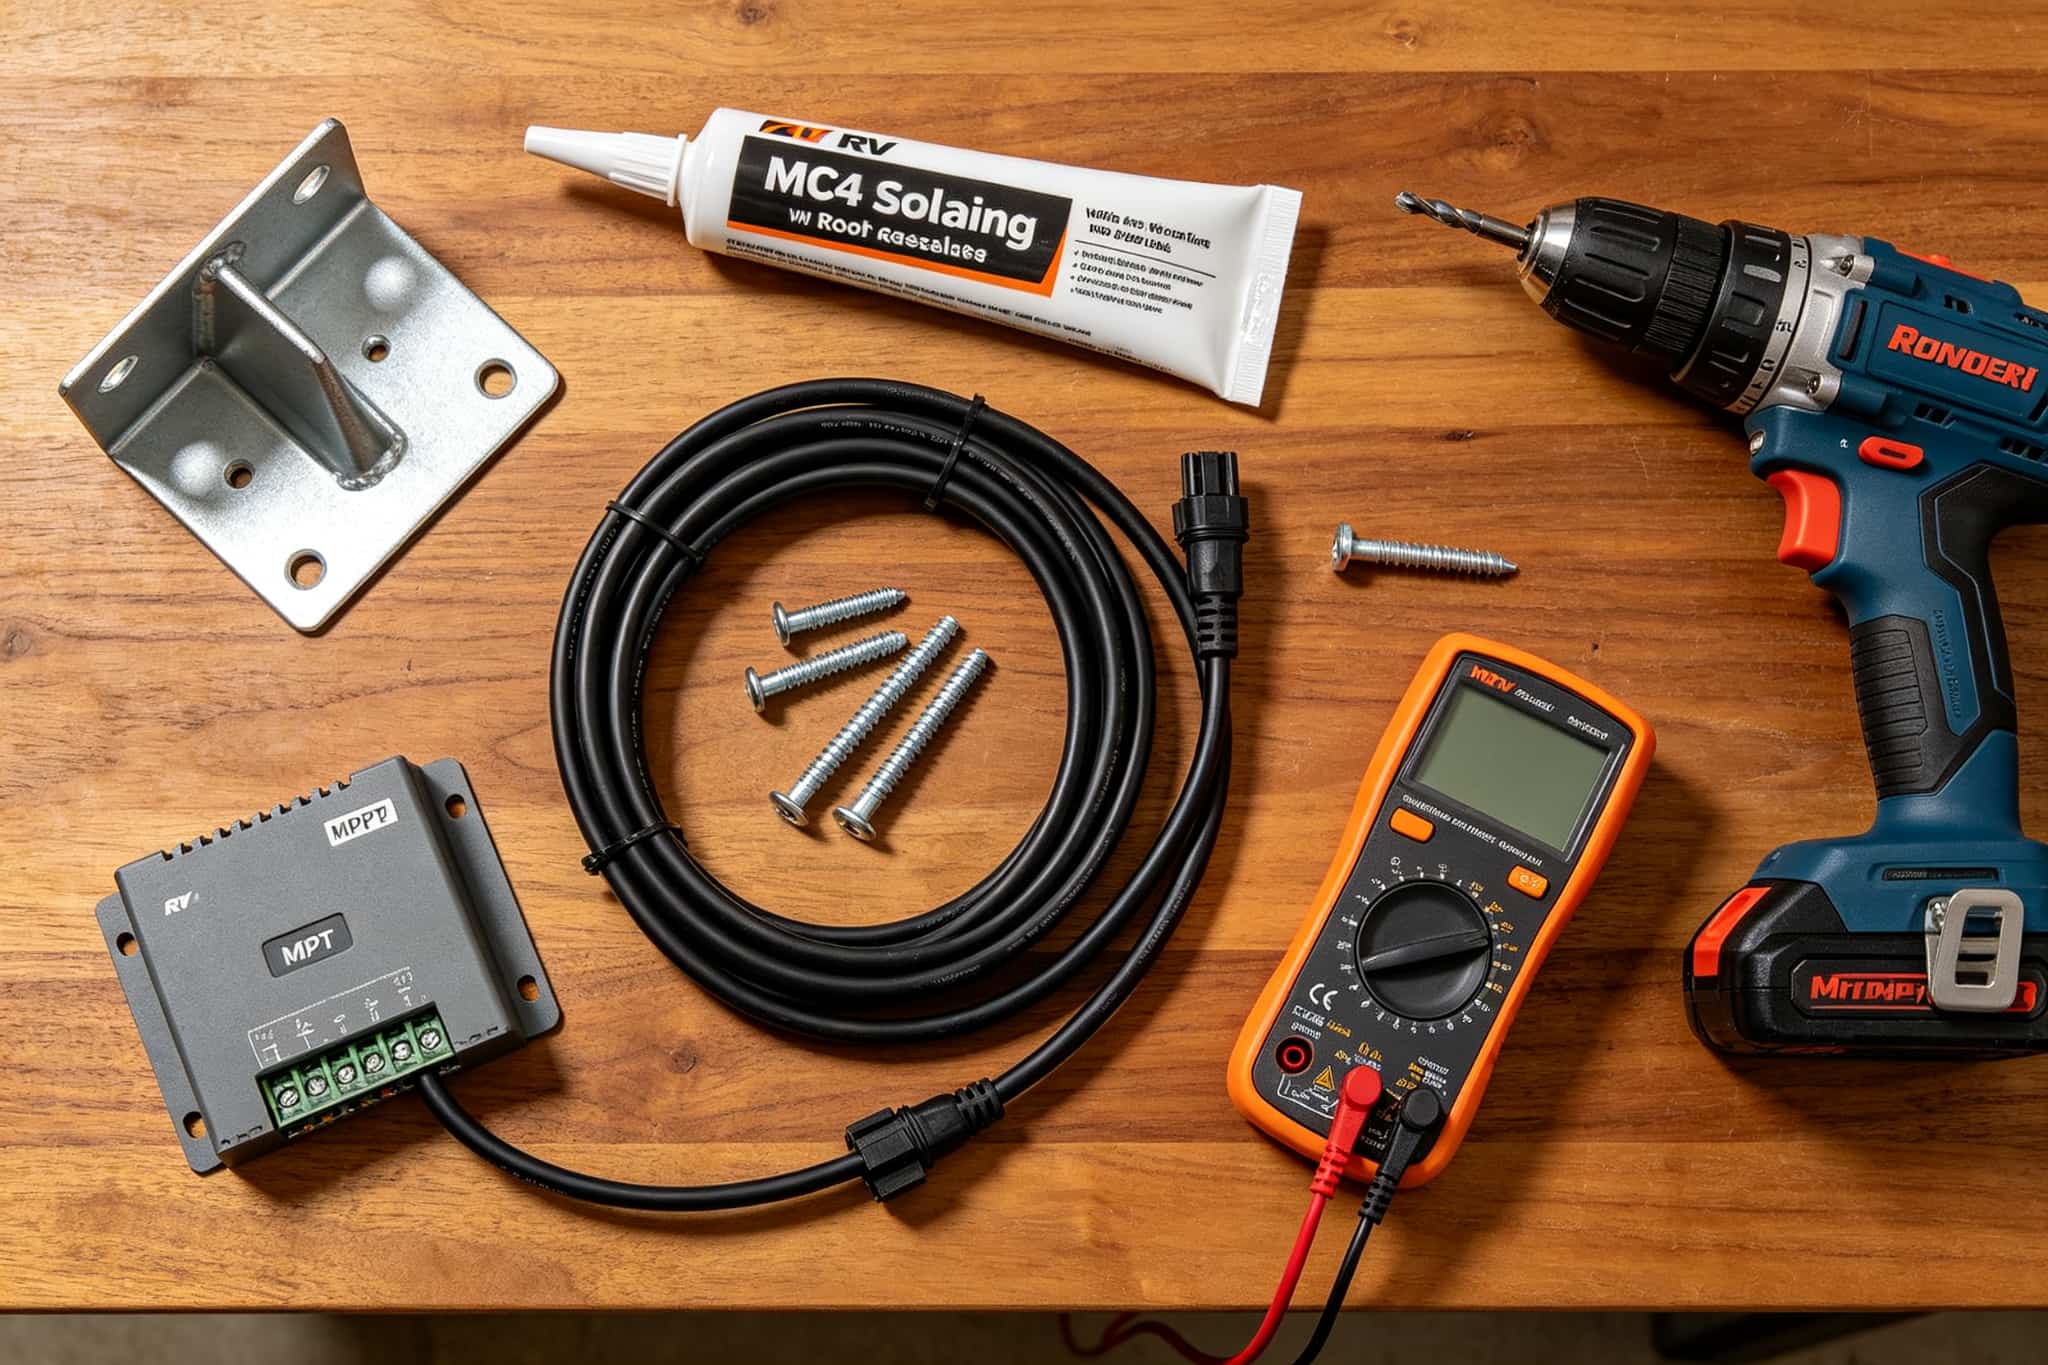
Before climbing on the roof, lay out every part you need. You will need the panels, Z-brackets or corner mounts, self-leveling sealant, stainless bolts, and a cable entry gland. For wiring, gather UV-resistant MC4 cable, a fuse block, ring terminals, and the correct wire gauge. Use 10 AWG for short panel-to-controller runs and 6 AWG for the controller-to-battery segment, which carries higher current. You also need a drill, a hole saw, a multimeter, and a torque wrench. A portable Solar Board is a useful backup if you keep part of your array flexible. Having everything ready prevents mid-install trips to the hardware store.
Step-by-Step RV Solar Panel Installation on the Roof
With the parts ready and the roof washed, the actual motorhome solar install moves quickly. The work now shifts from planning to hands-on mounting, wiring, and testing. The key is to follow that sequence exactly rather than jumping between tasks. Each step protects the next one, and the order matters most when you connect the battery. Panels go up first and stay covered until the very end. The charge controller must see the battery before it sees any panel voltage. A careful RV solar panel installation is mostly about patience at this stage.
RV Solar Panel Installation: Mount the RV Roof Panels and Route the Cable Inside
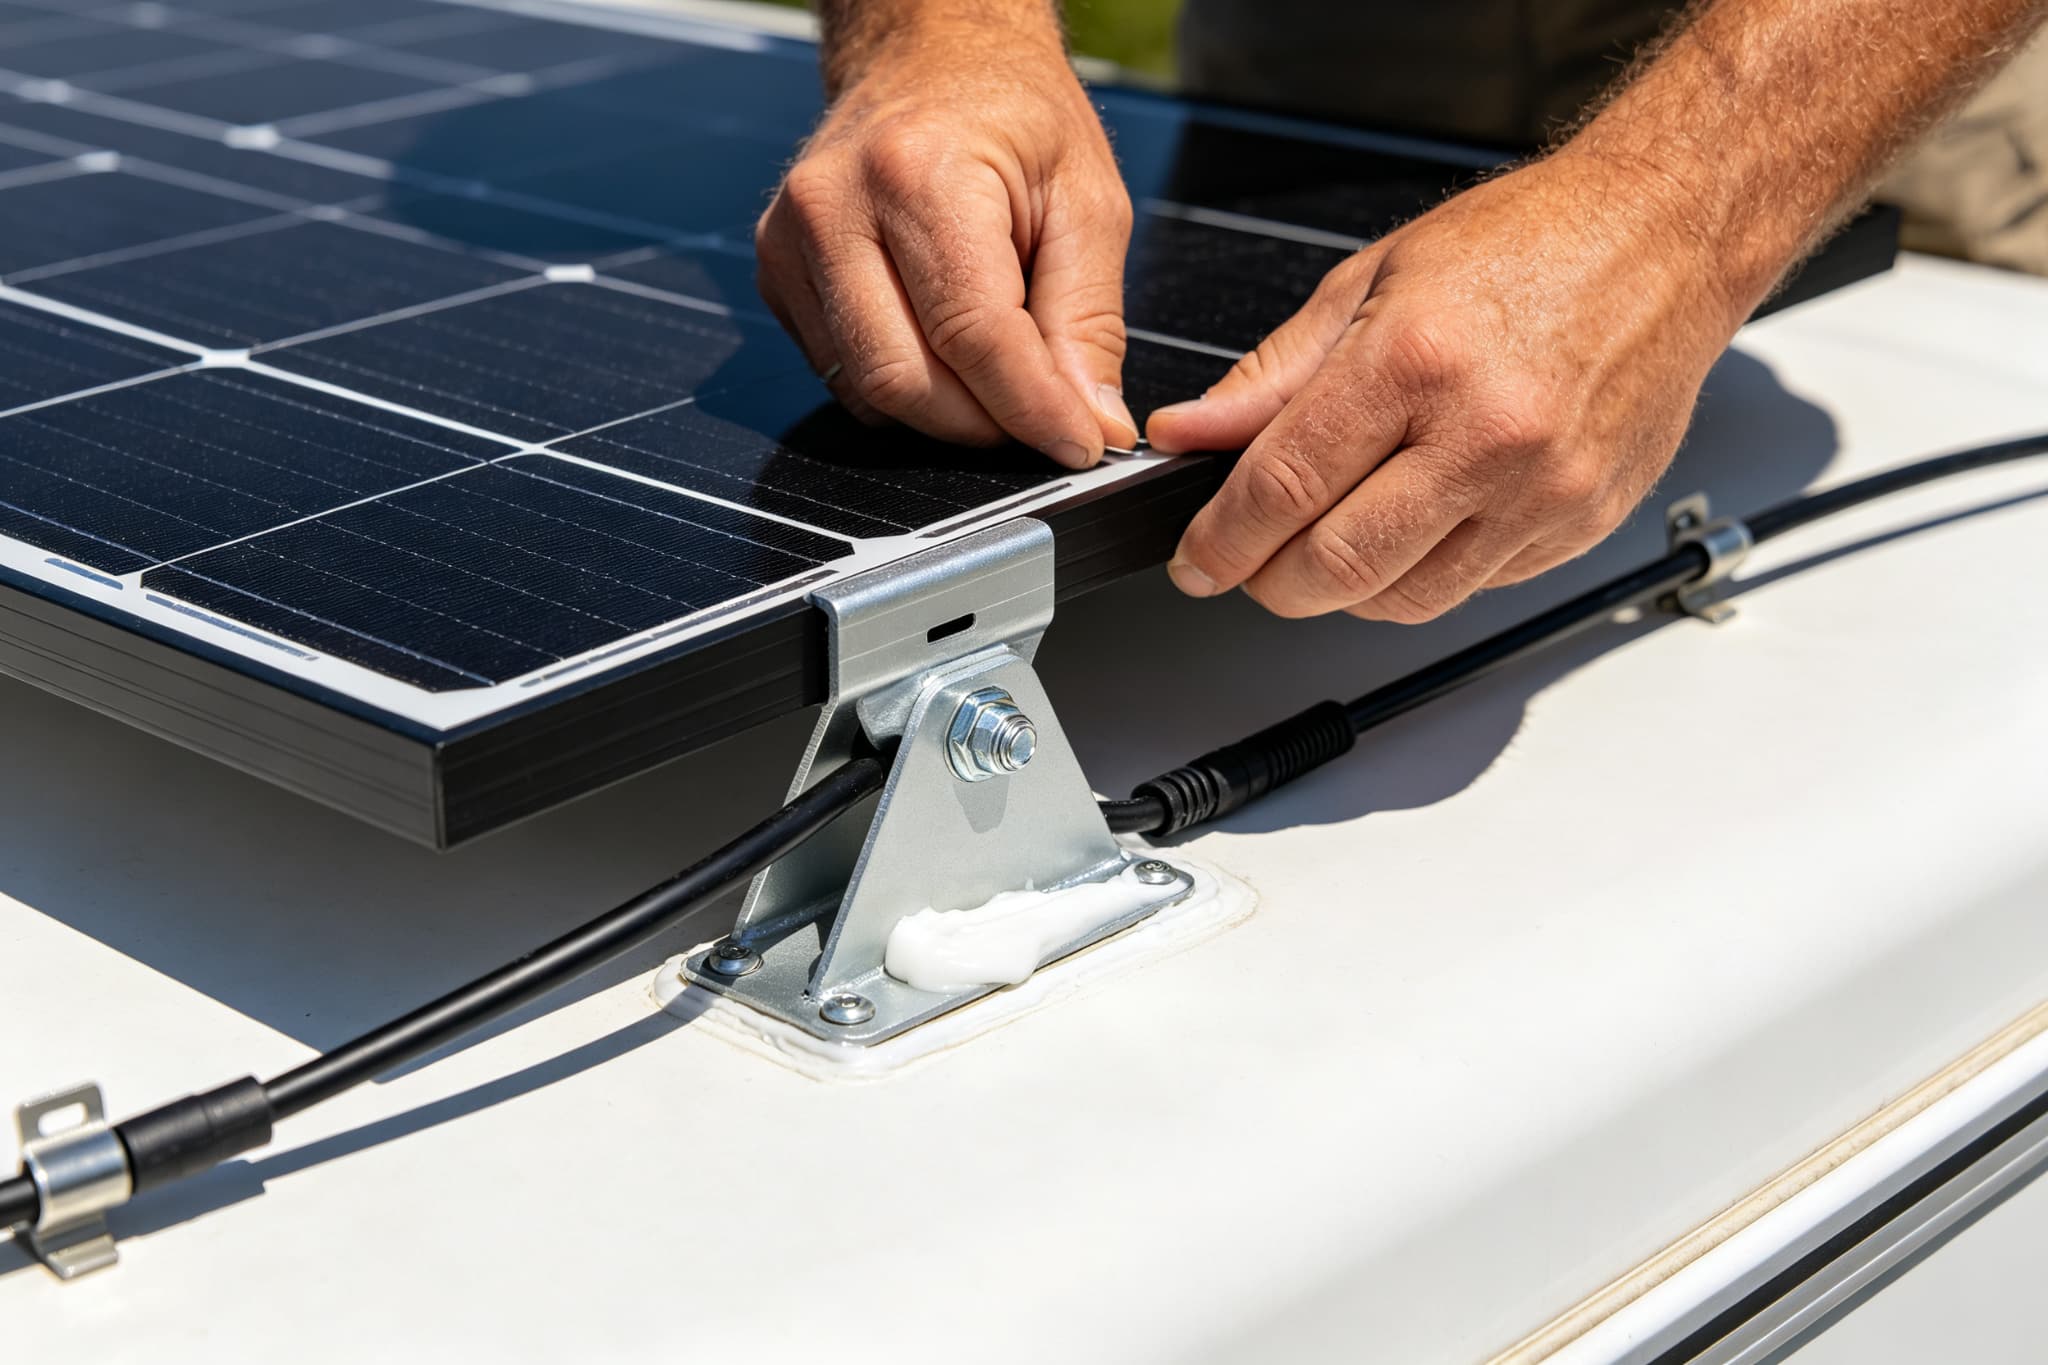
Place the panels where they get full sun and stay clear of vents, the air conditioner, and the roof edge. Mark the bracket holes, then drill only through the roof membrane and into the mounting studs. Apply a generous bead of self-leveling sealant under each bracket and around every bolt. Tighten the mounting bolts to about 25 to 30 foot-pounds, snug but not enough to crack the roof. Run the MC4 cables along the roof and secure them every 12 to 18 inches. This keeps them from chafing in high winds. Feed the cables through a waterproof entry gland rather than a loose hole, then seal the plate edges completely.
Wire Your RV Solar Controller, Battery, and Inverter in Order
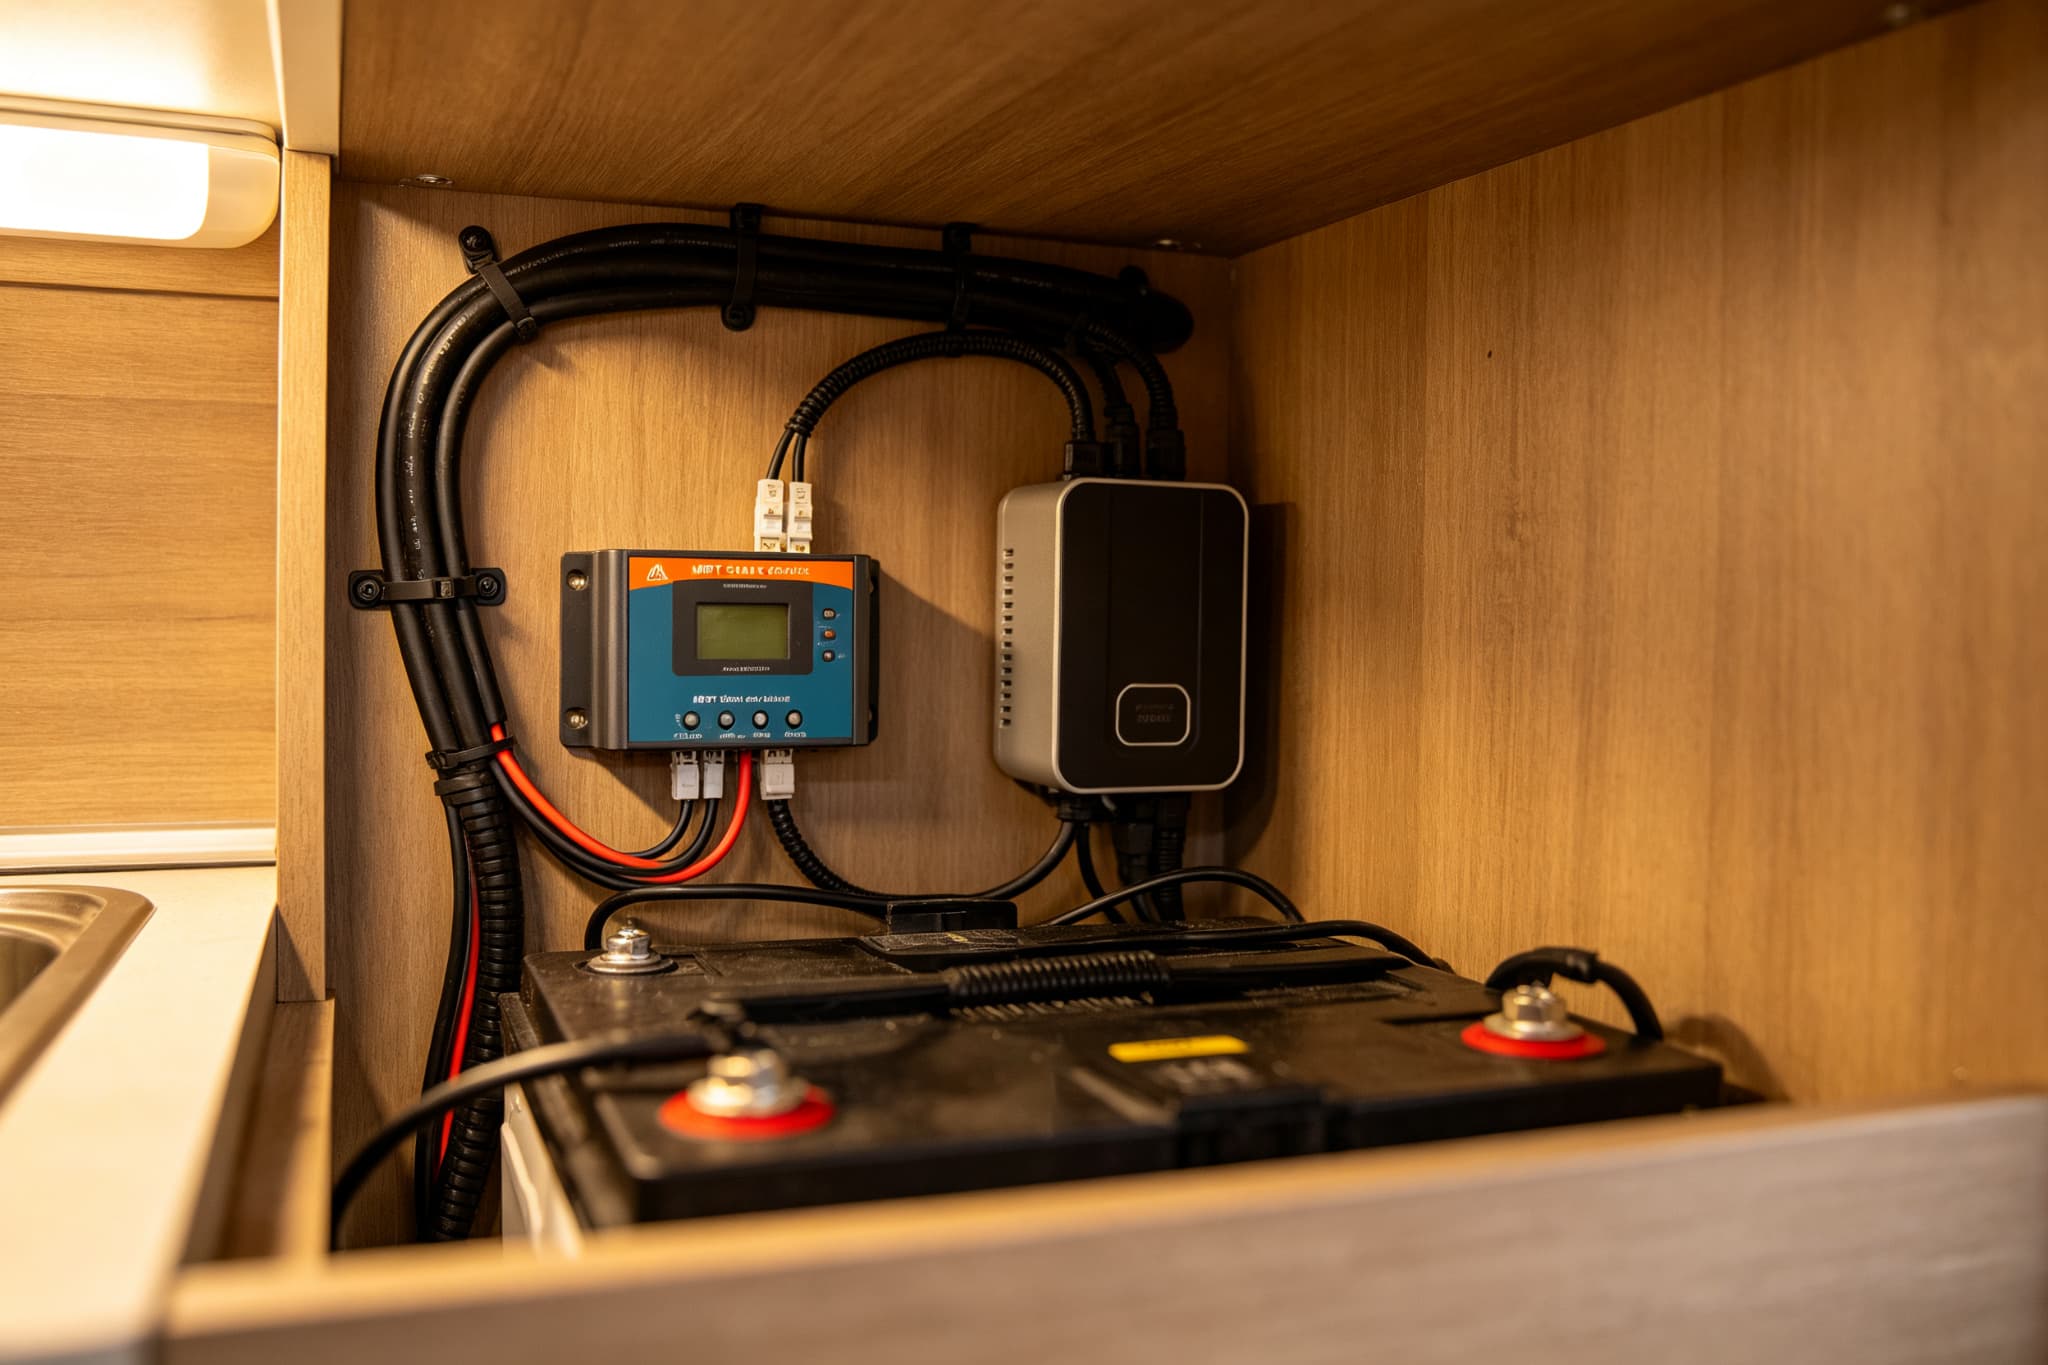
Mount the charge controller close to the battery bank to minimize voltage drop, in a cool, ventilated spot. The safe connection order is battery first, then solar panels, never the reverse. Connect the controller to the battery with a fuse within 12 inches of the positive terminal. Then run the roof cables to the controller’s solar input, covering the panels with a blanket until the final step. Set the controller to your battery chemistry, LiFePO4 or lead-acid, before it sees panel voltage. Finally, connect the inverter to the battery with short, heavy cables and its own fuse. An all-in-one unit such as the HomePower 3600 Plus combines the battery, inverter, and controller. This removes most of the matching work for first-time installers.
Test, Commission, and Seal Your RV Solar System
Before closing everything up, verify each connection with a multimeter. Confirm the panel open-circuit voltage matches the controller’s input range and check polarity twice. Uncover the panels and watch the controller recognize the battery and begin charging. Test each appliance one at a time and monitor the battery voltage under load. Spray the roof bolts and cable gland with a hose and check inside for any drips. Walk through the full commissioning and safety checklist in our RV solar testing guide before your first trip. A system that passes these tests will run quietly for years without surprises.
When a Portable RV Solar Kit Makes More Sense
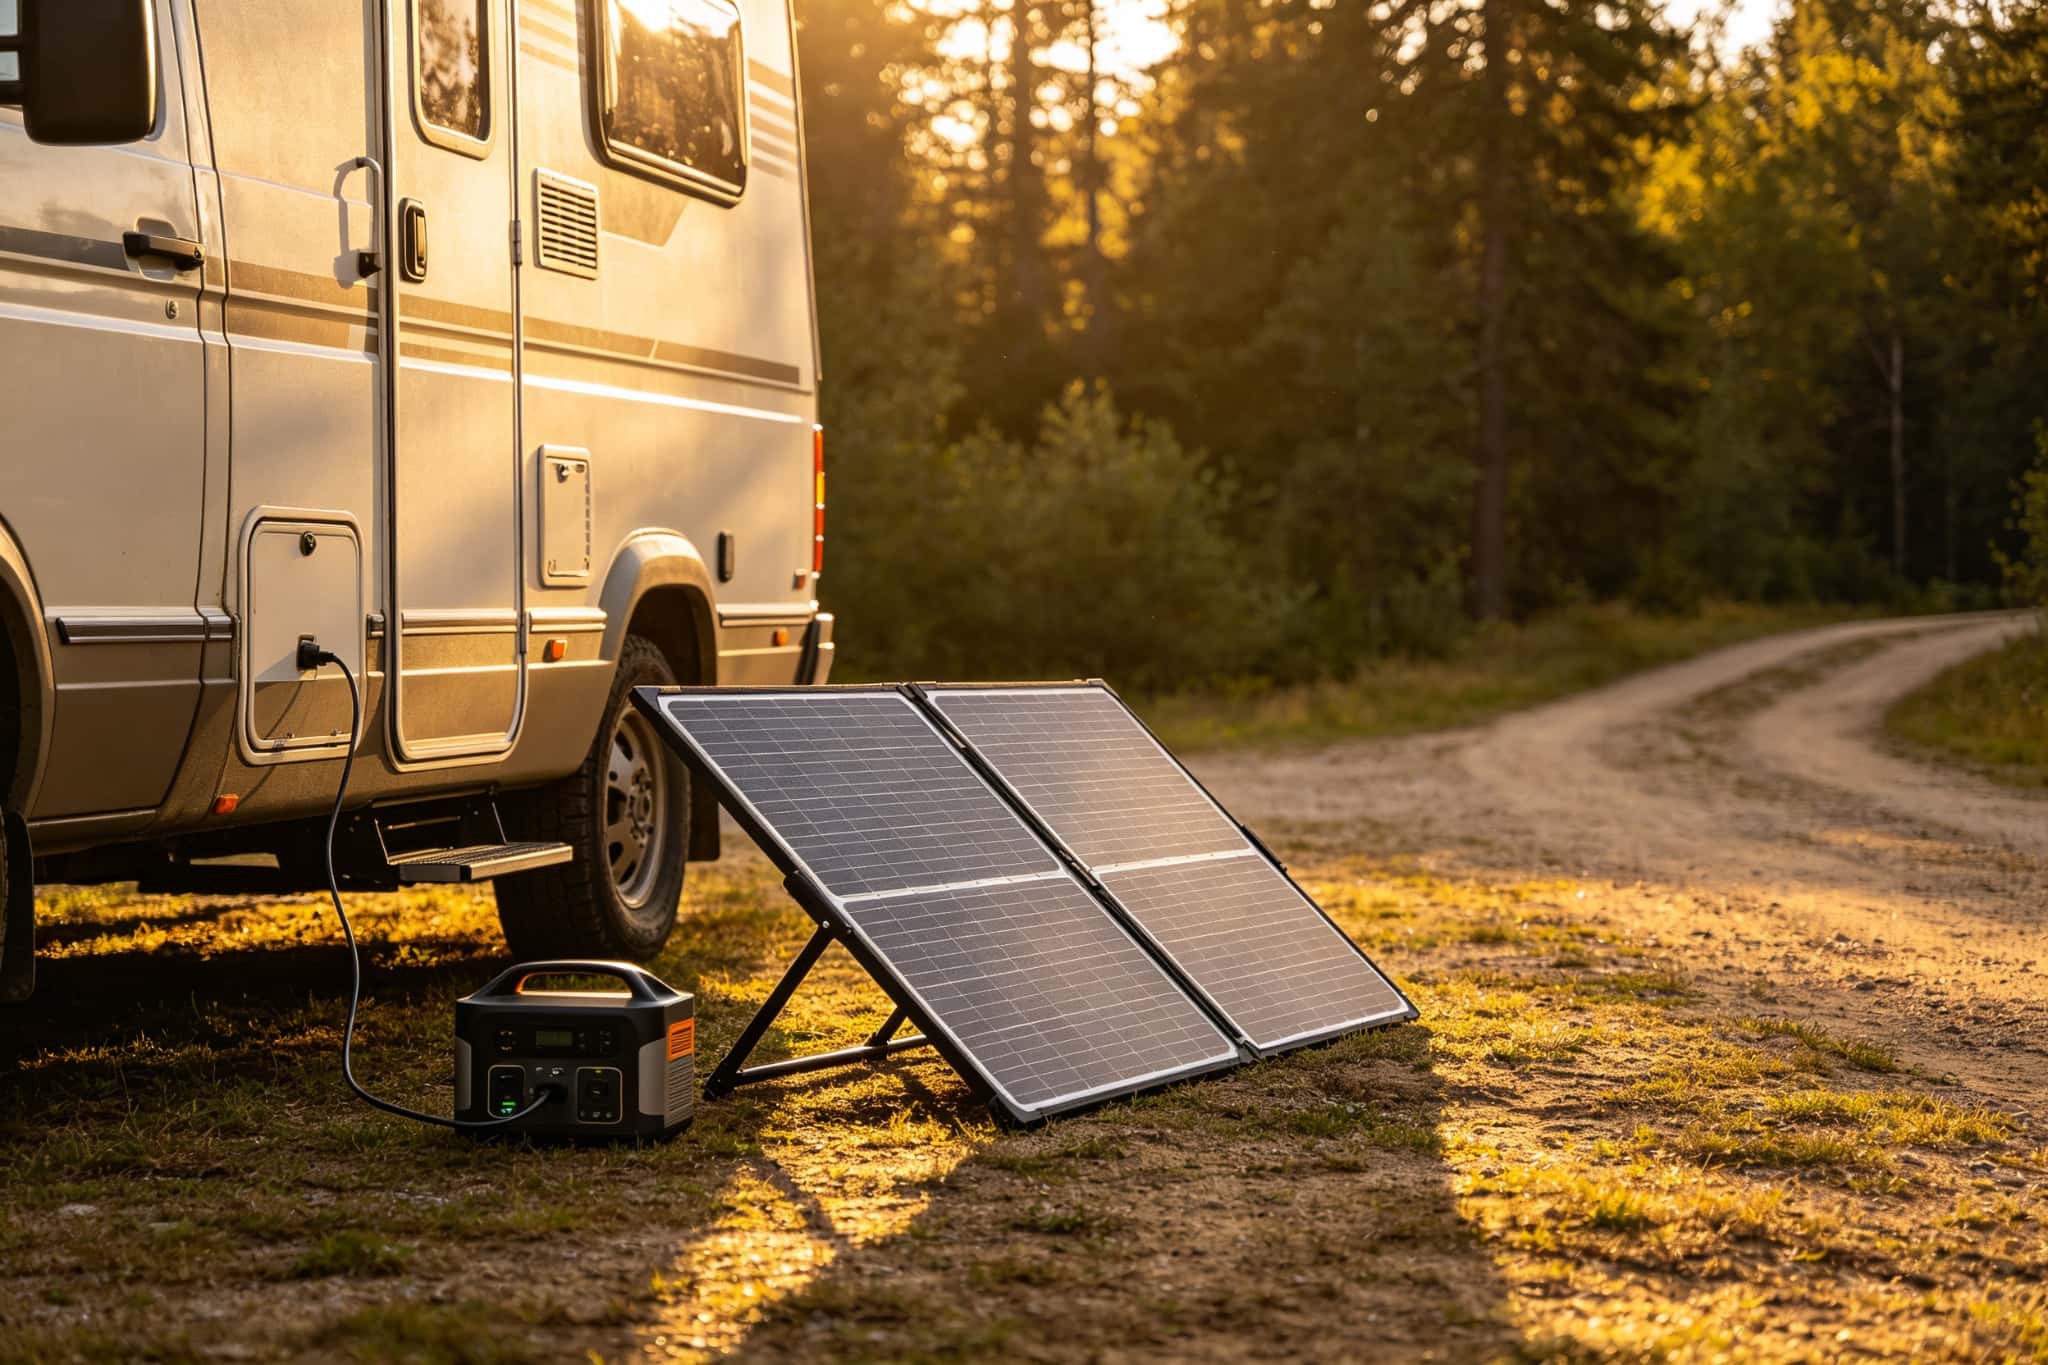
Not every RV needs a fully roof-mounted array. Renters, van owners, and anyone who changes vehicles often prefer a portable RV solar kit that stays on the ground. Portable panels can sit in the sun while the RV rests in shade. This often produces more power than a fixed roof array. They also avoid drilling holes and can be upgraded or replaced individually. A portable Solar Board paired with a compact power station is a common starting point for weekend trips. The trade-off is that you must set the panels up and angle them by hand at each stop. Permanent roof mounts win for full-time travelers who want a set-and-forget camper solar system.
Hit the Road with a Reliable RV Solar Setup
A methodical RV solar panel installation removes the fear of a costly mistake. You will not end up powerless in the middle of nowhere. Take the time to size the system correctly, seal every roof penetration, and follow the battery-first wiring order. Do these steps well, and the panels quietly recharge the battery while you hike, fish, or enjoy the quiet. The result is an RV that keeps the fridge cold and the lights on, wherever the road leads next.