
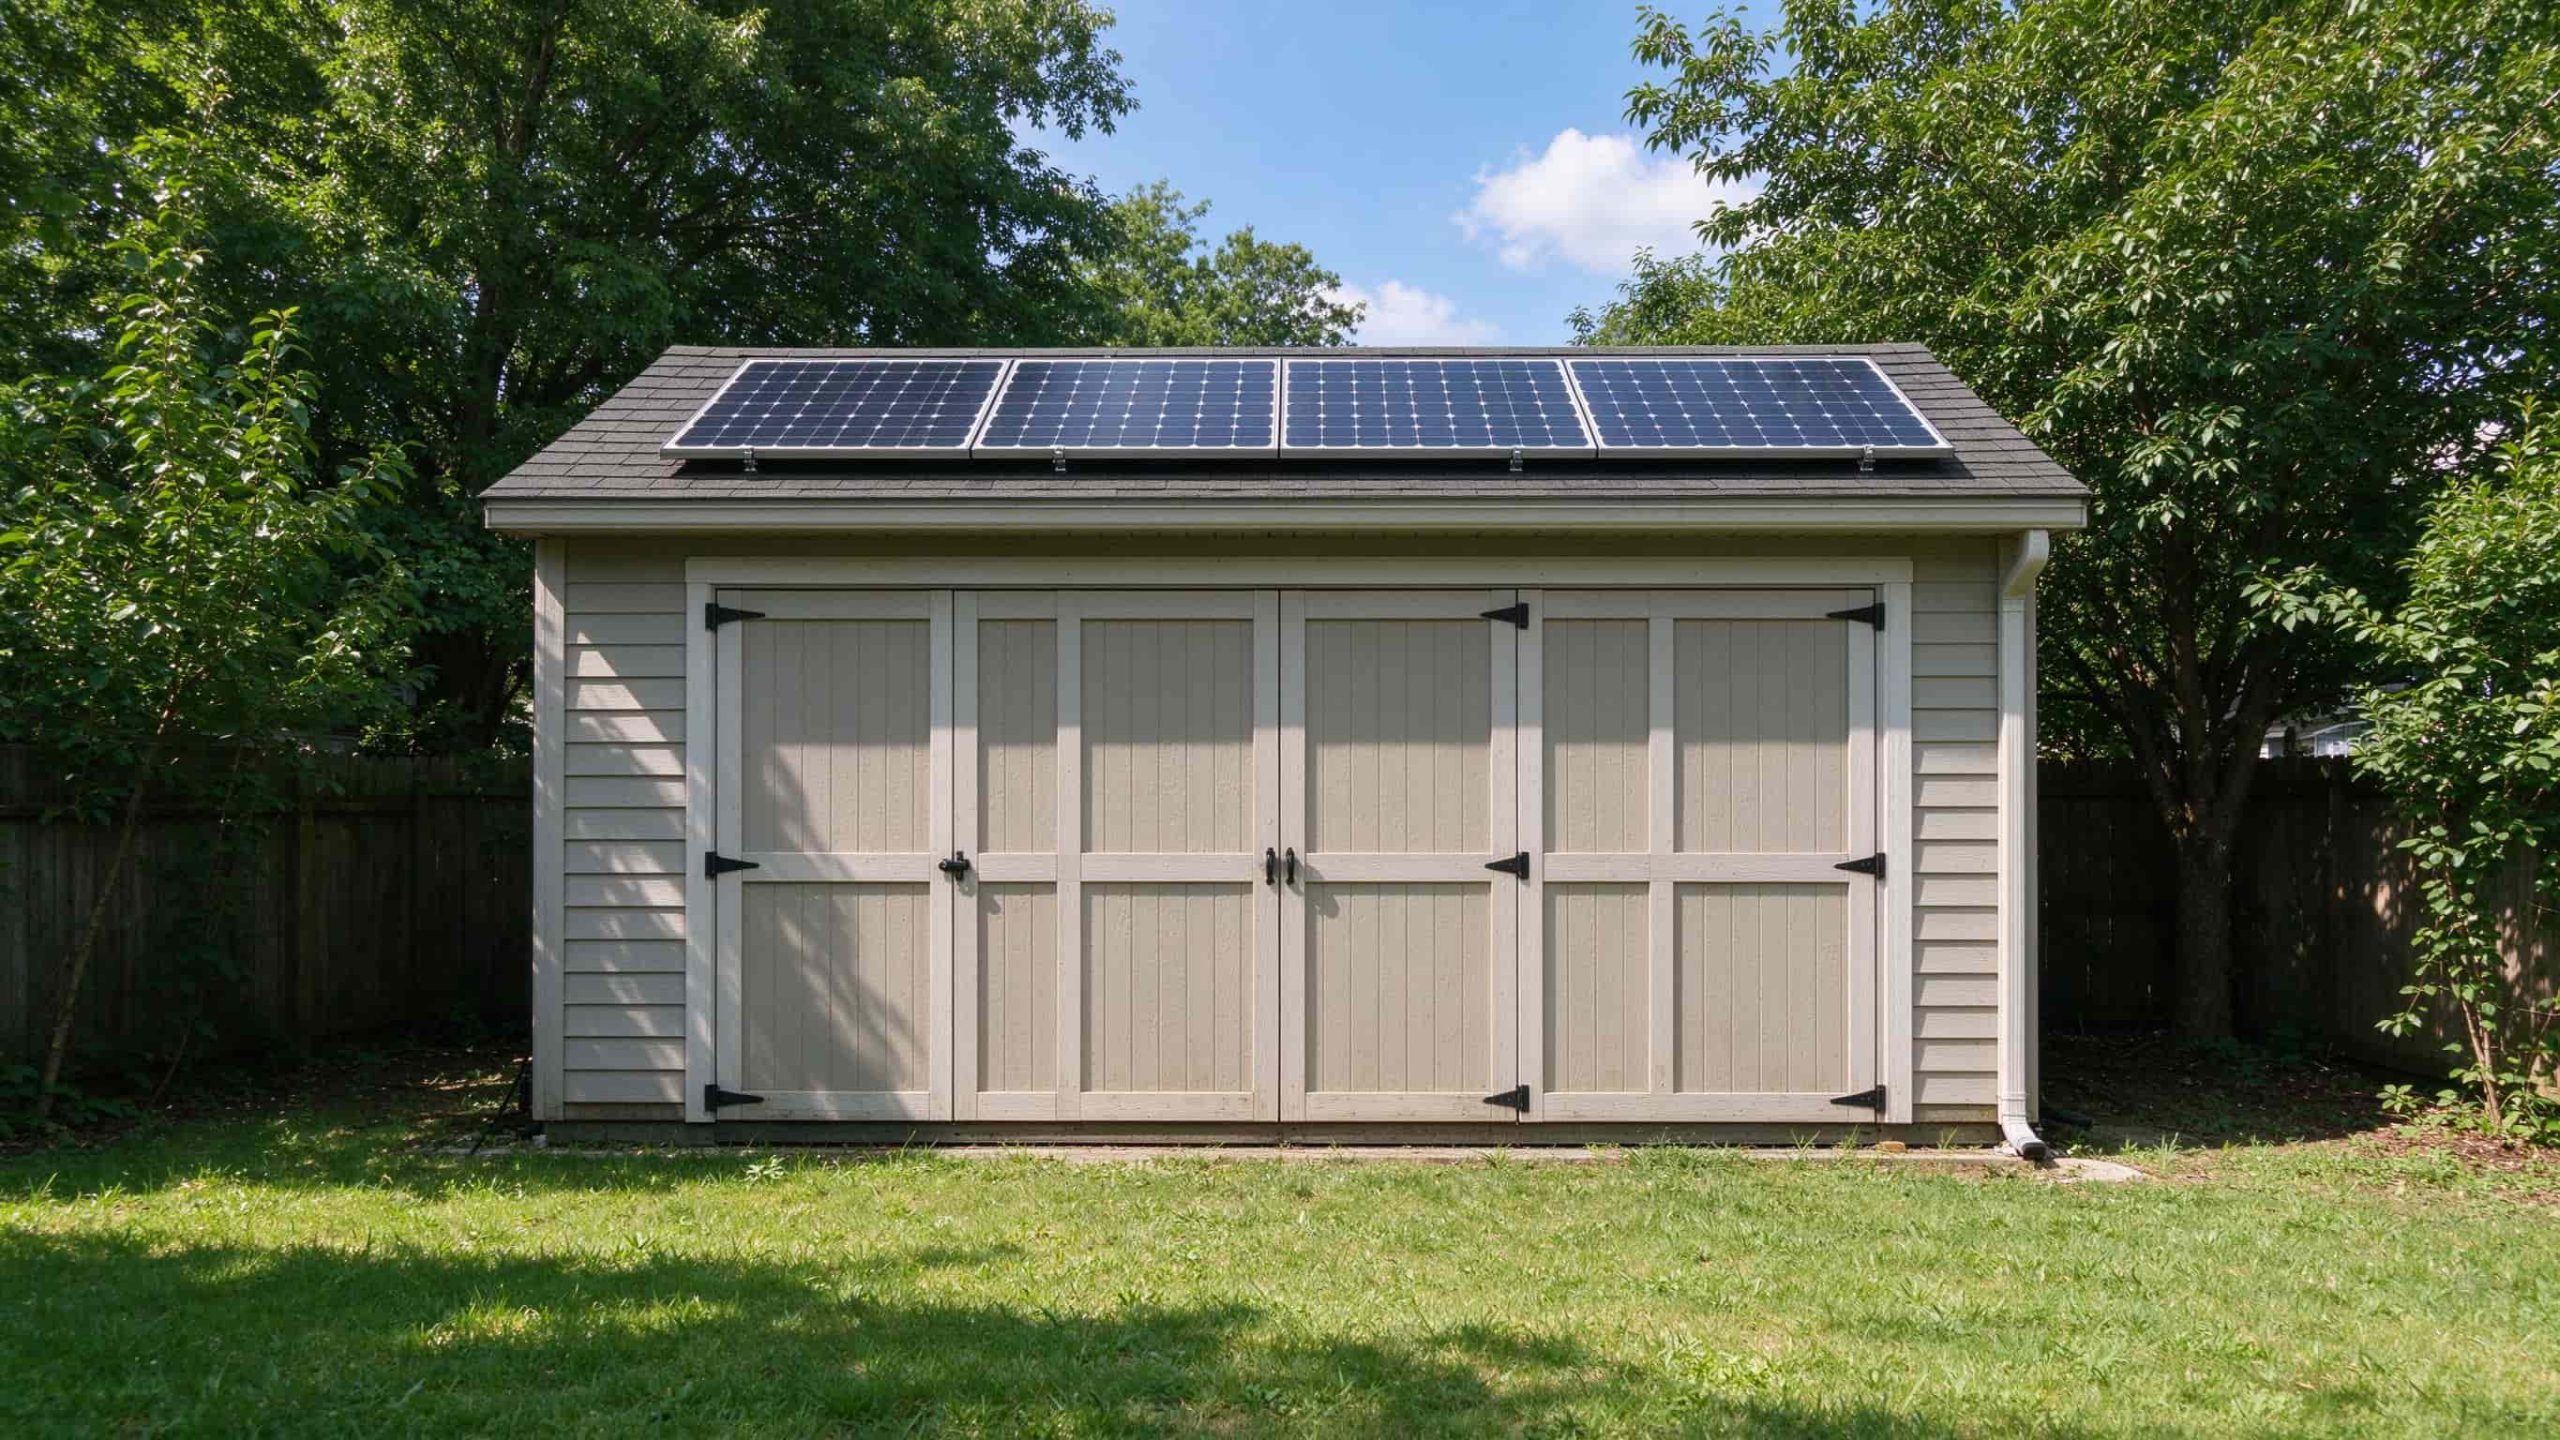
Solar panels for a shed turn a backyard storage building into a working shop with no electrician, no trenching, and no monthly bill. A typical 200 to 400 watt setup runs LED lights, a tool charger, and a small fan all summer. It pays off when the shed is at least 15 meters from the house, when running a grid line would cost more than the panels, or when you simply hate dragging a yellow cord across the lawn. The build depends on three things: how many watts the tools actually pull, how much sun the shed roof gets, and whether you want to run 12V gear or 120V tools.
The Pain of Dragging an Extension Cord Across the Lawn
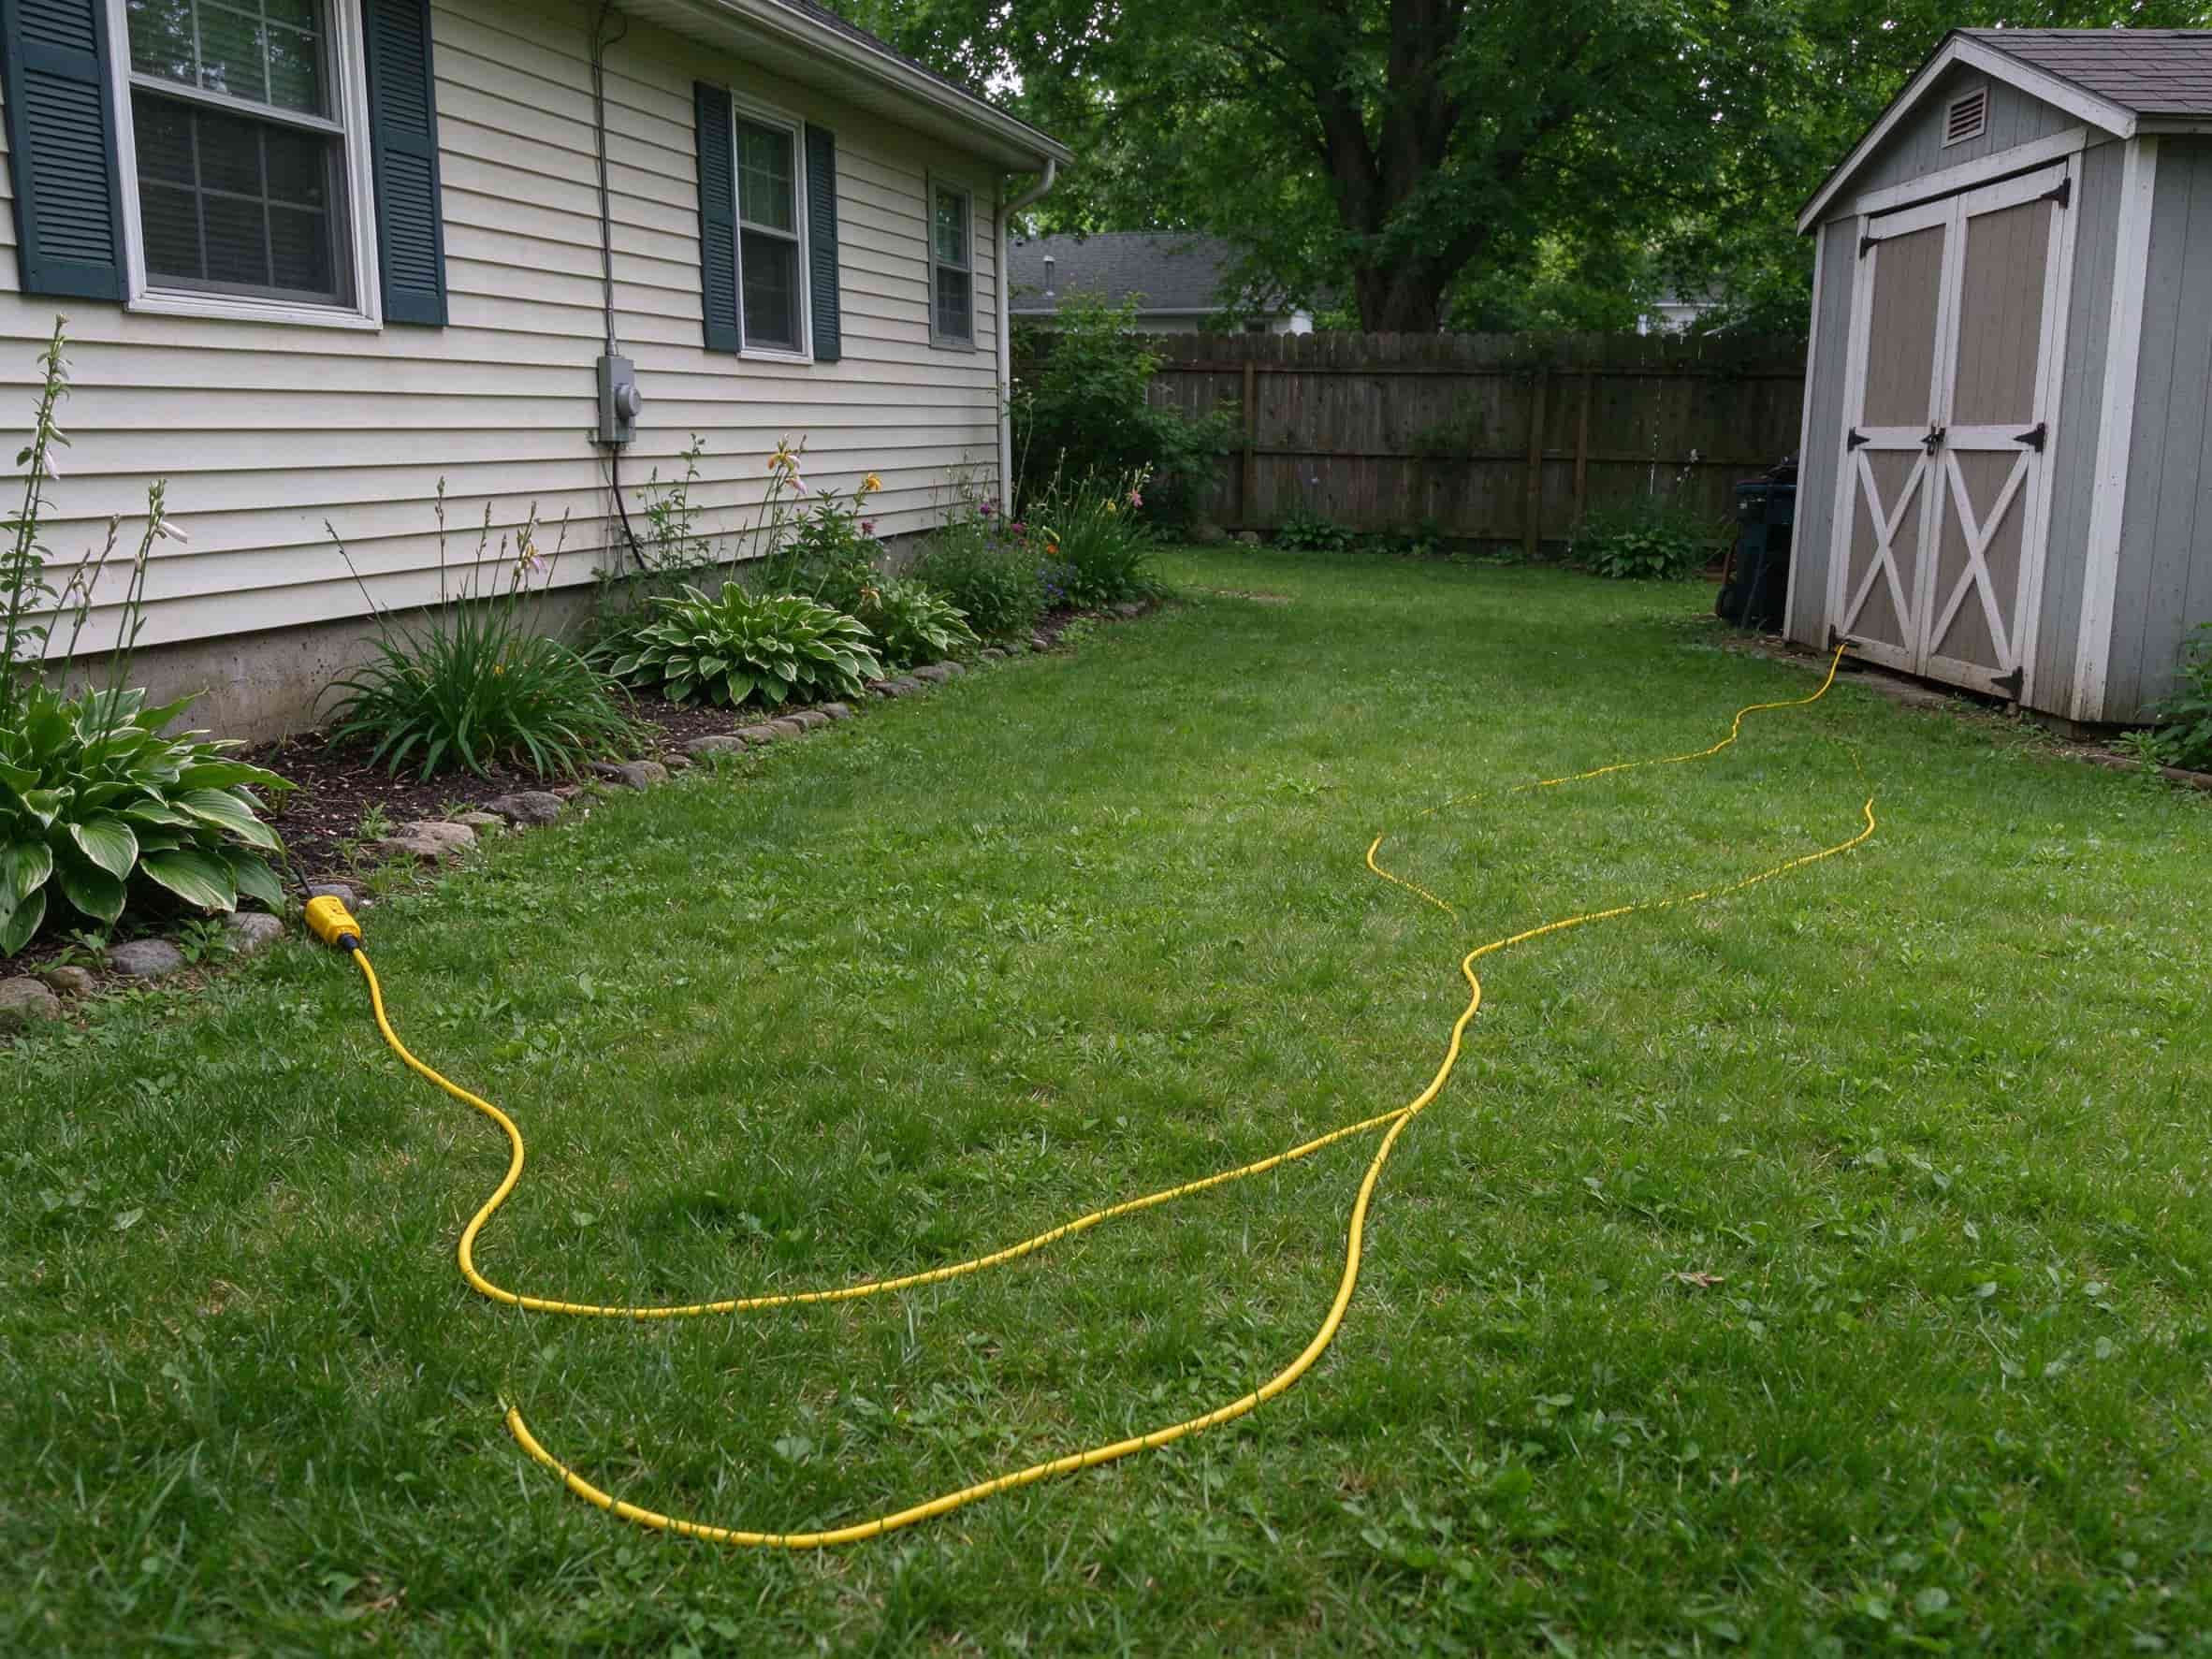
Anyone who has ever run a table saw in the backyard shed knows the drill. You walk out with a 50-foot cord, plug it into the garage outlet, and drag it across the flower bed. The cord lies on the grass all summer. You trip over it. The lawnmower nicks it. A thunderstorm soaks the connections. When you plug in a circular saw, the voltage drops at the end of the run, and the tool bogs down under load. A cord that long is not wiring — it is a resistor. By the time you add a GFCI adapter, a cord reel, and the stress of pulling it in before rain, the workaround costs more than the solar system ever would.
Why a Shed Is Its Own Electrical System
A shed is not the garage. The garage is attached to the house, shares a wall, and already has a circuit. A detached shed sits on a slab 20 meters away. Running proper UF cable in a trench costs more than a small solar kit before you even buy a breaker. The National Electrical Code wants a dedicated circuit, a ground rod, and a disconnect at the shed. Add an electrician at $100 an hour, and the grid tie hits $1,500 fast. Solar sidesteps all of it. The panels bolt to the shed roof. The controller and battery live inside on a shelf. There is no trench, no permit, and no wire to the house. The shed becomes its own little off-grid island, which is exactly what a tools-only load needs.
What a Shed Solar Power Setup Actually Looks Like
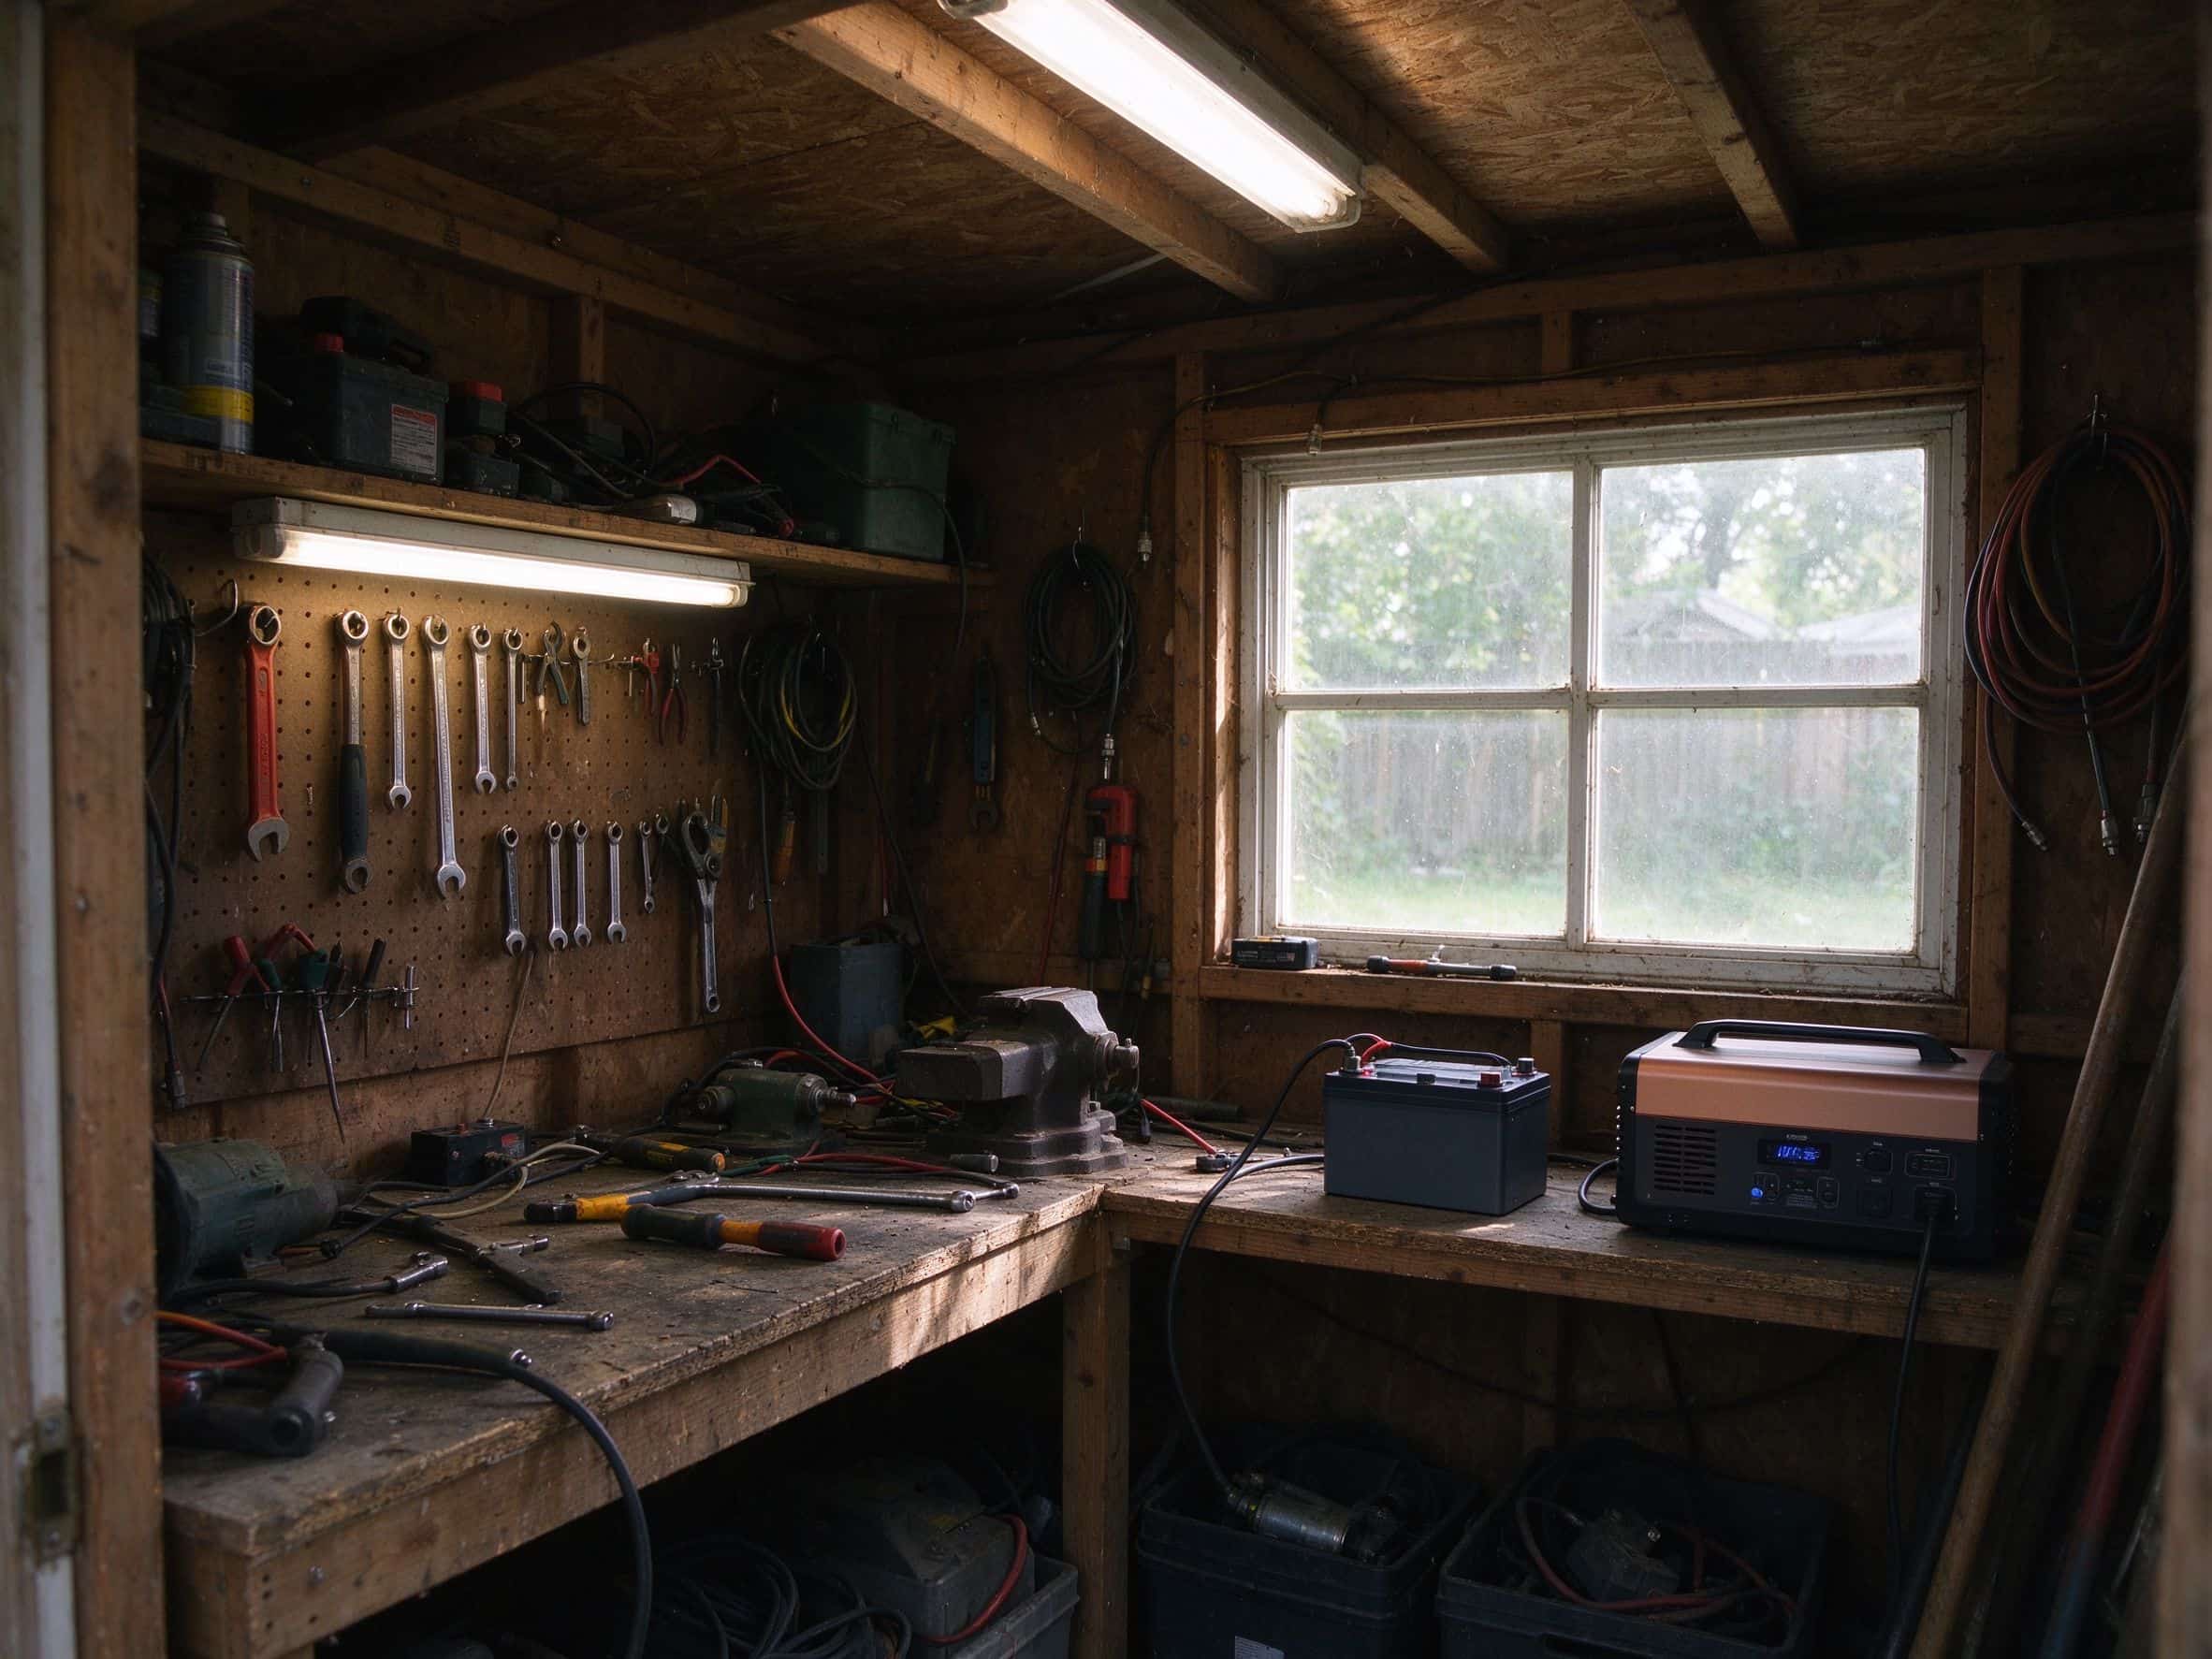
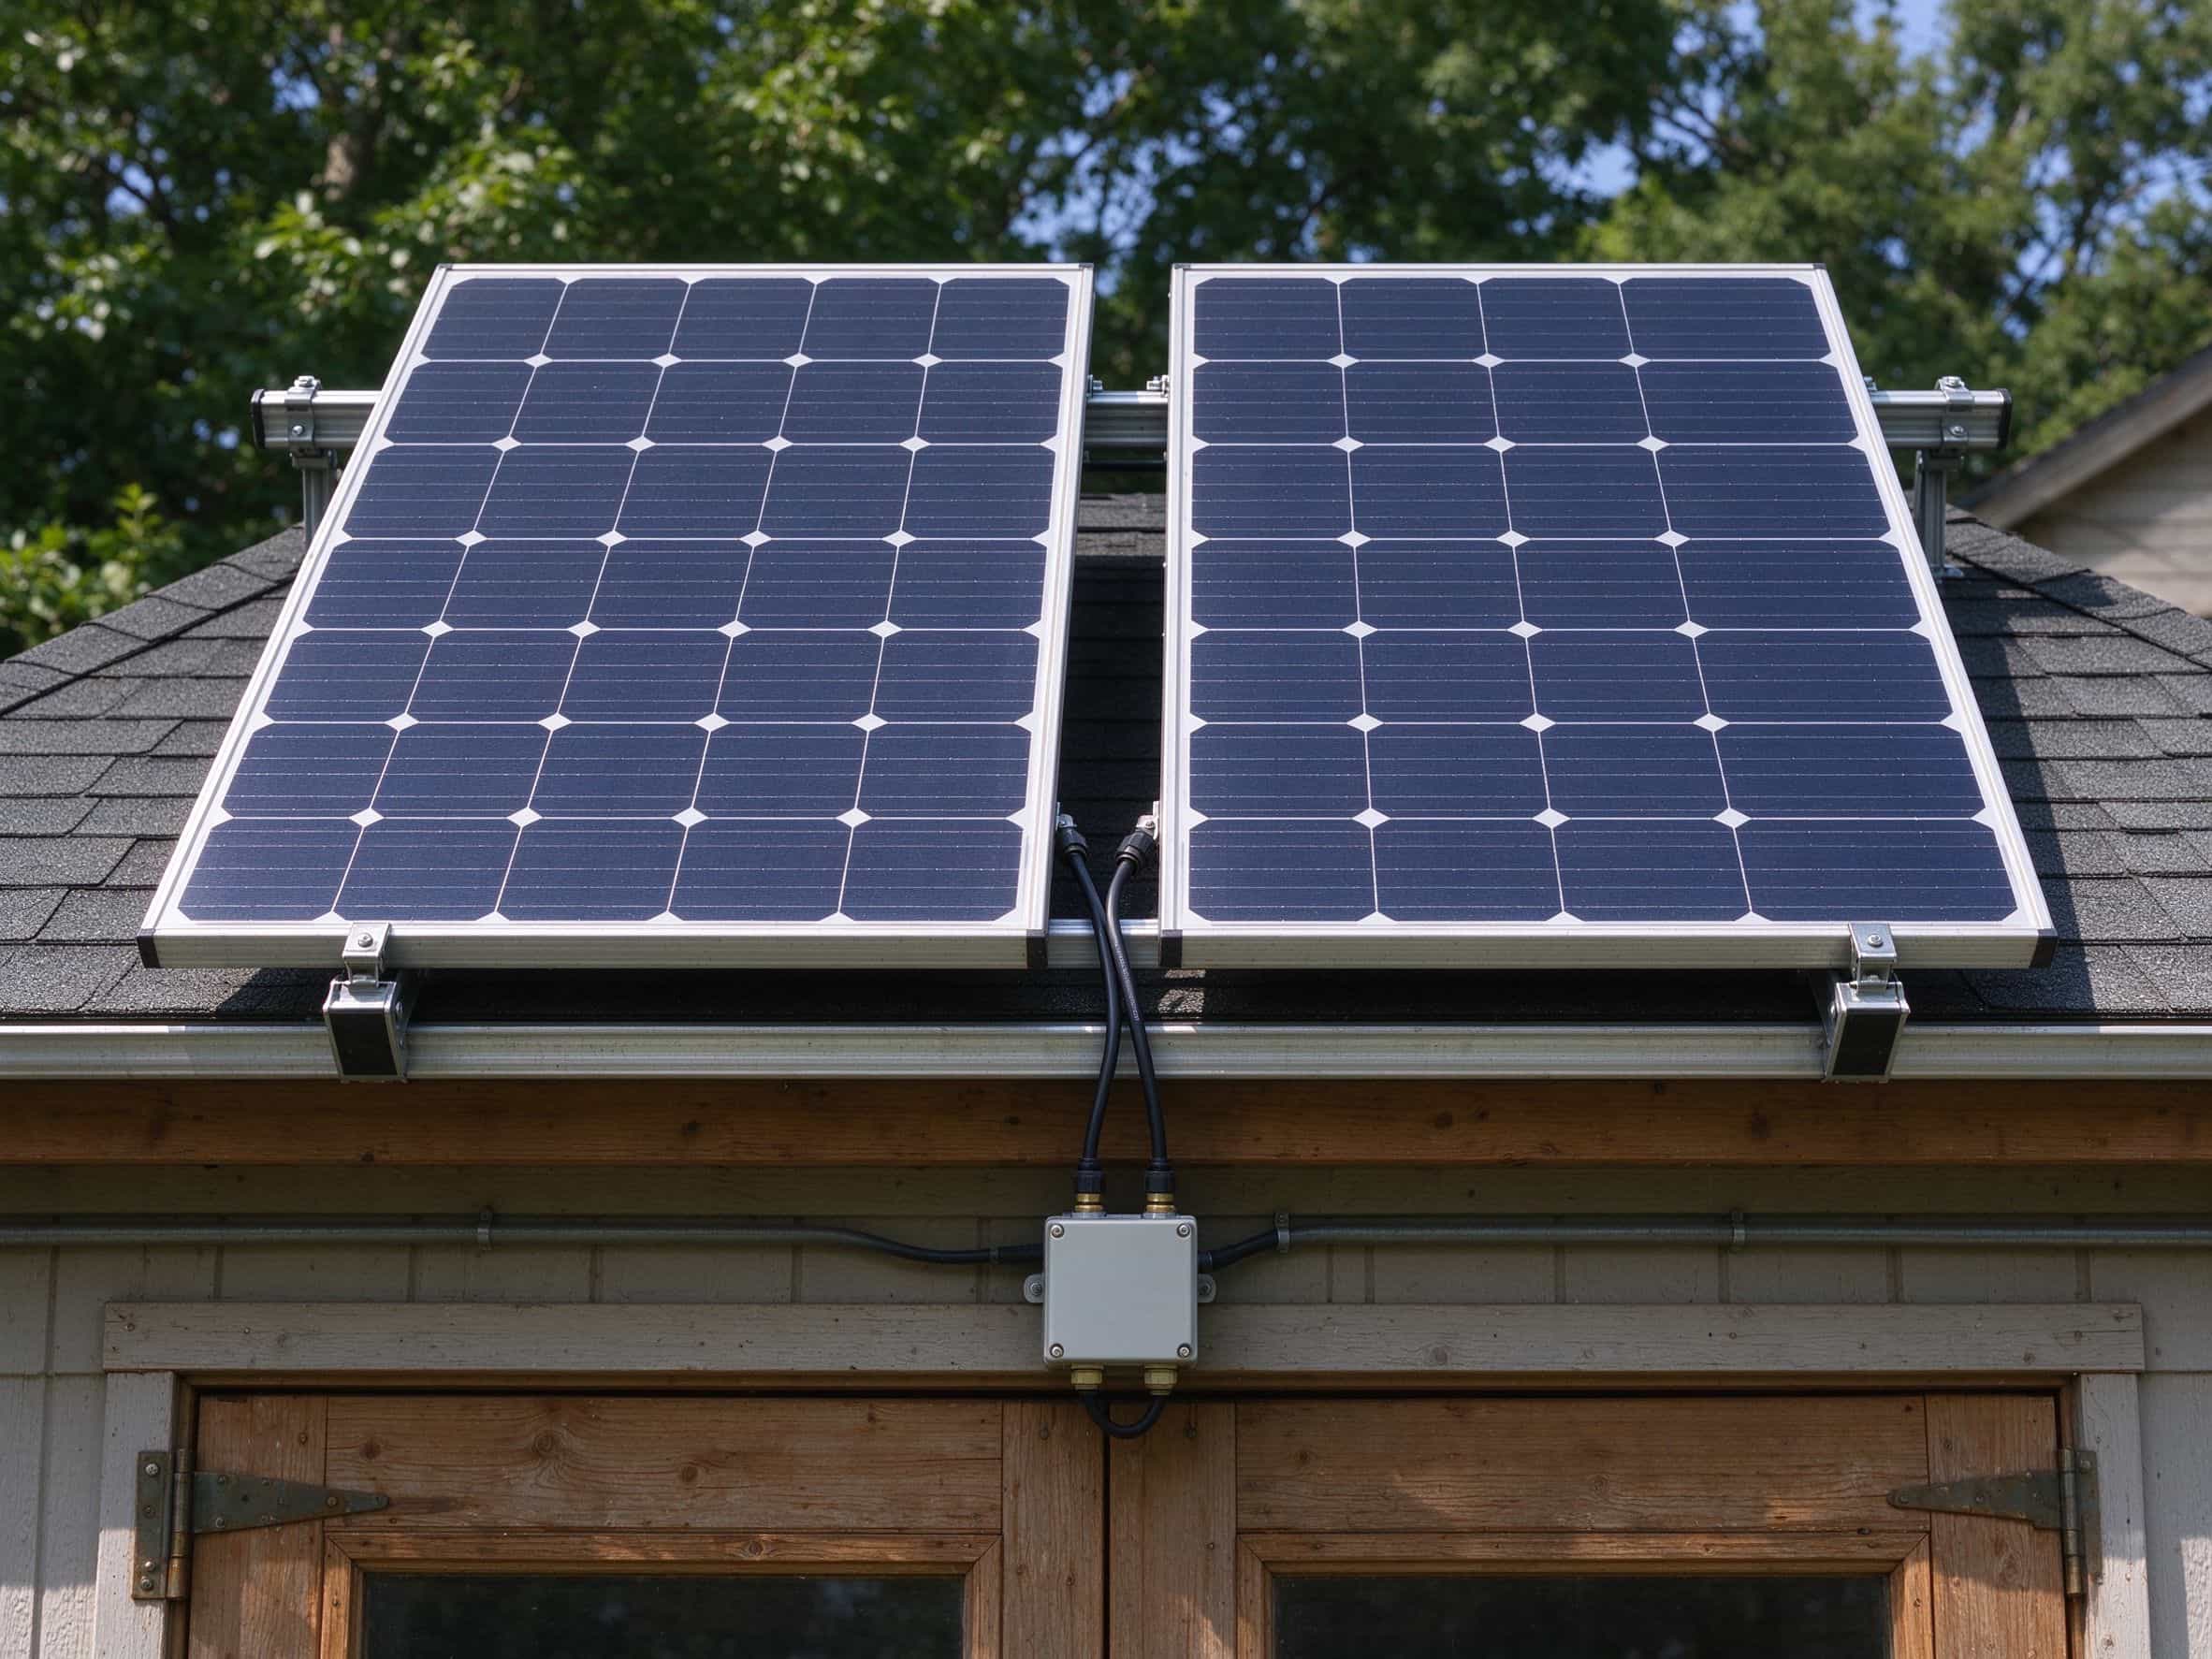
A real shed solar power build has four pieces and no surprises. Two 100 to 200 watt panels bolt to the shed roof. An MPPT charge controller hangs on the inside wall. A 100Ah lithium battery sits on a shelf under the controller. A small inverter feeds a single duplex outlet for 120V tools. That is the whole shopping list. Add a fuse on the battery positive, MC4 connectors between the panels and the controller, and 10-gauge wire for the battery run. Most sheds do not need more than 400 watts of panels, because nobody runs a table saw for eight hours straight.
Panels and Battery Size for a Workshop Shed
Size the system by what you actually plug in. LED lights draw 10 to 20 watts. A cordless tool charger draws 50 to 100 watts for an hour. A small fan draws 20 watts. Add them up, and a typical weekend workshop uses 200 to 400 watt-hours a day. A 100Ah battery holds about 1,200 watt-hours of usable storage, and two 100-watt panels refill it on a sunny day. If you want to run a coffee maker or a small microwave, jump to a 200Ah battery and 400 watts of panels.
Wiring the Shed Panel to the Loads
Wire the battery to the controller first. Then wire the panels to the controller last. Reverse that order, and the controller sees full panel voltage before it has a battery reference, which fries the input. Use the MPPT charge controller on a 12V system with panels over 100 watts, because it recovers 15 to 20 percent more energy than a cheap PWM. Mount the controller on an inside wall out of direct sun. Run the AC outlets through the inverter. Label every circuit before you close the box.
Where Shed Solar Beats Running Grid Power
Solar Panels for Shed Power wins in three specific situations.
- First, the shed is far from the house, and trenching would cost more than the panels.
- Second, you only run lights, chargers, and small tools — not an air compressor or a welder.
- Third, you want the shed to be usable even when the house power is out.
It loses on a shed that already has grid power and runs heavy loads like a table saw for hours every day. In that case, pay the electrician. But for 90 percent of backyard workshops, a solar panel on the shed roof is the cheaper, cleaner, and safer build.
A Solar Panel for Shed Power Ends the Extension Cord
Solar panels for shed power turn the backyard shed from a storage room into a working shop with no cord across the lawn. Start with a load list. Size the battery to two cloudy days of use. Mount two panels on the south-facing slope. Wire the battery first and the panels last. Do that, and the yellow cord that used to trip you on the way out to the shed rolls up in the garage for good. The roof already faces the sun. The tools already need power. The only thing left is to flip the breaker and get back to work.