
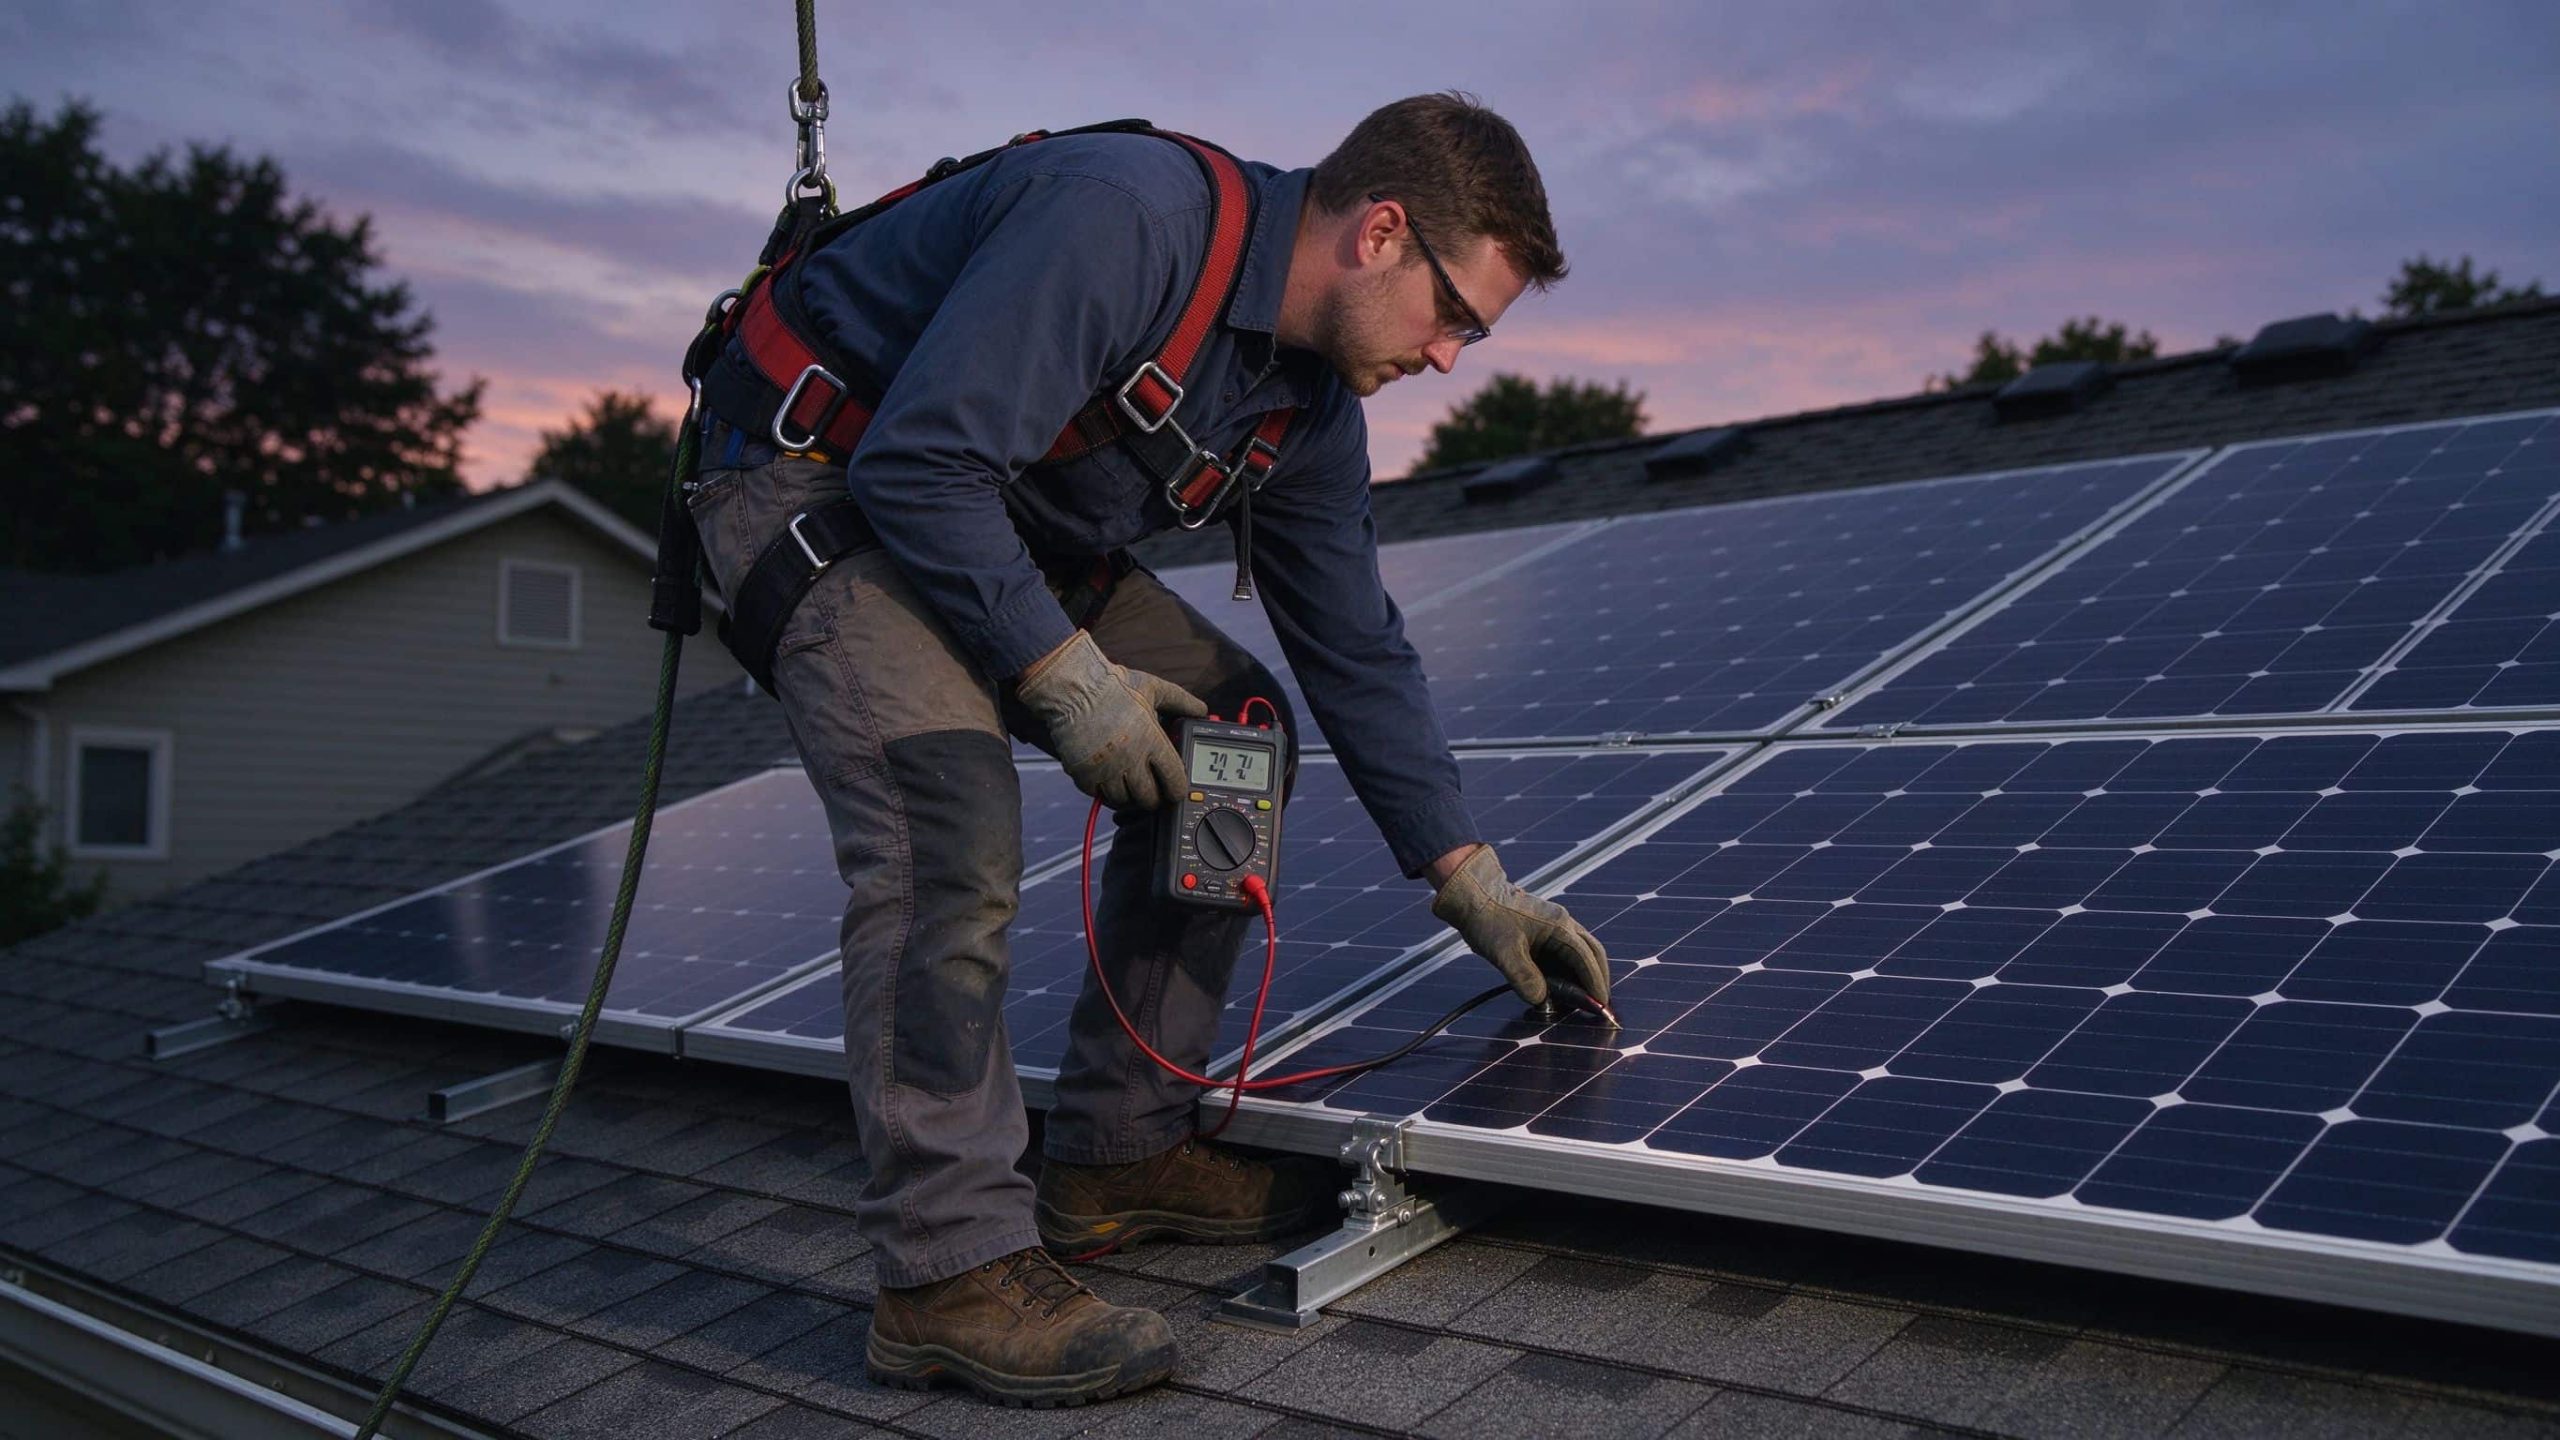
Your inverter is throwing an alarm. The production number on the monitor has dropped 30 percent over the last month. Half the string sits dark in the afternoon. Nine times out of ten, the panels are not fried. A handful of repeat faults cause nearly every service call, and most of them you can spot and fix before you pay a technician for a full diagnostic. The right solar panel maintenance tips narrow the problem from “the array is dead” to “this one string, this one connector, or this one layer of dust.” The fixes fall into three buckets: cleaning, re-terminating connections, and isolating the failed module. Pair that with a portable power station, and you keep the lights on while the array is down.
Common Solar Panel Maintenance Tips That Catch the Fault Early
Before you climb onto the roof, look at the production log on the inverter. A slow, steady decline usually points to soiling or shading. A sudden drop to zero on one string points to a disconnected MC4, a blown fuse, or a failed bypass diode. A scattered patchwork of low-output cells points to cracked glass or hot spots. Run through this solar panel maintenance checklist from the ground up, and you will narrow the cause in ten minutes.
-
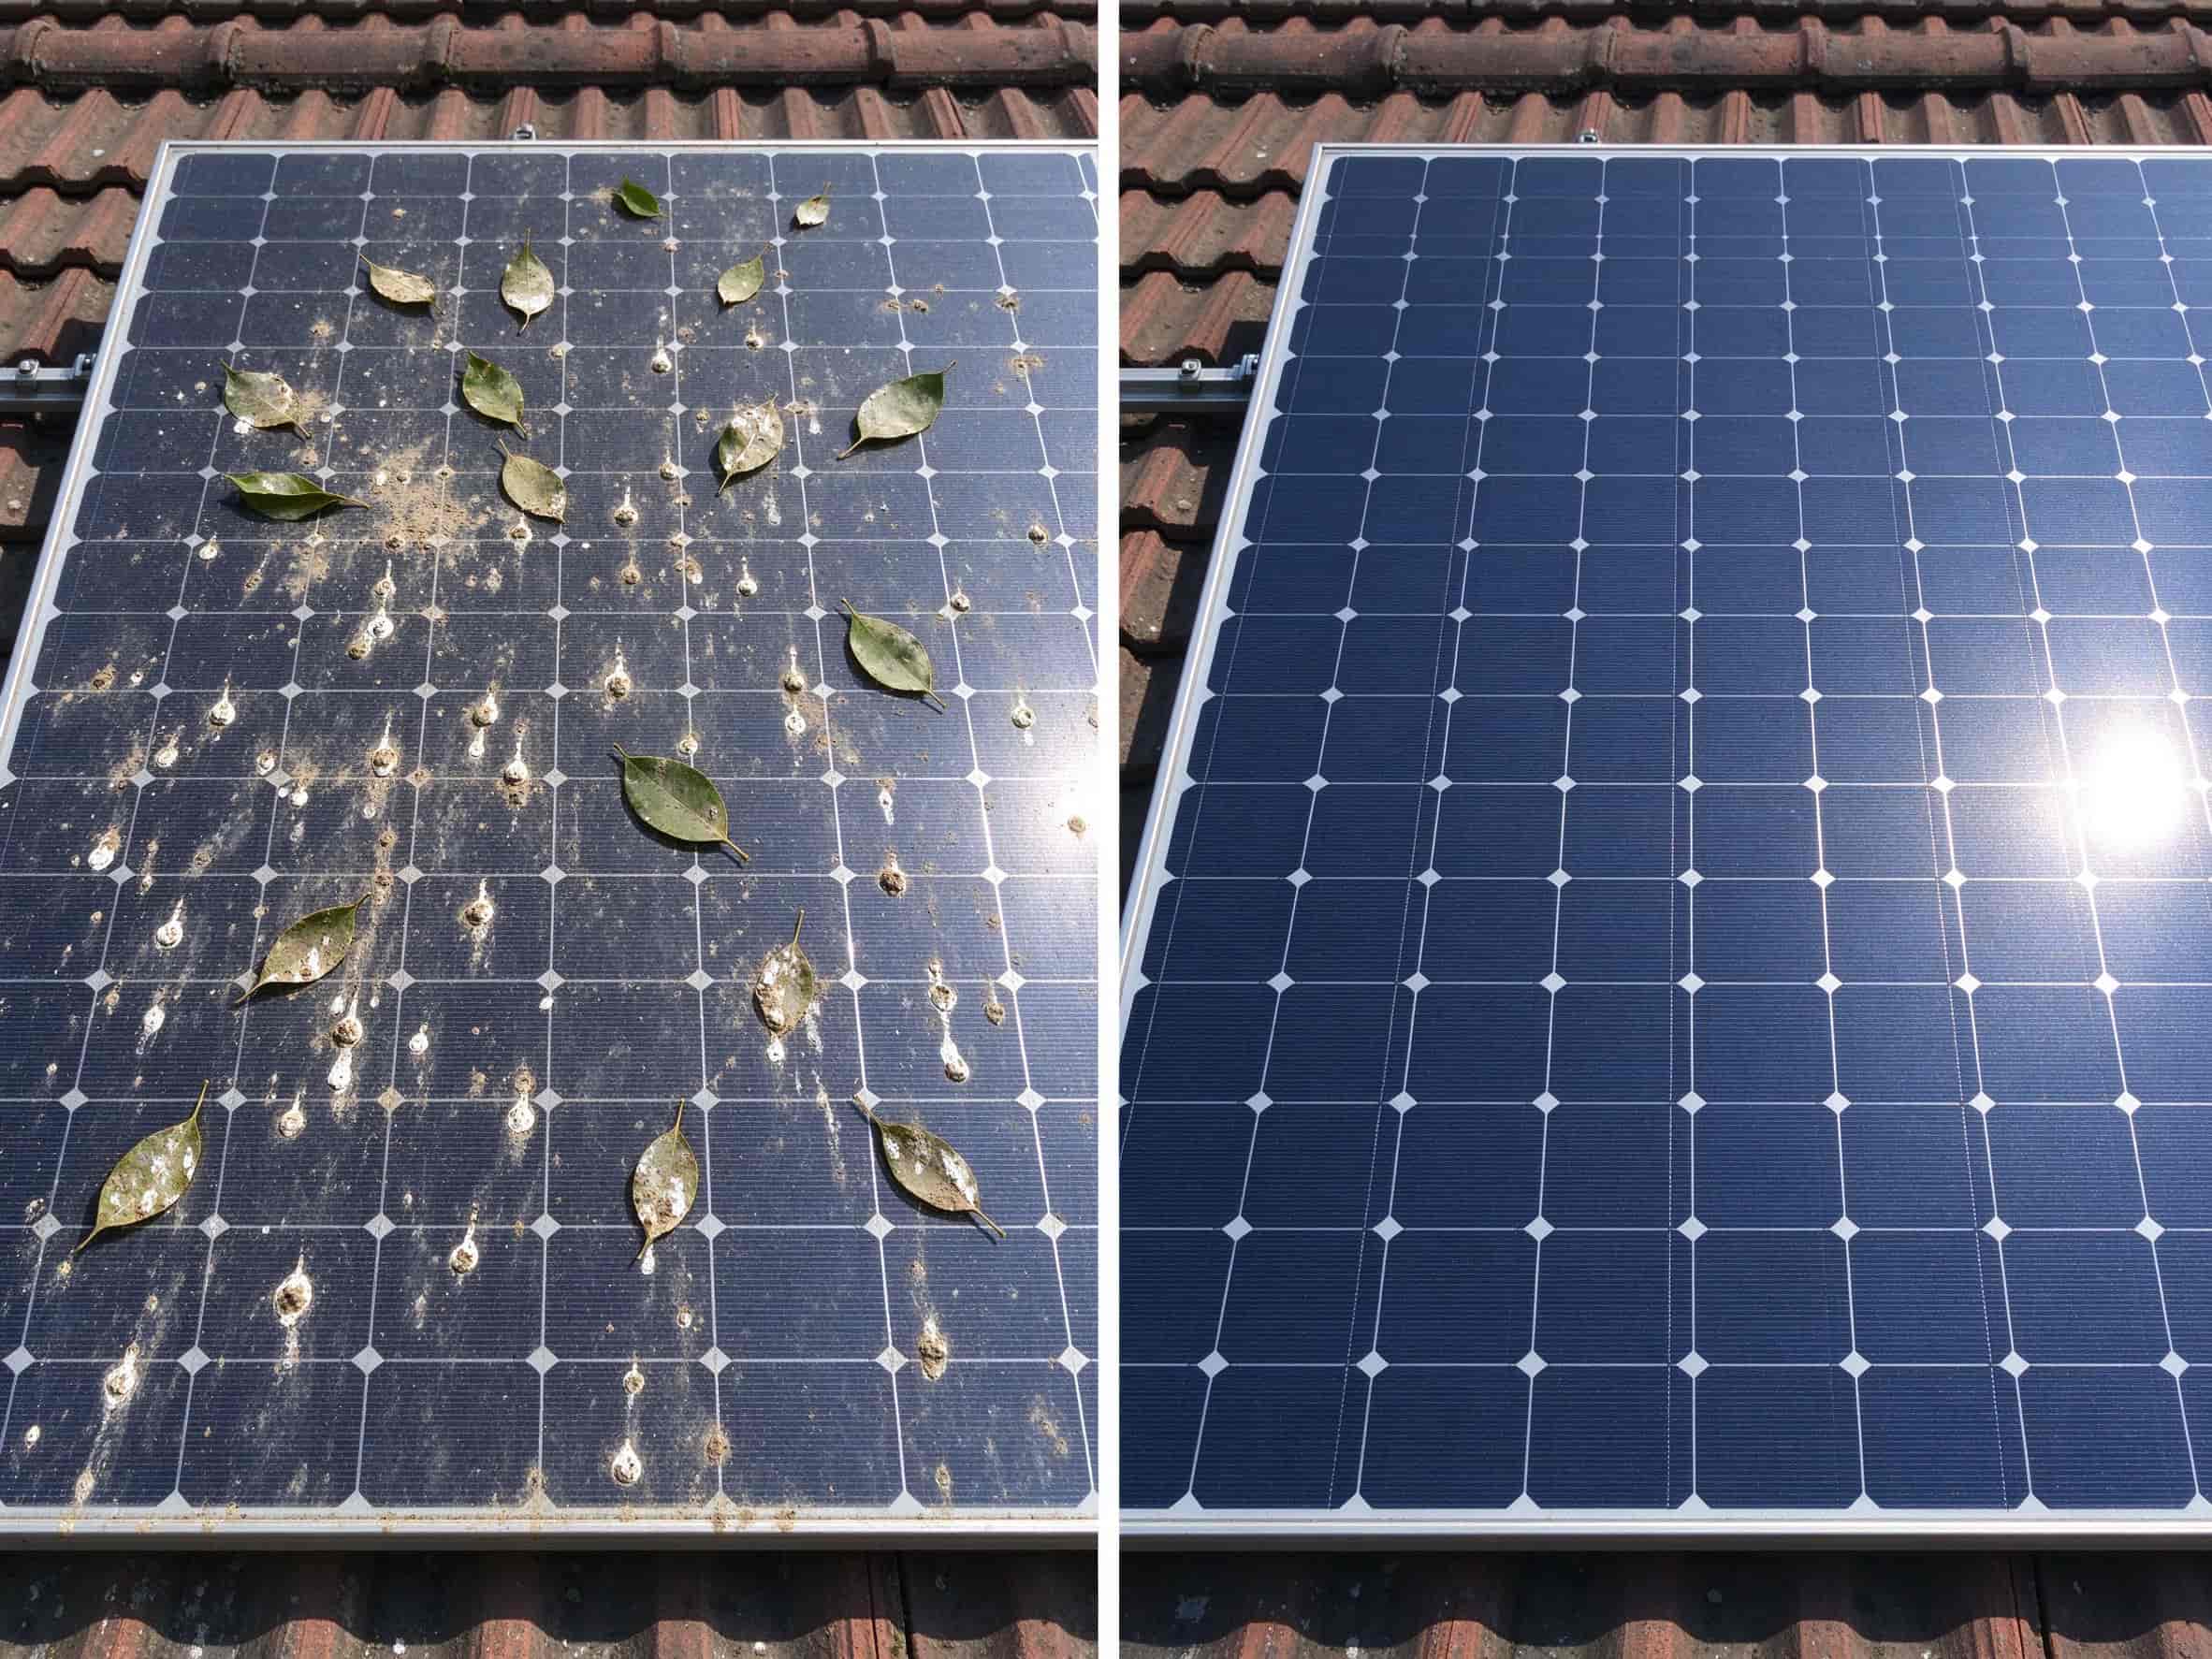
Soiling. Dust, pollen, bird droppings, and leaves cut output by 15 to 25 percent on a dirty array. Compare the output today to the output right after the last rain. If the number jumps after a storm, soiling is your fault.
-
Shading. A new tree limb, a neighbor’s addition, or a construction tarp throws a shaded panel into reverse bias. That hot spot can scorch the backsheet in weeks.
-
Moisture ingress. A junction box that was not sealed after the last repair lets condensation in. The backsheet turns brown or bubbly where water pooled.
-
Micro-cracks. Hail, foot traffic, or poor racking cracks the cells under the glass. You see a dark “finger” running across the cell at the right angle of the sun.
-
Connector drift. An MC4 that was crimped by hand rather than with the tool loses contact in the second season. The string reads open circuit on a multimeter.
How to Troubleshoot Photovoltaic Panel Faults Step by Step
Once you have narrowed the symptom, work the circuit in a fixed order. Start on the DC side with the array still hot from the morning sun. Wait until two hours after sunrise and stop by two hours before sunset, so the panel temperature is stable and the irradiance is above 600 W per square meter. Use a clamp meter and a multimeter rated for the open-circuit voltage of the string, plus a Class 2 arc-flash rated tool if you work on commercial arrays. Follow these photovoltaic maintenance tips in order. Skipping ahead usually means you re-measure the same panel twice.
Solar Panel Maintenance Tips: Read the Open-Circuit Voltage on Each String
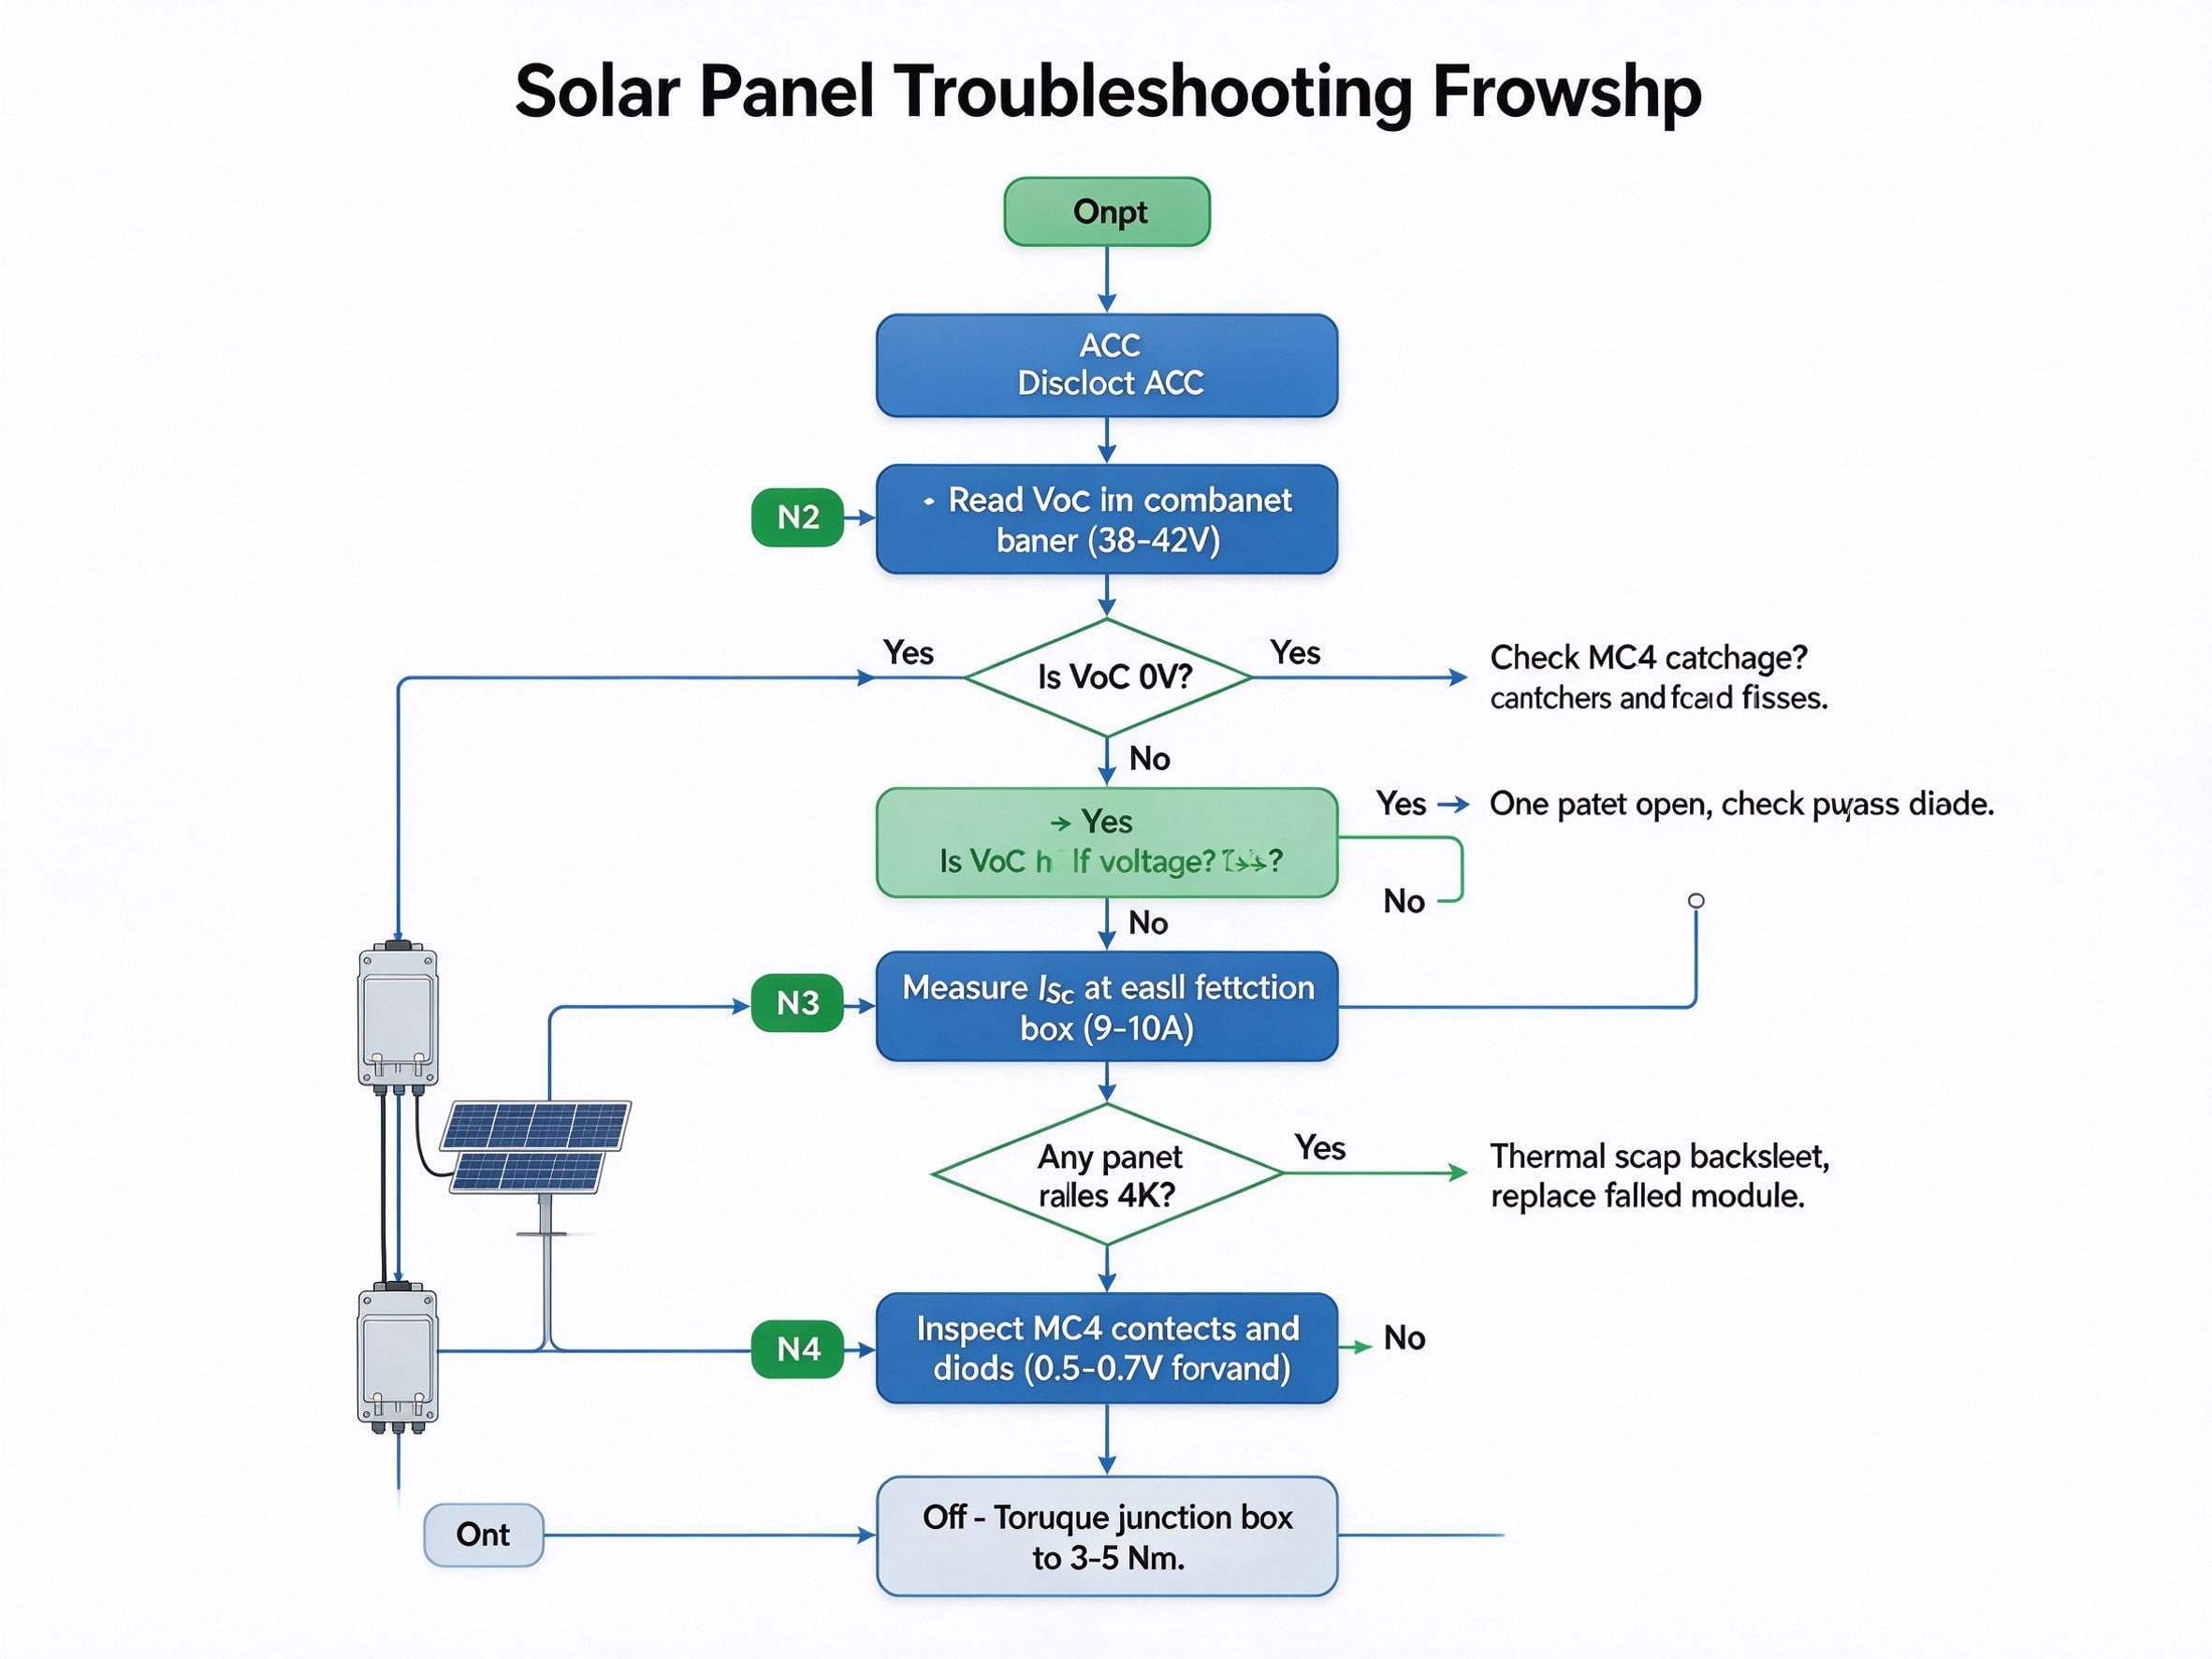
Disconnect the AC side first. Then throw the DC disconnect and read the Voc at the combiner with the array still illuminated. A healthy 60-cell string reads around 38 to 42 volts at 25°C. Add roughly 0.3 volts per panel for every 10 degrees below STC, because Voc rises as the cells cool. A string that reads 0 volts is open somewhere downstream. A string that reads half voltage means one panel in the string has failed open, and its bypass diode is carrying the rest. That reads 5 volts low across the board usually means the irradiance dropped while you measured. Take a second reading ten minutes later before you call the string faulty. Compare each string against its neighbors on the same roof plane. Strings on the same irradiance should match within 2 percent. A 5 percent gap flags a partial fault worth chasing.
Trace the Short-Circuit Current to the Weak Module
Reconnect the DC side and measure the operating current at the combiner with a clamp meter. Then move down to each panel junction box and read the Isc at the output leads. The weak link shows up as a panel that produces a fraction of the expected Isc. A healthy 60-cell panel at STC puts out around 9 to 10 amps. A panel that reads 4 amps under full sun has either a cracked cell, a shaded substring, or a failed bypass diode. Swap in a known-good panel if you have one.
If the string wakes up, the suspect module is dead and needs to be replaced under warranty. For a faster screen, run a thermal camera over the backsheet at midday. A failed bypass diode lights up as a hot spot 15 to 25 degrees above the neighboring cells.
Inspect the MC4 Connectors and Bypass Diodes
Never pull an MC4 apart by the wire. Use the release tool matched to the connector series. Inspect the metal pins for green oxidation, heat marks, or pulled crimps. A pin that has been pulled away from the copper strand leaves a thin black ring where heat built up. Crimp a new set with the proper crimp tool. Hand-crimped pins look fine but fail by the second year. Once the connectors are apart, check the bypass diodes inside the junction box with a multimeter in diode mode. A good diode reads around 0.5 to 0.7 volts in forward bias and open circuit in reverse. A diode that reads zero both ways is shorted. A diode that reads open both ways has failed open.
Solar Panel Maintenance With a Portable Power Station While the Array Is Down
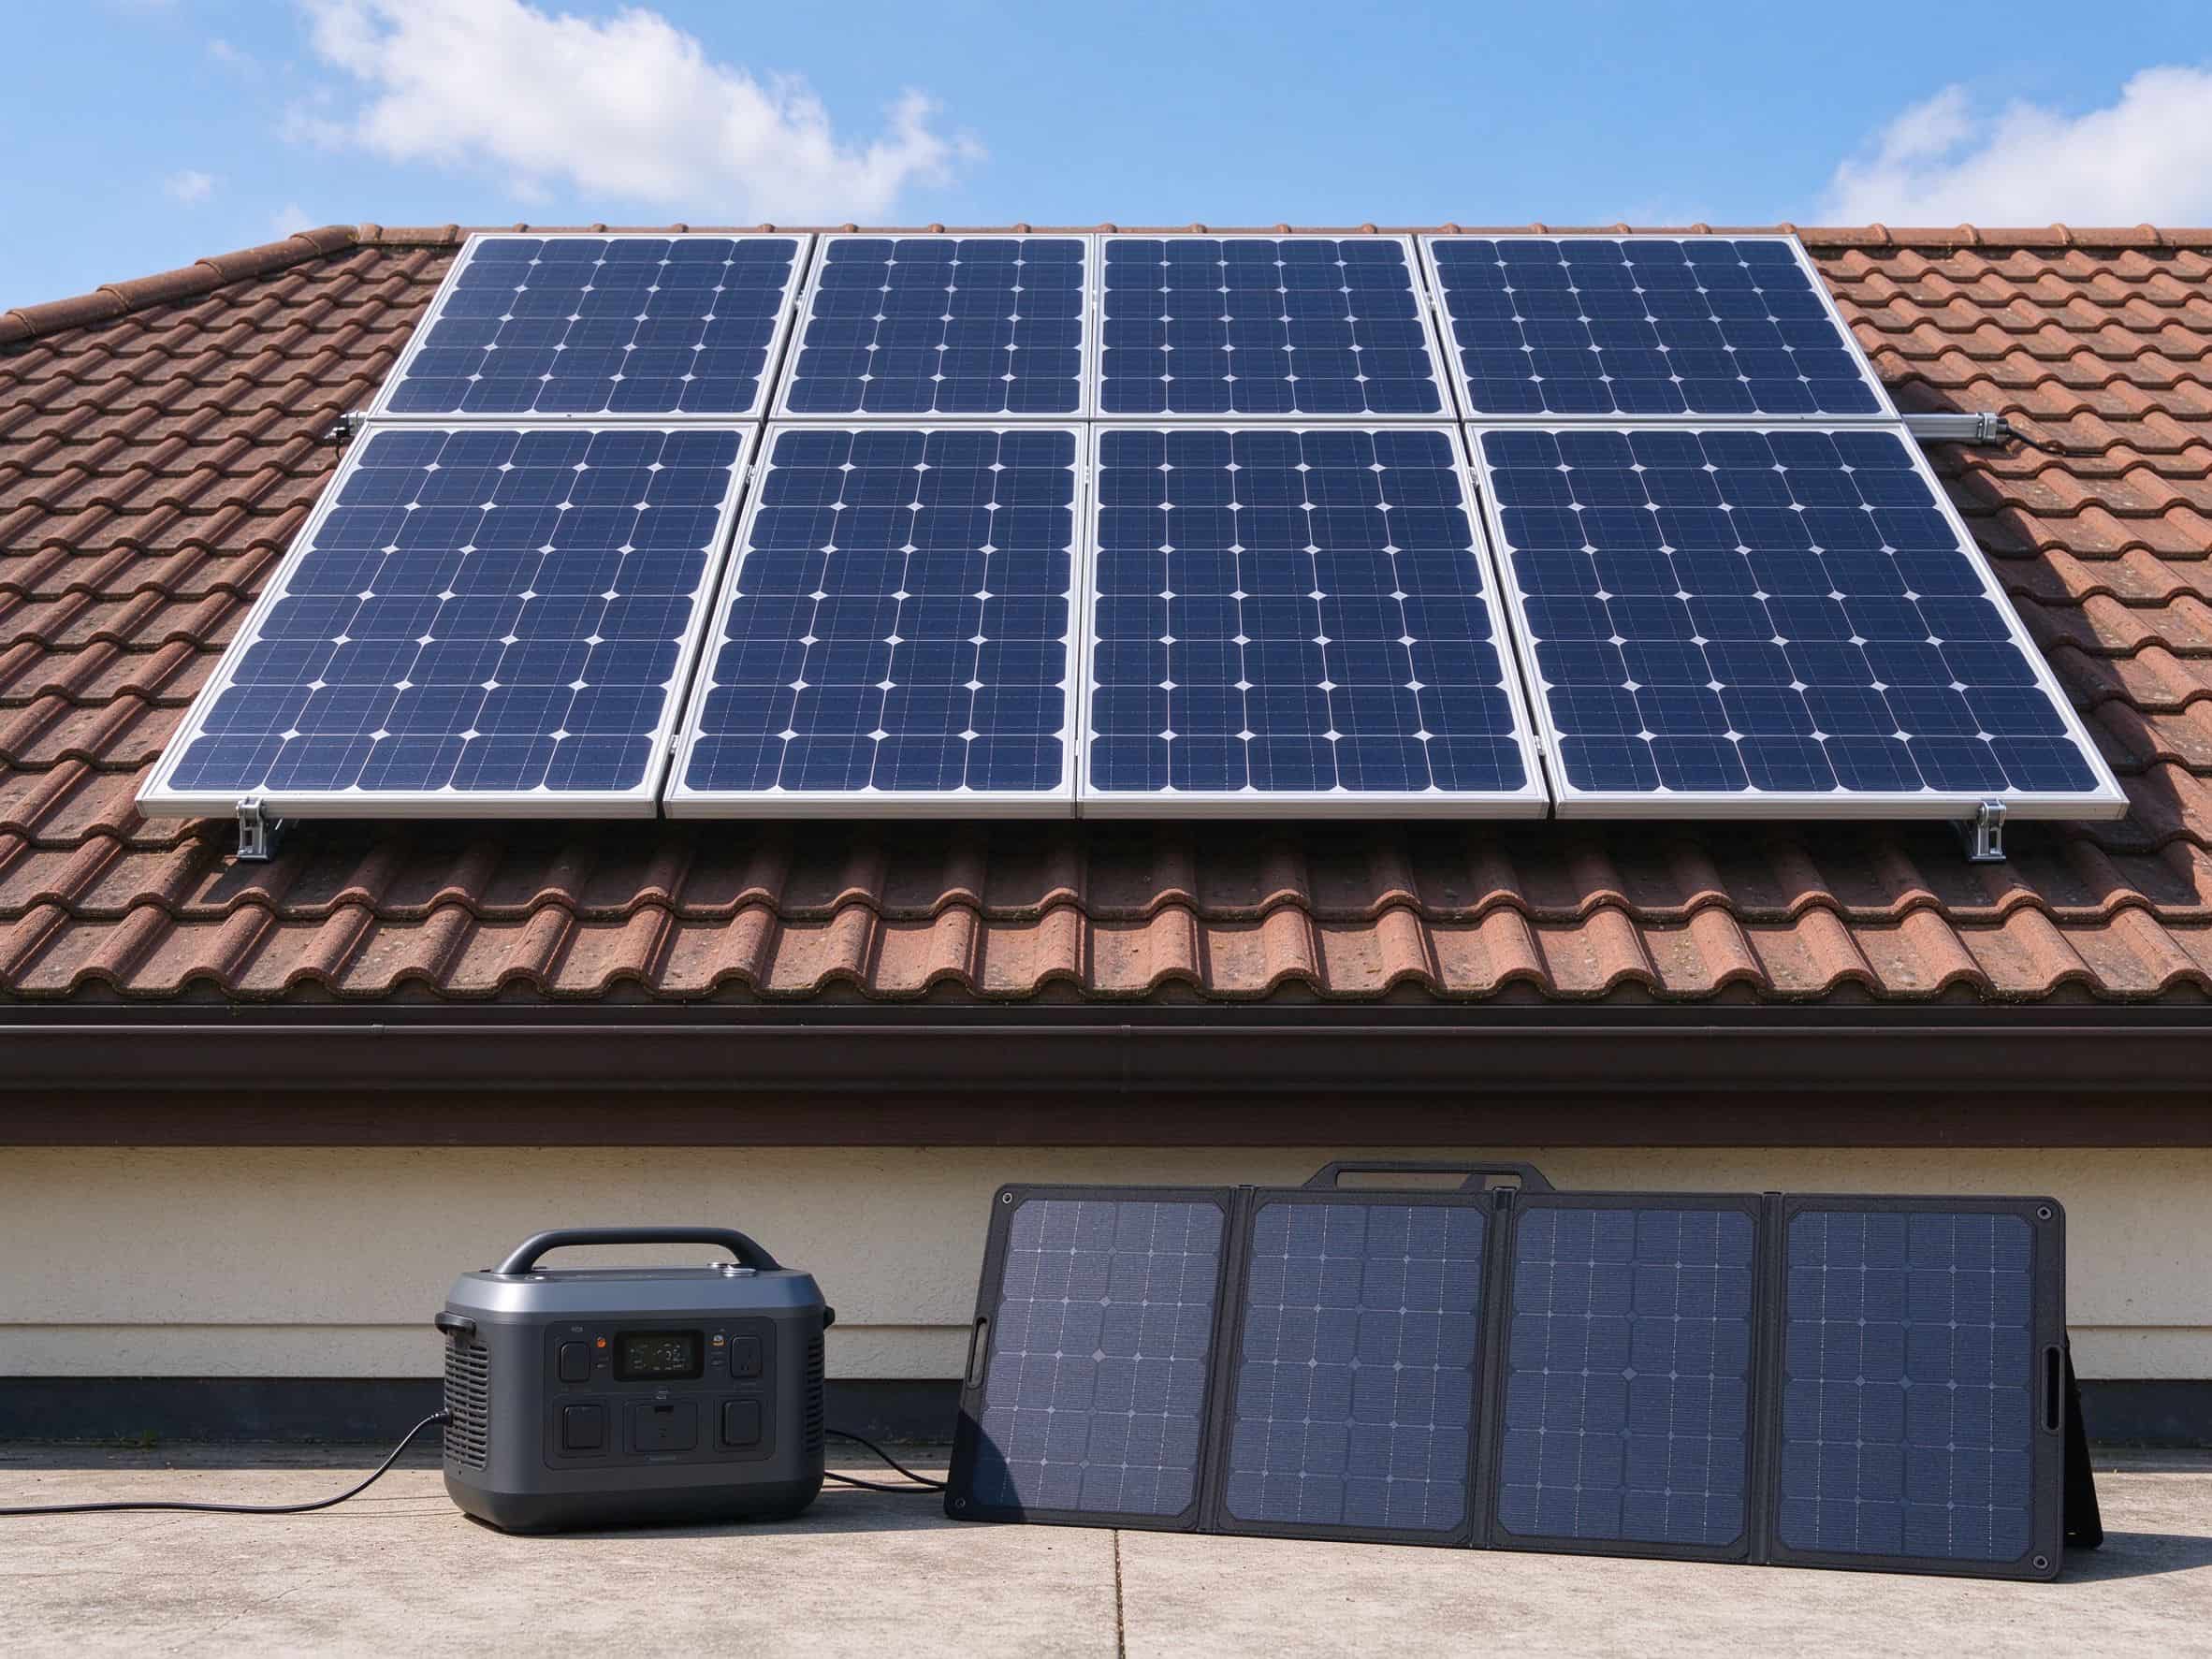
A roof repair takes the array offline for an afternoon, sometimes longer. For a grid-tied house, that gap is a nuisance. For an off-grid cabin or a home office, it is a problem. That is where a portable station earns its keep. Charge the station from a folding panel the weekend before the repair, and the fridge, modem, and laptop keep running while the technician is on the roof. The same station also powers the drill, the clamp meter, and the laptop that logs inverter data before and after the job, so you are not running extension cords from the neighbor’s garage.
Pick a unit with a pure sine wave AC output and a solar input rated for the panel voltage you already own. The solar power battery box fits that bill. Think of it as a backup layer in your solar panel care recommendations checklist rather than a separate camping gadget.
Extend Panel Life With a Solar Panel Upkeep Routine
Most Tier 1 panels come with a 25-year linear performance warranty that caps degradation at about 0.5 percent per year, and a 2018 NREL study of 3,000 systems found the real median degradation lands right around 0.5 percent annually. You hold that line with a simple annual routine. Clean the panels twice a year with deionized water and a soft brush. Never use a squeegee or a pressure washer, because water above 1,000 psi delaminates the anti-reflective coating and voids most manufacturer warranties. Inspect the racking bolts after every storm. Tighten the grounding lugs to the torque printed on the racking spec sheet.
Read the inverter log once a month and flag any string that drops more than 5 percent from its peers. The 5 percent threshold comes from the NREL PVWatts tolerance bands, not from a guess. Keep a spare MC4 crimp set, a tube of dielectric grease, and a can of contact cleaner in the shed.Field service data collected by the National Renewable Energy Laboratory puts soiling losses at between 2 and 5 percent in wet climates and up to 25 percent in dusty, dry regions. That gap is why the twice-yearly clean pays for itself. Where a 2021 study in Solar Energy journal found roughly half of all “panel faults” actually originate.
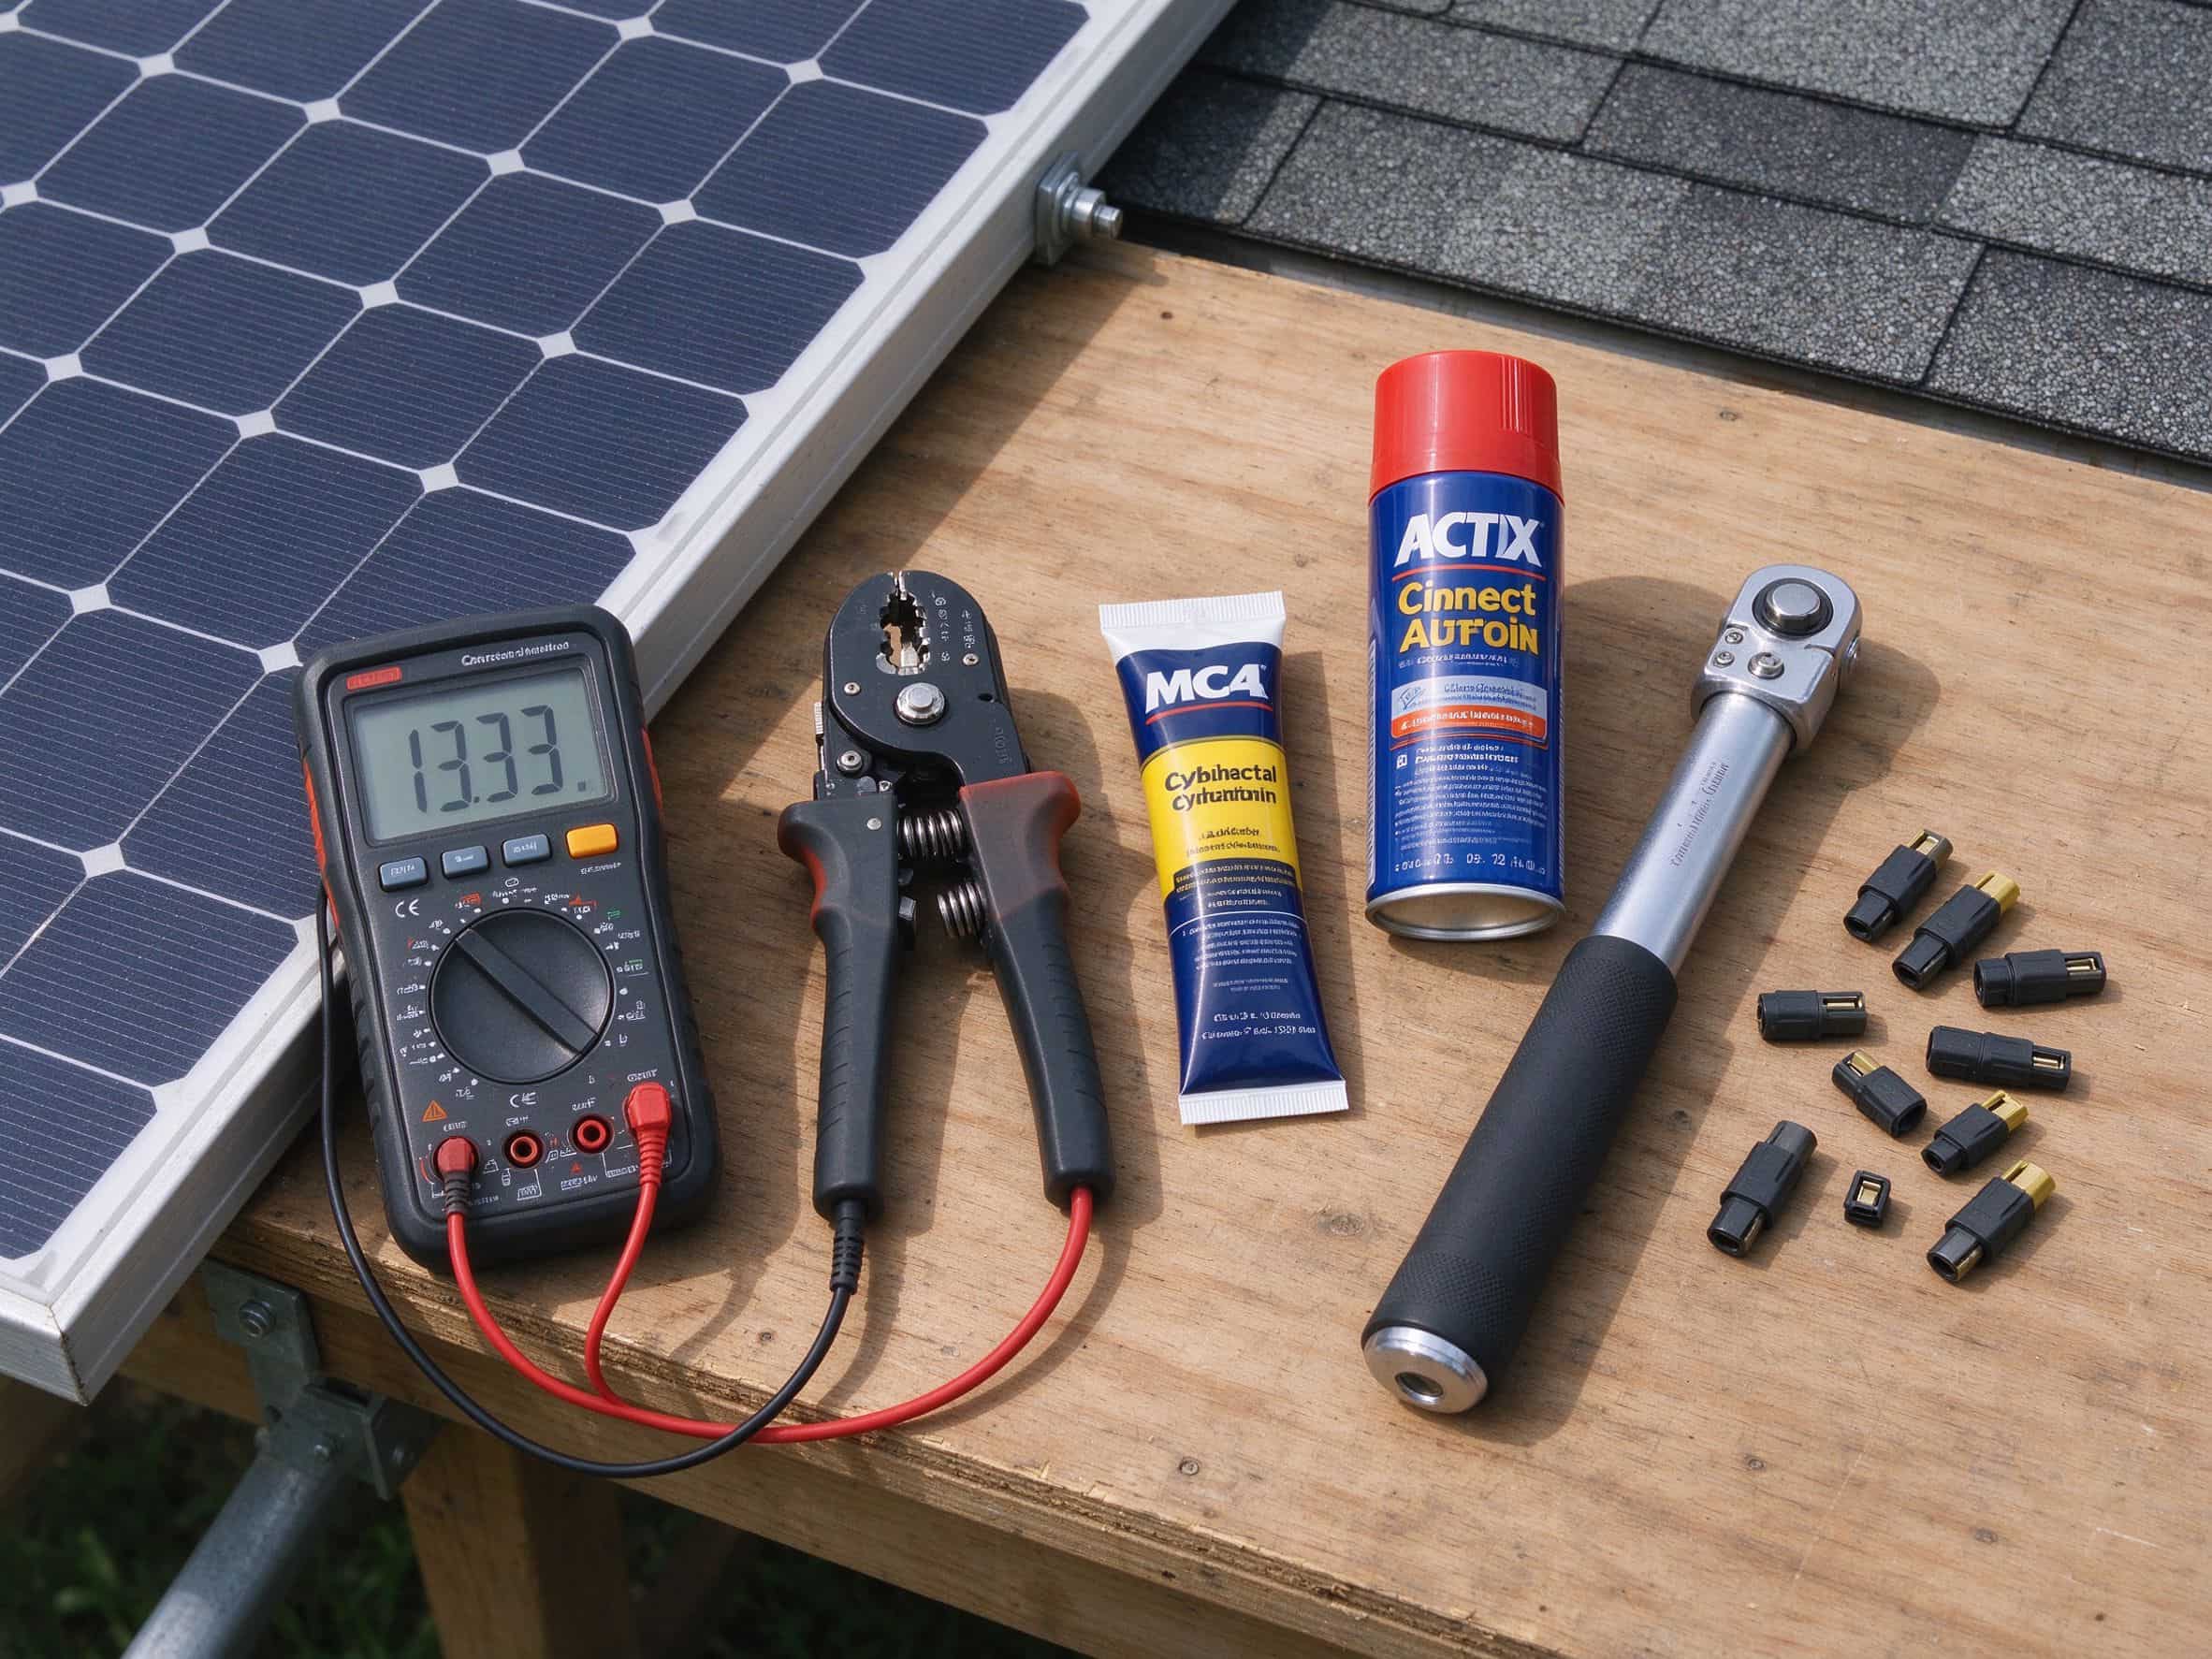
Good Solar Panel Care Actually Looks Like
Solar panel maintenance tips collapse into three moves once you stop panicking. First, read the production log. A slow decline means soiling. A sudden drop on one string means an open circuit. A patchy output means a cracked cell or a shaded substring. Second, work the circuit with a multimeter. Measure Voc at the combiner, then Isc at each junction box, then the bypass diode in diode mode. Third, clean what is dirty, re-crimp what is loose, and replace what is open. Keep a portable station charged so the house stays live while you are on the roof. Do those three moves in order, and most service calls never happen.