
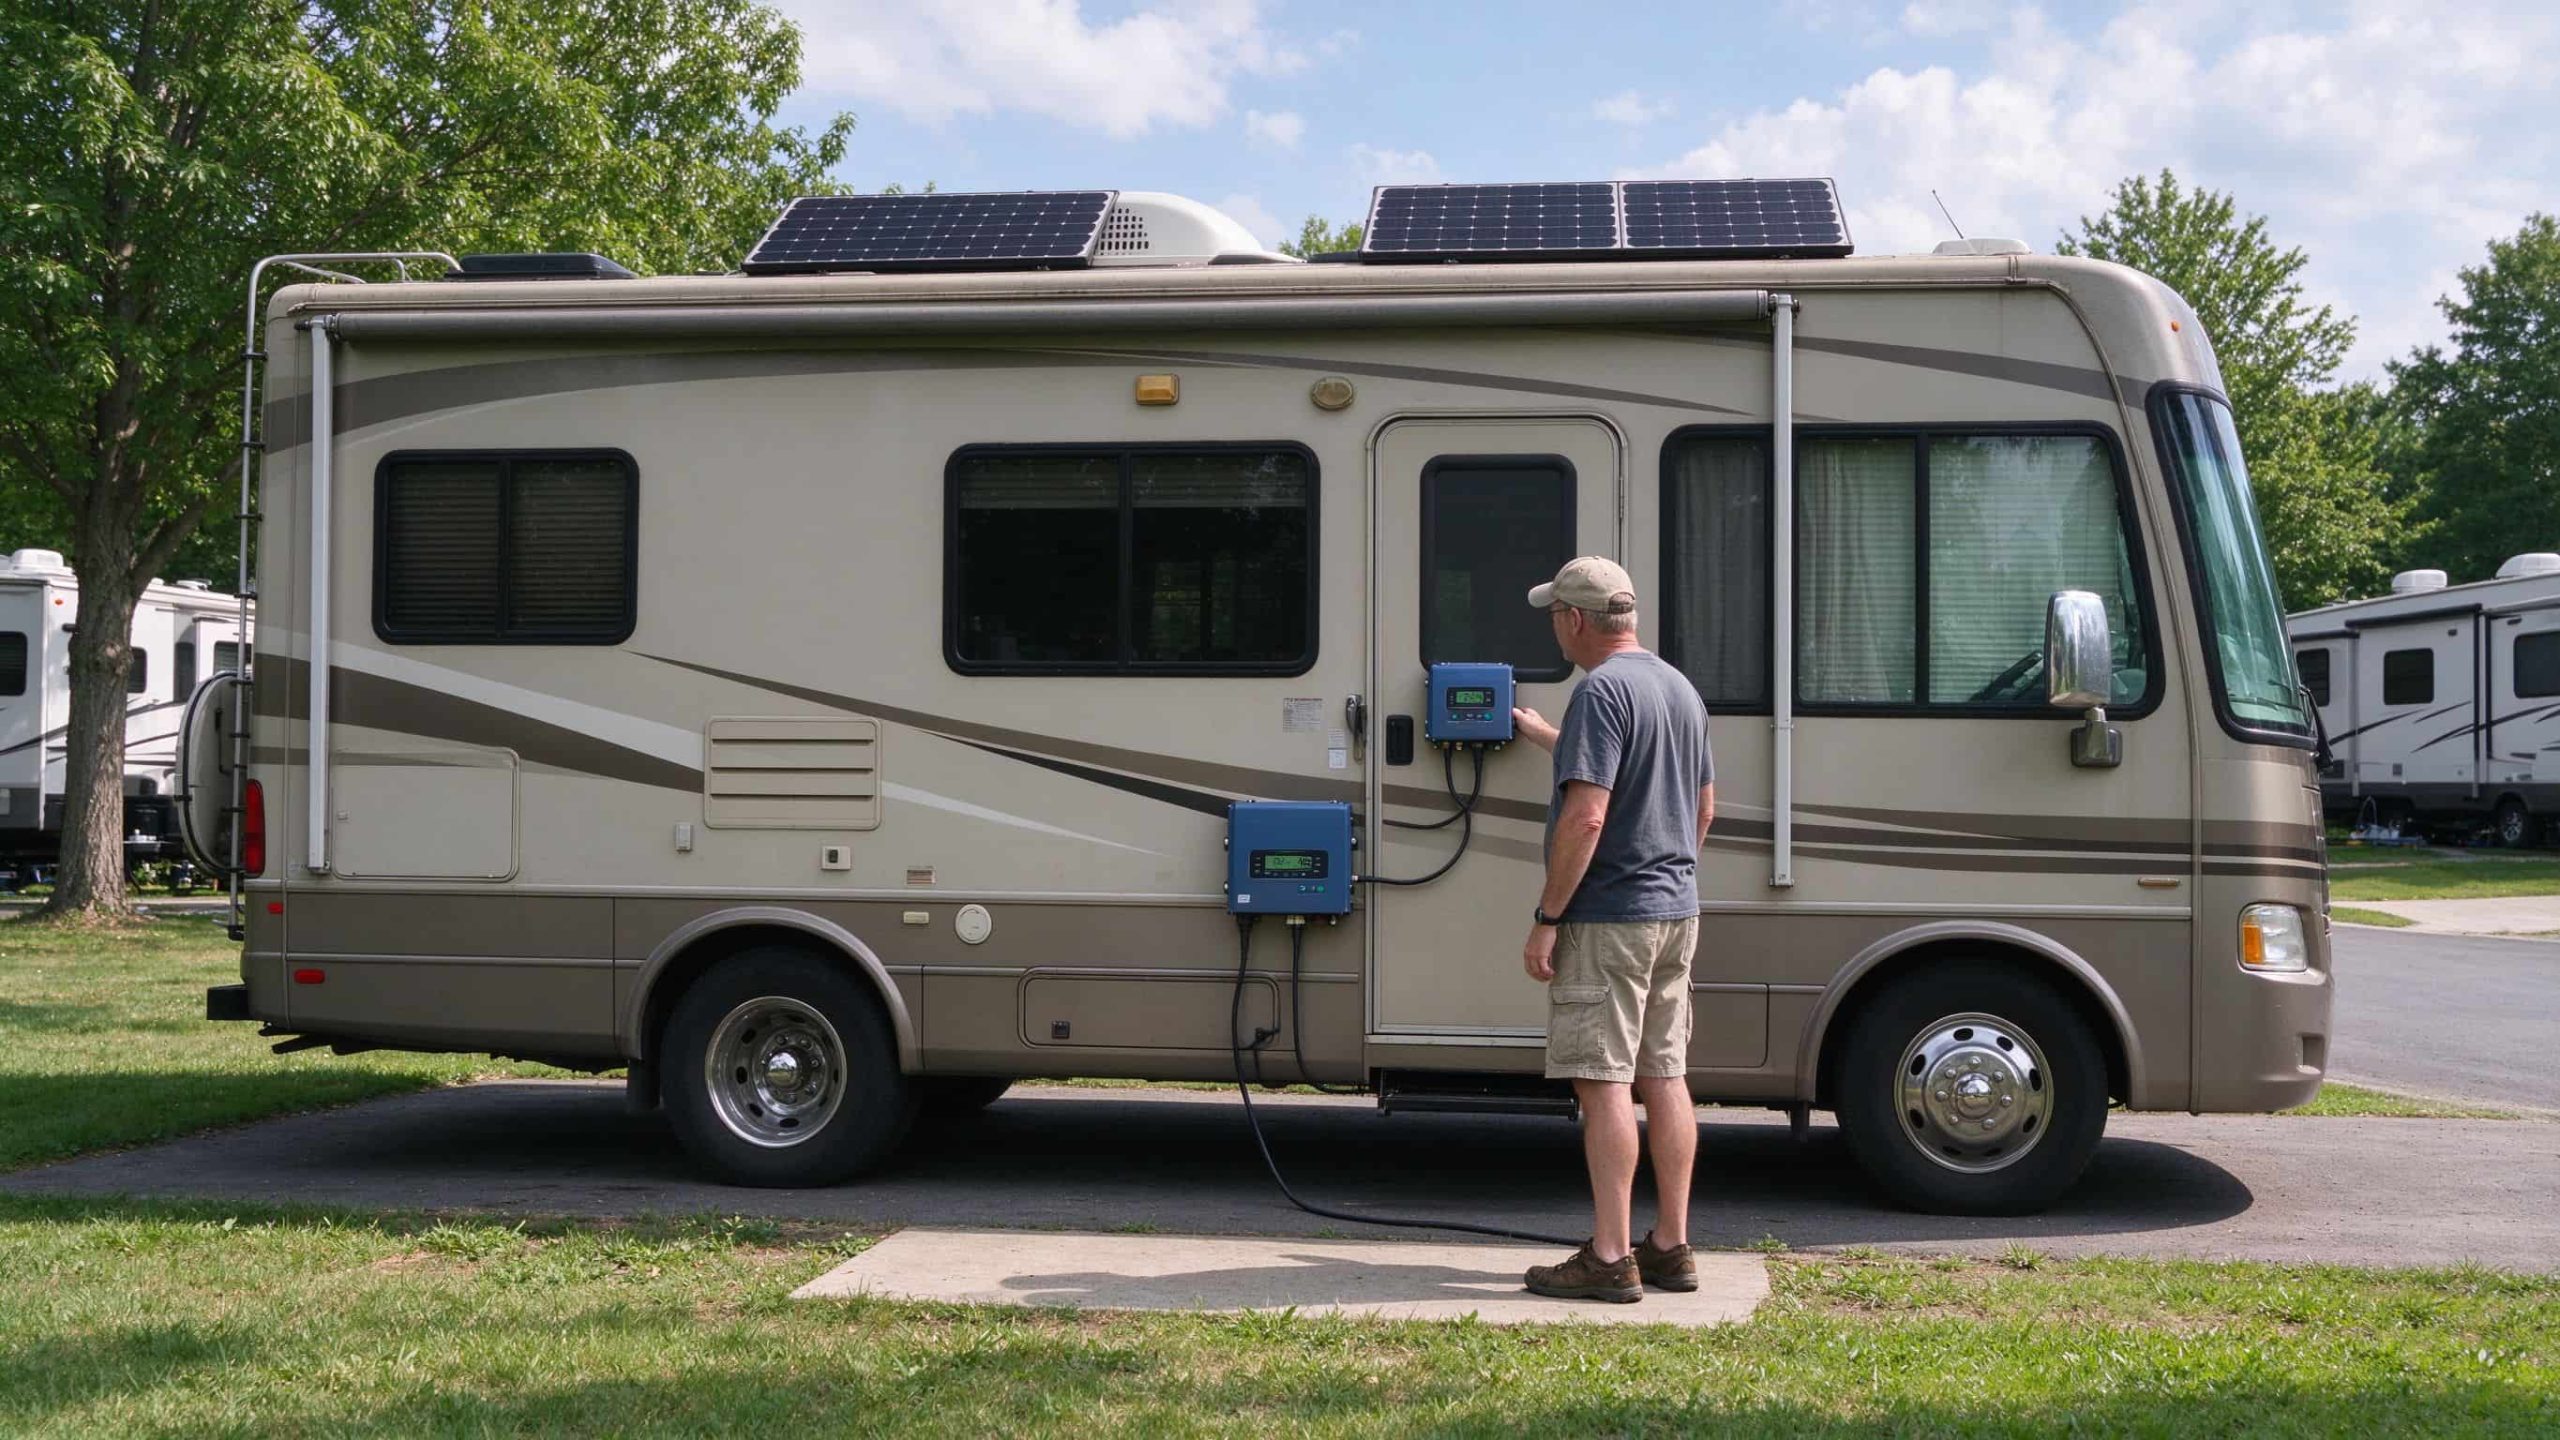
An RV solar system not working usually shows up as one of three symptoms. The charge controller reads zero solar input. The controller sees sun, but the battery stays flat. Or the battery drains overnight even though the panels generated power during the day. Each symptom points to a different part of the system. Replacing a panel or controller before narrowing the fault wastes money and rarely fixes the root cause. Working through the symptoms in order takes a few minutes and usually points to the real problem.
Why Is My RV Solar System Not Working?
RV Solar Not Working: The first step is matching what you see on the controller to the part of the system that could be causing it. Solar input, battery charging, and overnight drain are separate problems. Treating them as one usually leads to the wrong fix.
If the controller shows zero PV input or far less than expected, the issue is upstream of the controller. Overcast skies, tree shade, or a dirty panel can cut output dramatically. A blown PV fuse, tripped breaker, or open disconnect stops all input even on a sunny roof. Loose or corroded MC4 connectors on the roof can break the circuit. In rare cases, cracked cells or water-damaged wiring produce no usable voltage. Low sun does not always mean a failed panel, but a controller reading zero at midday on a clear roof is a real fault to chase.
RV Solar Is Not Charging the Battery
When the controller shows healthy PV input but the battery voltage stays flat, the fault sits between the controller and the battery. A blown battery fuse, loose cable lug, or tripped breaker stops charging even when panels are producing. Wrong charge parameters for the battery type matter too. A controller set for flooded lead-acid will not charge a lithium battery correctly, and the reverse is just as true. Near-full charge also lowers current naturally. In the float stage, charging current drops to a small trickle even on a healthy system. Lithium batteries can stop charging when the BMS reports a protection state.
RV Battery Keeps Draining, or Solar Charging Is Inconsistent
A third pattern is inconsistent performance. The battery charges by day but drains by night, or charging starts and stops every few minutes. This usually means the loads exceed generation, the battery bank itself has reduced capacity, or a connection is intermittent. A failing battery may accept charge but cannot hold it. Parasitic loads from inverters, routers, or monitoring gear add up overnight. Partial shade that moves across the roof through the day can also swing production sharply.
| Observed symptom | Area to investigate |
| Controller shows no PV input | Sunlight, fuses, breakers, disconnects, roof wiring, connectors |
| PV input present but battery not charging | Battery fuse, cable lugs, charge parameters, battery type setting, BMS state |
| Charging current is low | Cloud cover, shading, voltage drop in wires, float stage |
| Battery drains quickly overnight | Parasitic loads, battery capacity, daily generation vs usage |
| Charging stops intermittently | Loose connections, temperature protection, fault alarms |
How to Troubleshoot an RV Solar System Step by Step
Diagnosis works best when you start with the easiest checks and move toward measurements. Do not pull panels apart on the roof before you have looked at the controller readout and the fuses. The order below follows the signal path from sun to battery.
Step 1 — Check Sunlight and the Charge Controller Display
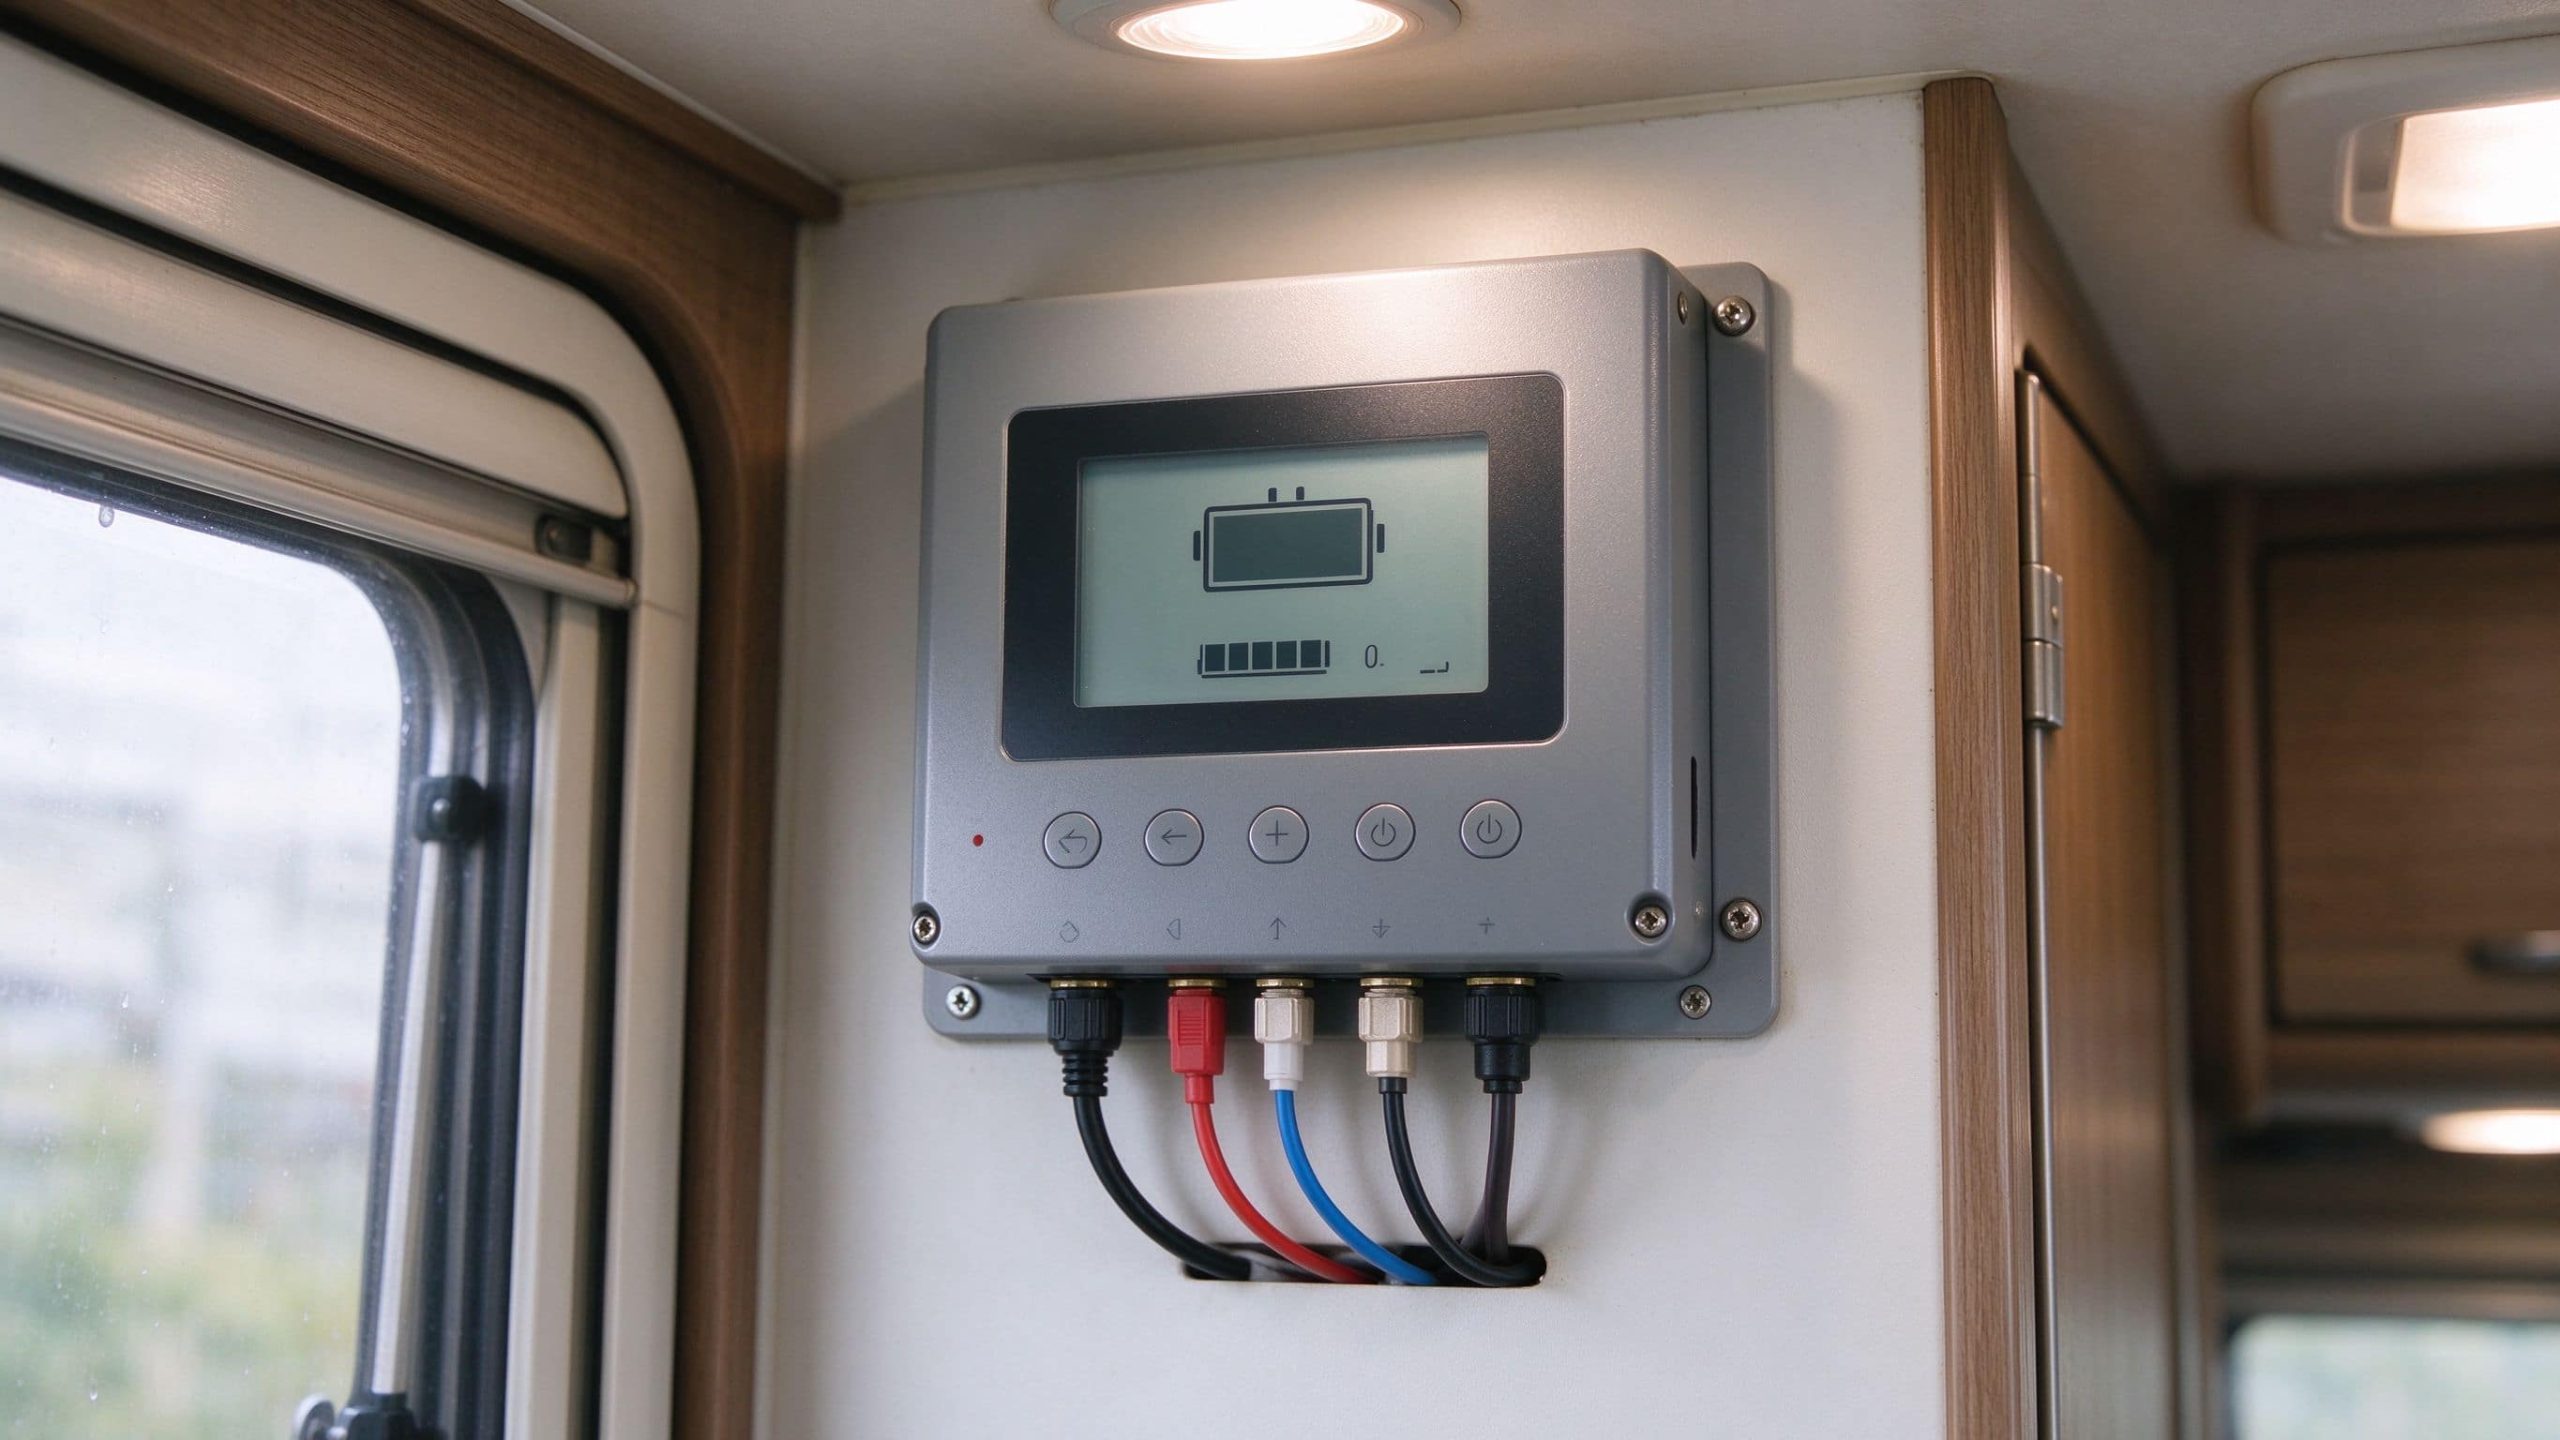
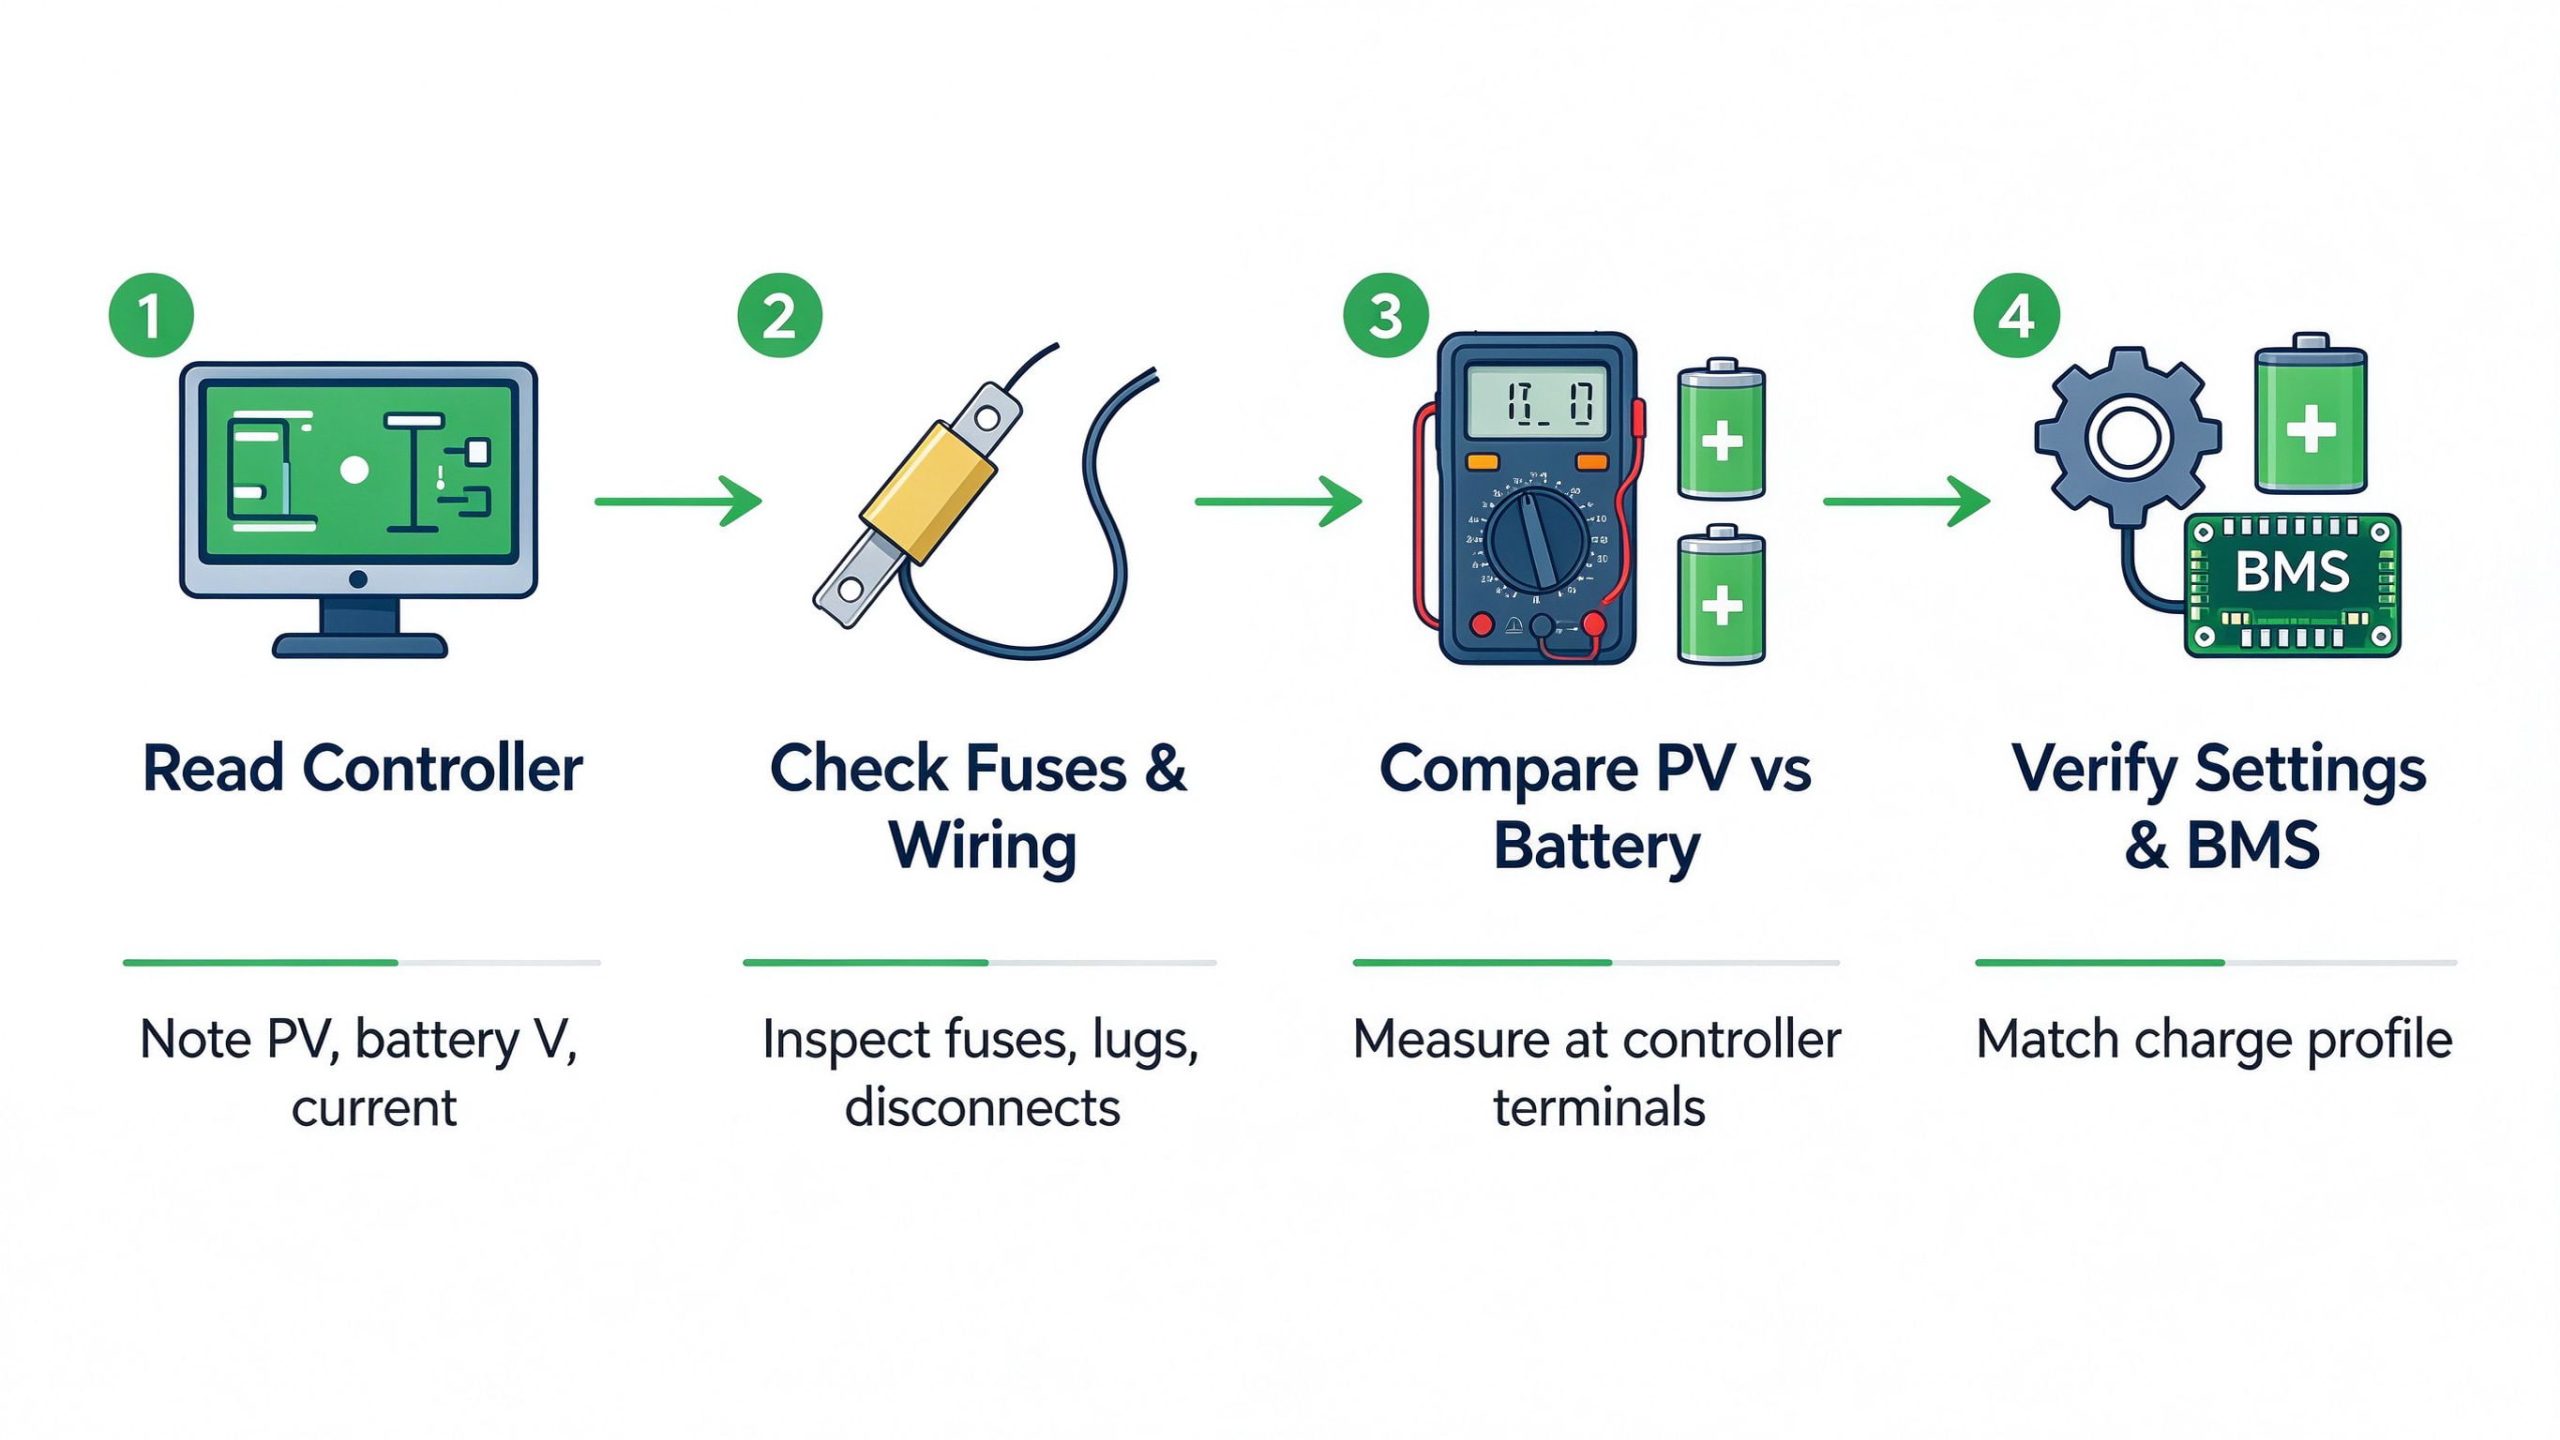
Stand outside and look at the roof. Is anything shading the panels? Then read the controller. Note the PV voltage, battery voltage, charging current, and any fault code. A healthy midday reading on a clear roof should show PV voltage close to the panel Vmp and current rising toward the rated value. If the battery sits above 90 percent state of charge, low current in float is normal. Write the numbers down before changing anything. Renogy’s controller troubleshooting notes recommend starting from the display rather than opening panels on the roof.
Step 2 — Inspect Fuses, Breakers, Disconnects, and Wiring
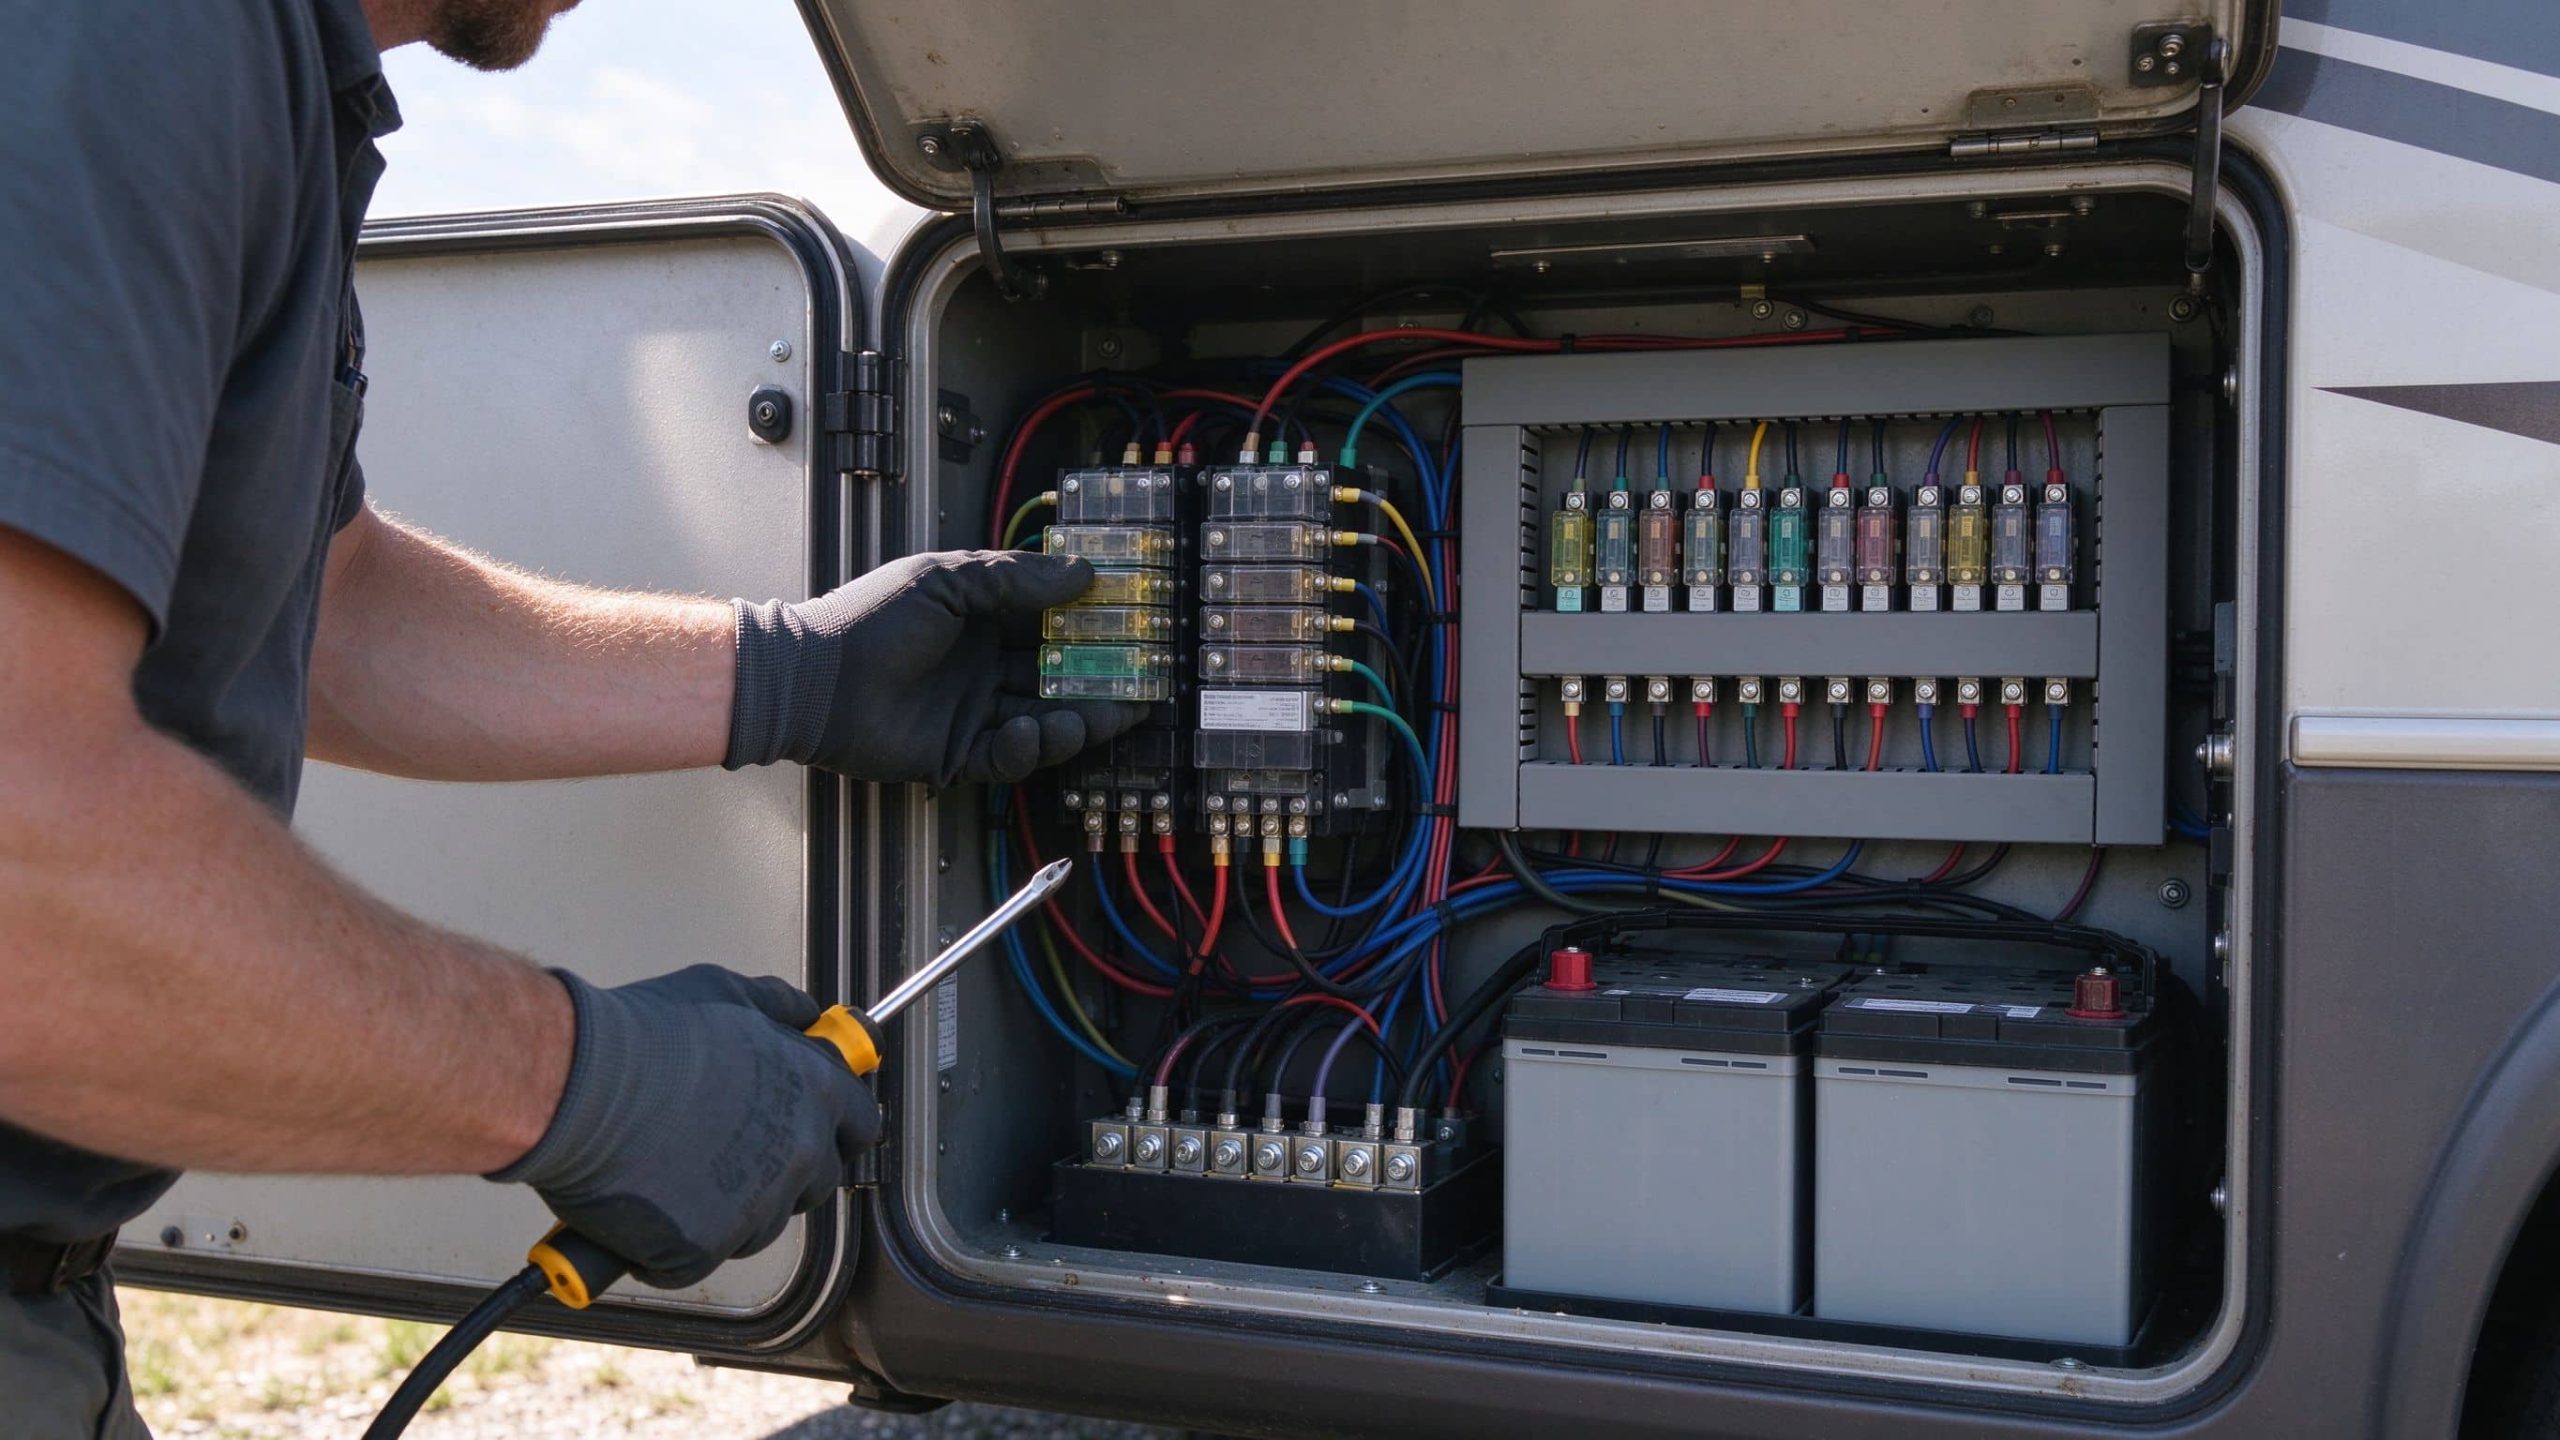
Walk the DC path. Check the PV fuse near the controller, the battery-side fuse or breaker, and any disconnect switches. Confirm breakers are on and disconnects closed. Look at cable lugs for corrosion, discoloration, or heat damage. Tighten only lugs you can reach safely. Do not pull MC4 connectors apart on a live roof array. PV circuits produce voltage as soon as the sun is up, and pulling connectors under load can arc and damage contacts. If you cannot see the fault from the outside, the next step is measurement, not disassembly.
Step 3 — Compare Solar Input and Battery-Side Readings
The controller gives you two sets of numbers. PV side readings show what the panels are producing. Battery-side readings show what reaches the battery. If PV voltage is present but battery voltage never rises, the fault is on the battery side. If PV voltage is low on a clear day, check the panels, wiring, and fuses. A large voltage drop between the controller’s PV reading and the open-circuit voltage measured at the panel terminals usually points to a bad connection or undersized wire. Use a multimeter rated for DC voltage and follow the meter manual. Do not measure current by putting the meter across the battery terminals.
Step 4 — Check Battery Settings, BMS Status, and System Compatibility
Open the controller menu and confirm the battery type, absorption voltage, float voltage, and temperature compensation setting match the battery you actually have. A flooded lead-acid battery and a lithium iron phosphate battery need different charge profiles. If the battery has its own screen or app, check for BMS alarms such as over-voltage, under-voltage, or over-temperature. Also verify the array’s open-circuit voltage sits inside the controller’s rated PV input range. Too high a cold-weather Voc can shut the controller down. Too low a Vmp leaves the controller searching for a peak point it cannot find.
Work down the decision path: read the controller and note the sunlight. If no PV input is detected, check sun, fuses, breakers, and roof connections. If PV input is present but the battery does not rise, check battery-side fuses, charge parameters, and BMS status. Only after these steps narrow the fault should you consider replacing a component.
How to Fix RV Solar Problems and When to Call a Professional
Most RV Solar Not Working problems are simple. A loose fuse, a wrong menu setting, or shade from a tree branch are common fixes. Some faults, however, need specialized tools and safe working conditions on a high-voltage roof array.
- Shade or dirty panels.Clear overhanging branches you can reach safely. Wash panels with water and a soft brush. Retest on a clear day.
- Blown fuse or tripped breaker. Find why it tripped before replacing it. Use a fuse of the exact rating the manufacturer specifies. Never upsize a fuse to make a fault go away.
- Loose or corroded connection. Disconnect power safely, clean the lug, retorque to the spec, and reassemble. Do not wiggle live connectors to test them.
- Wrong charge settings. Load the correct profile from the battery and controller manuals. Do not guess absorption or float voltages.
- BMS protection. Follow the battery maker’s recovery steps. Bypassing protection or force-charging a protected lithium pack is unsafe.
Common Troubleshooting Mistakes to Avoid
- Mistaking normal float-stage low current for a dead charge controller.
- Replacing the controller without checking the fuses and battery-side wiring.
- Assuming low output on an overcast day means a failed panel.
- Changing charge voltages without confirming the battery chemistry.
- Pulling live MC4 connectors on the roof to test output.
When Should You Contact an RV Solar Technician?
Stop and call a qualified technician if you see melted cable insulation, scorched connector housings, or components running hot to the touch. Persistent fault alarms after basic checks, battery swelling or leaking, and any work involving roof wiring or high-voltage series strings are outside safe DIY territory. When in doubt, consult the equipment manual or the manufacturer’s support line.
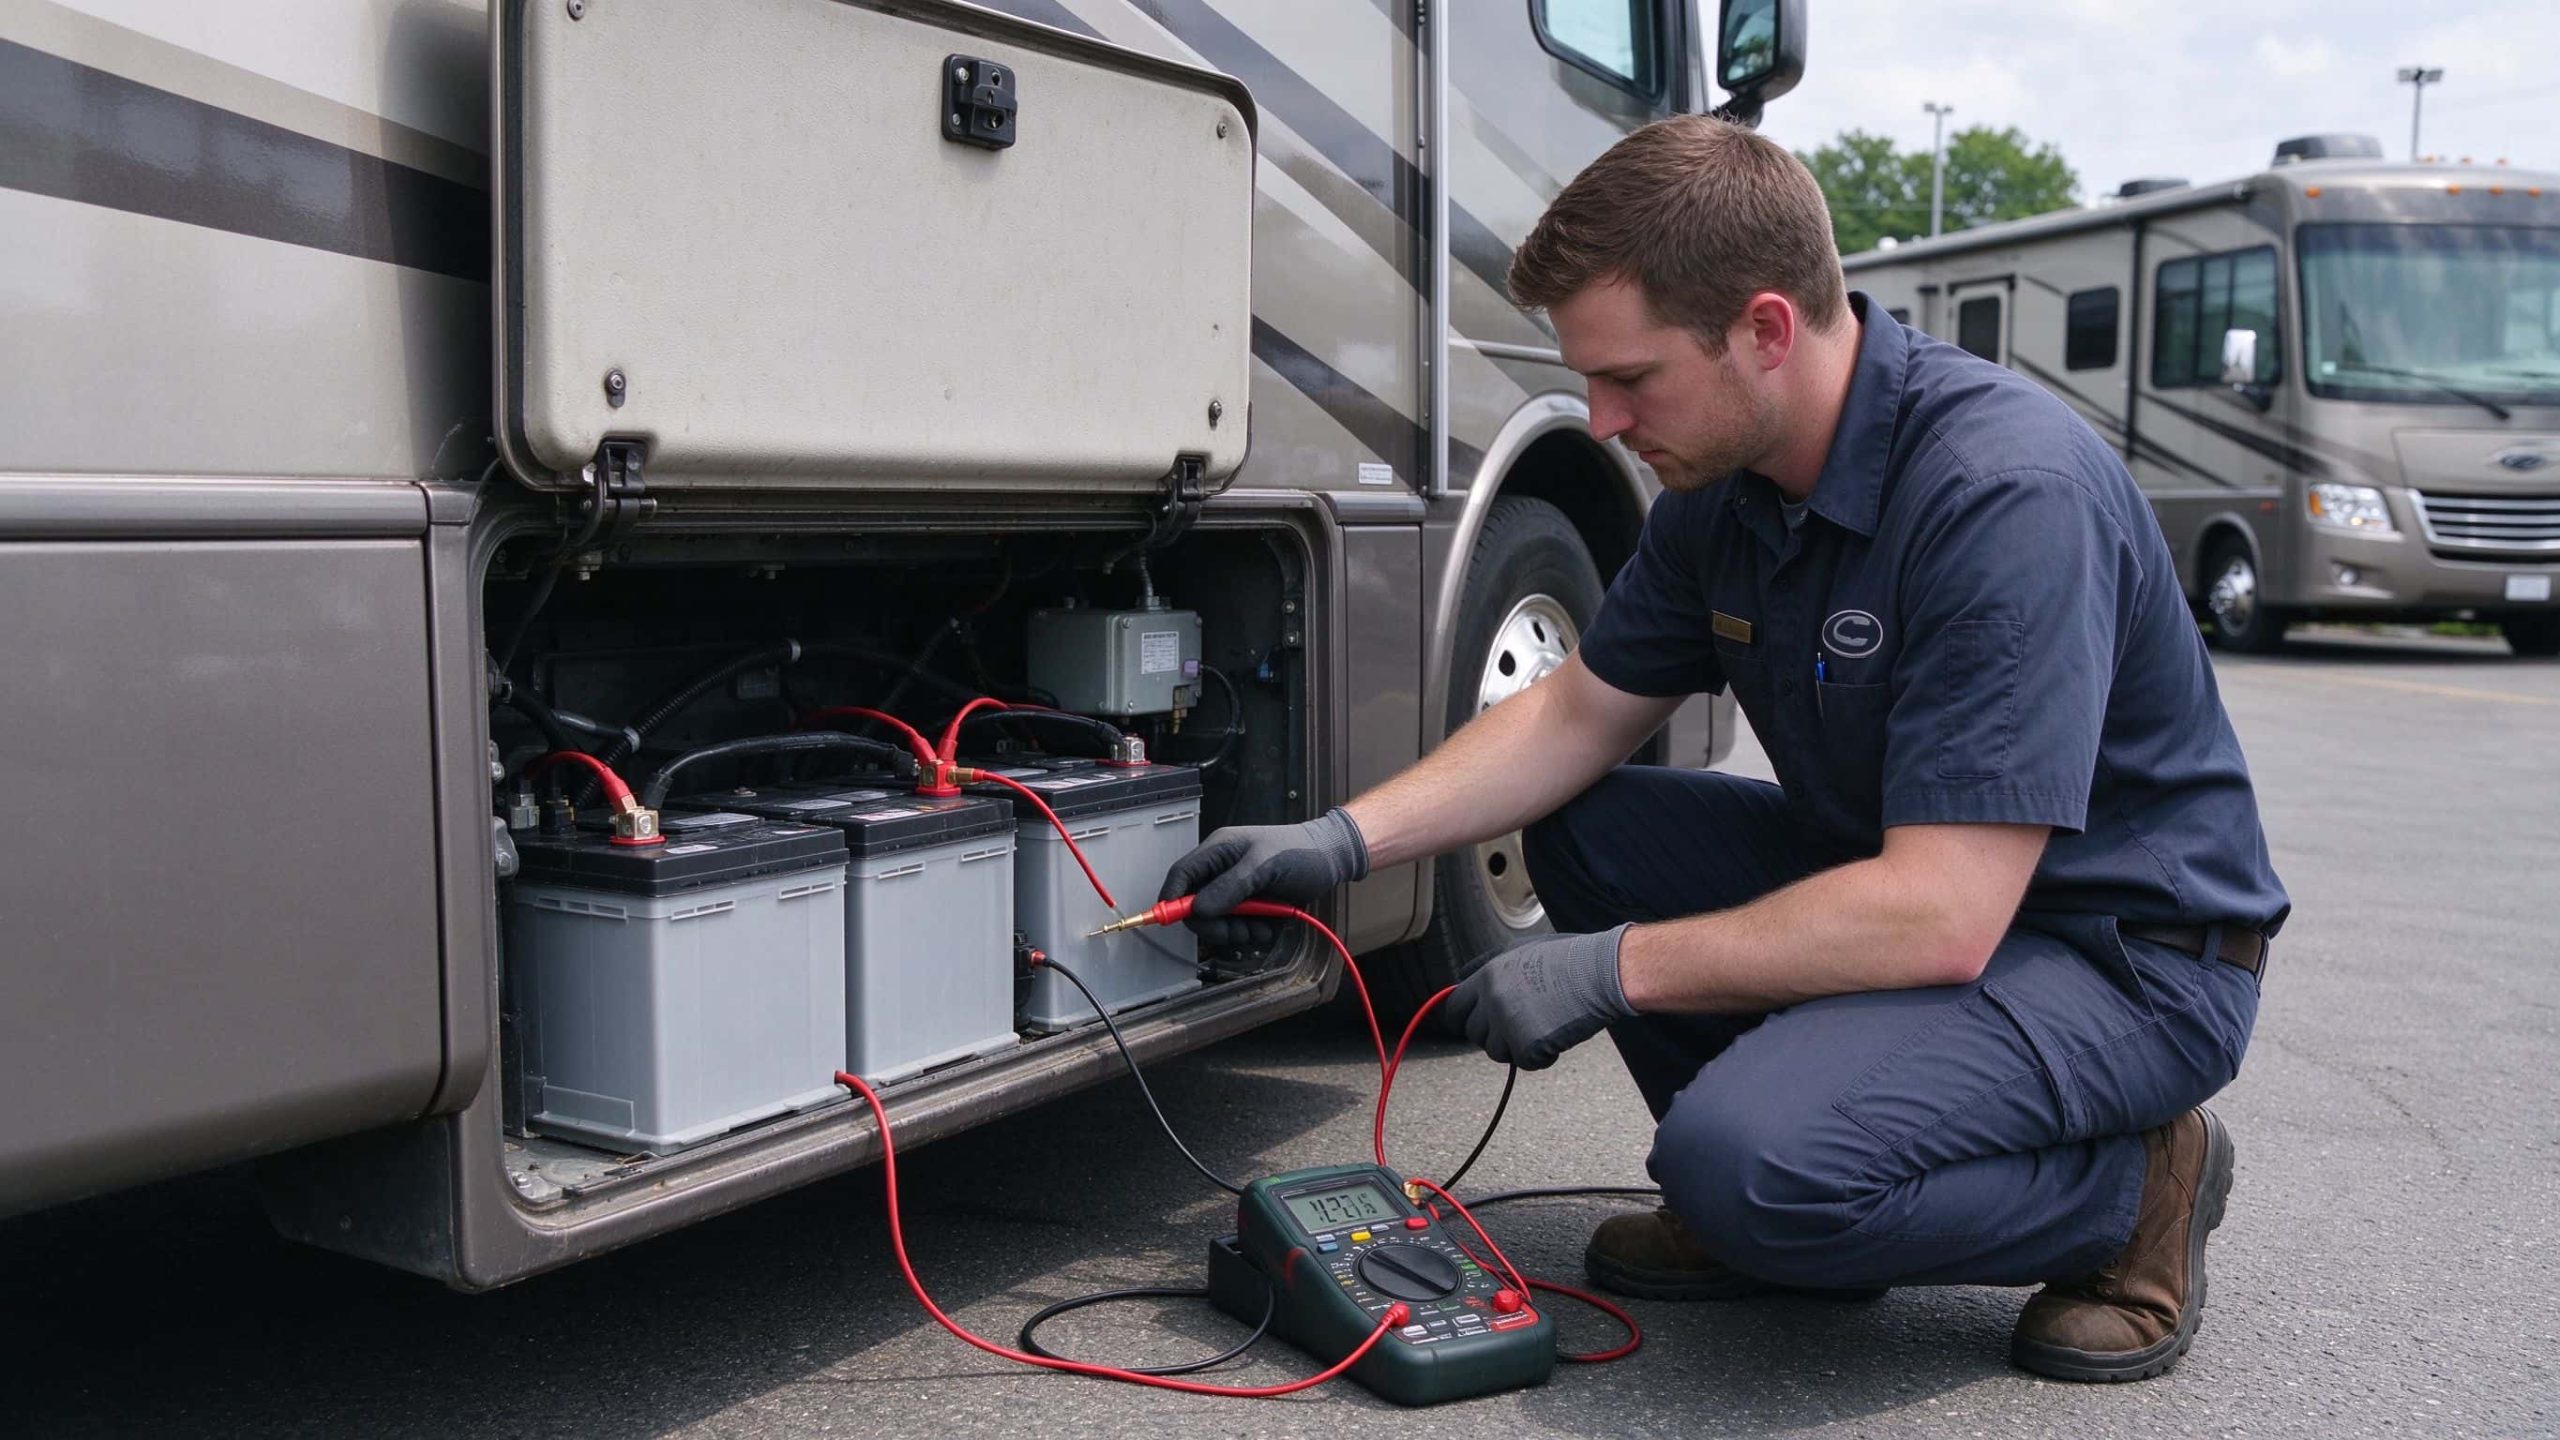
Get everything sorted and easily resume your journey
RV solar not working almost always points to a simple cause before it points to a dead panel. Read the symptoms off the controller. Walk the fuses and connections. Compare PV-side and battery-side readings. Confirm the charge profile matches the battery. Most faults resolve at one of those steps. If the problem involves melted wiring, persistent alarms, or roof-level high-voltage circuits, hand the work to a technician. A few minutes of systematic diagnosis beats a new controller bought by mistake.