
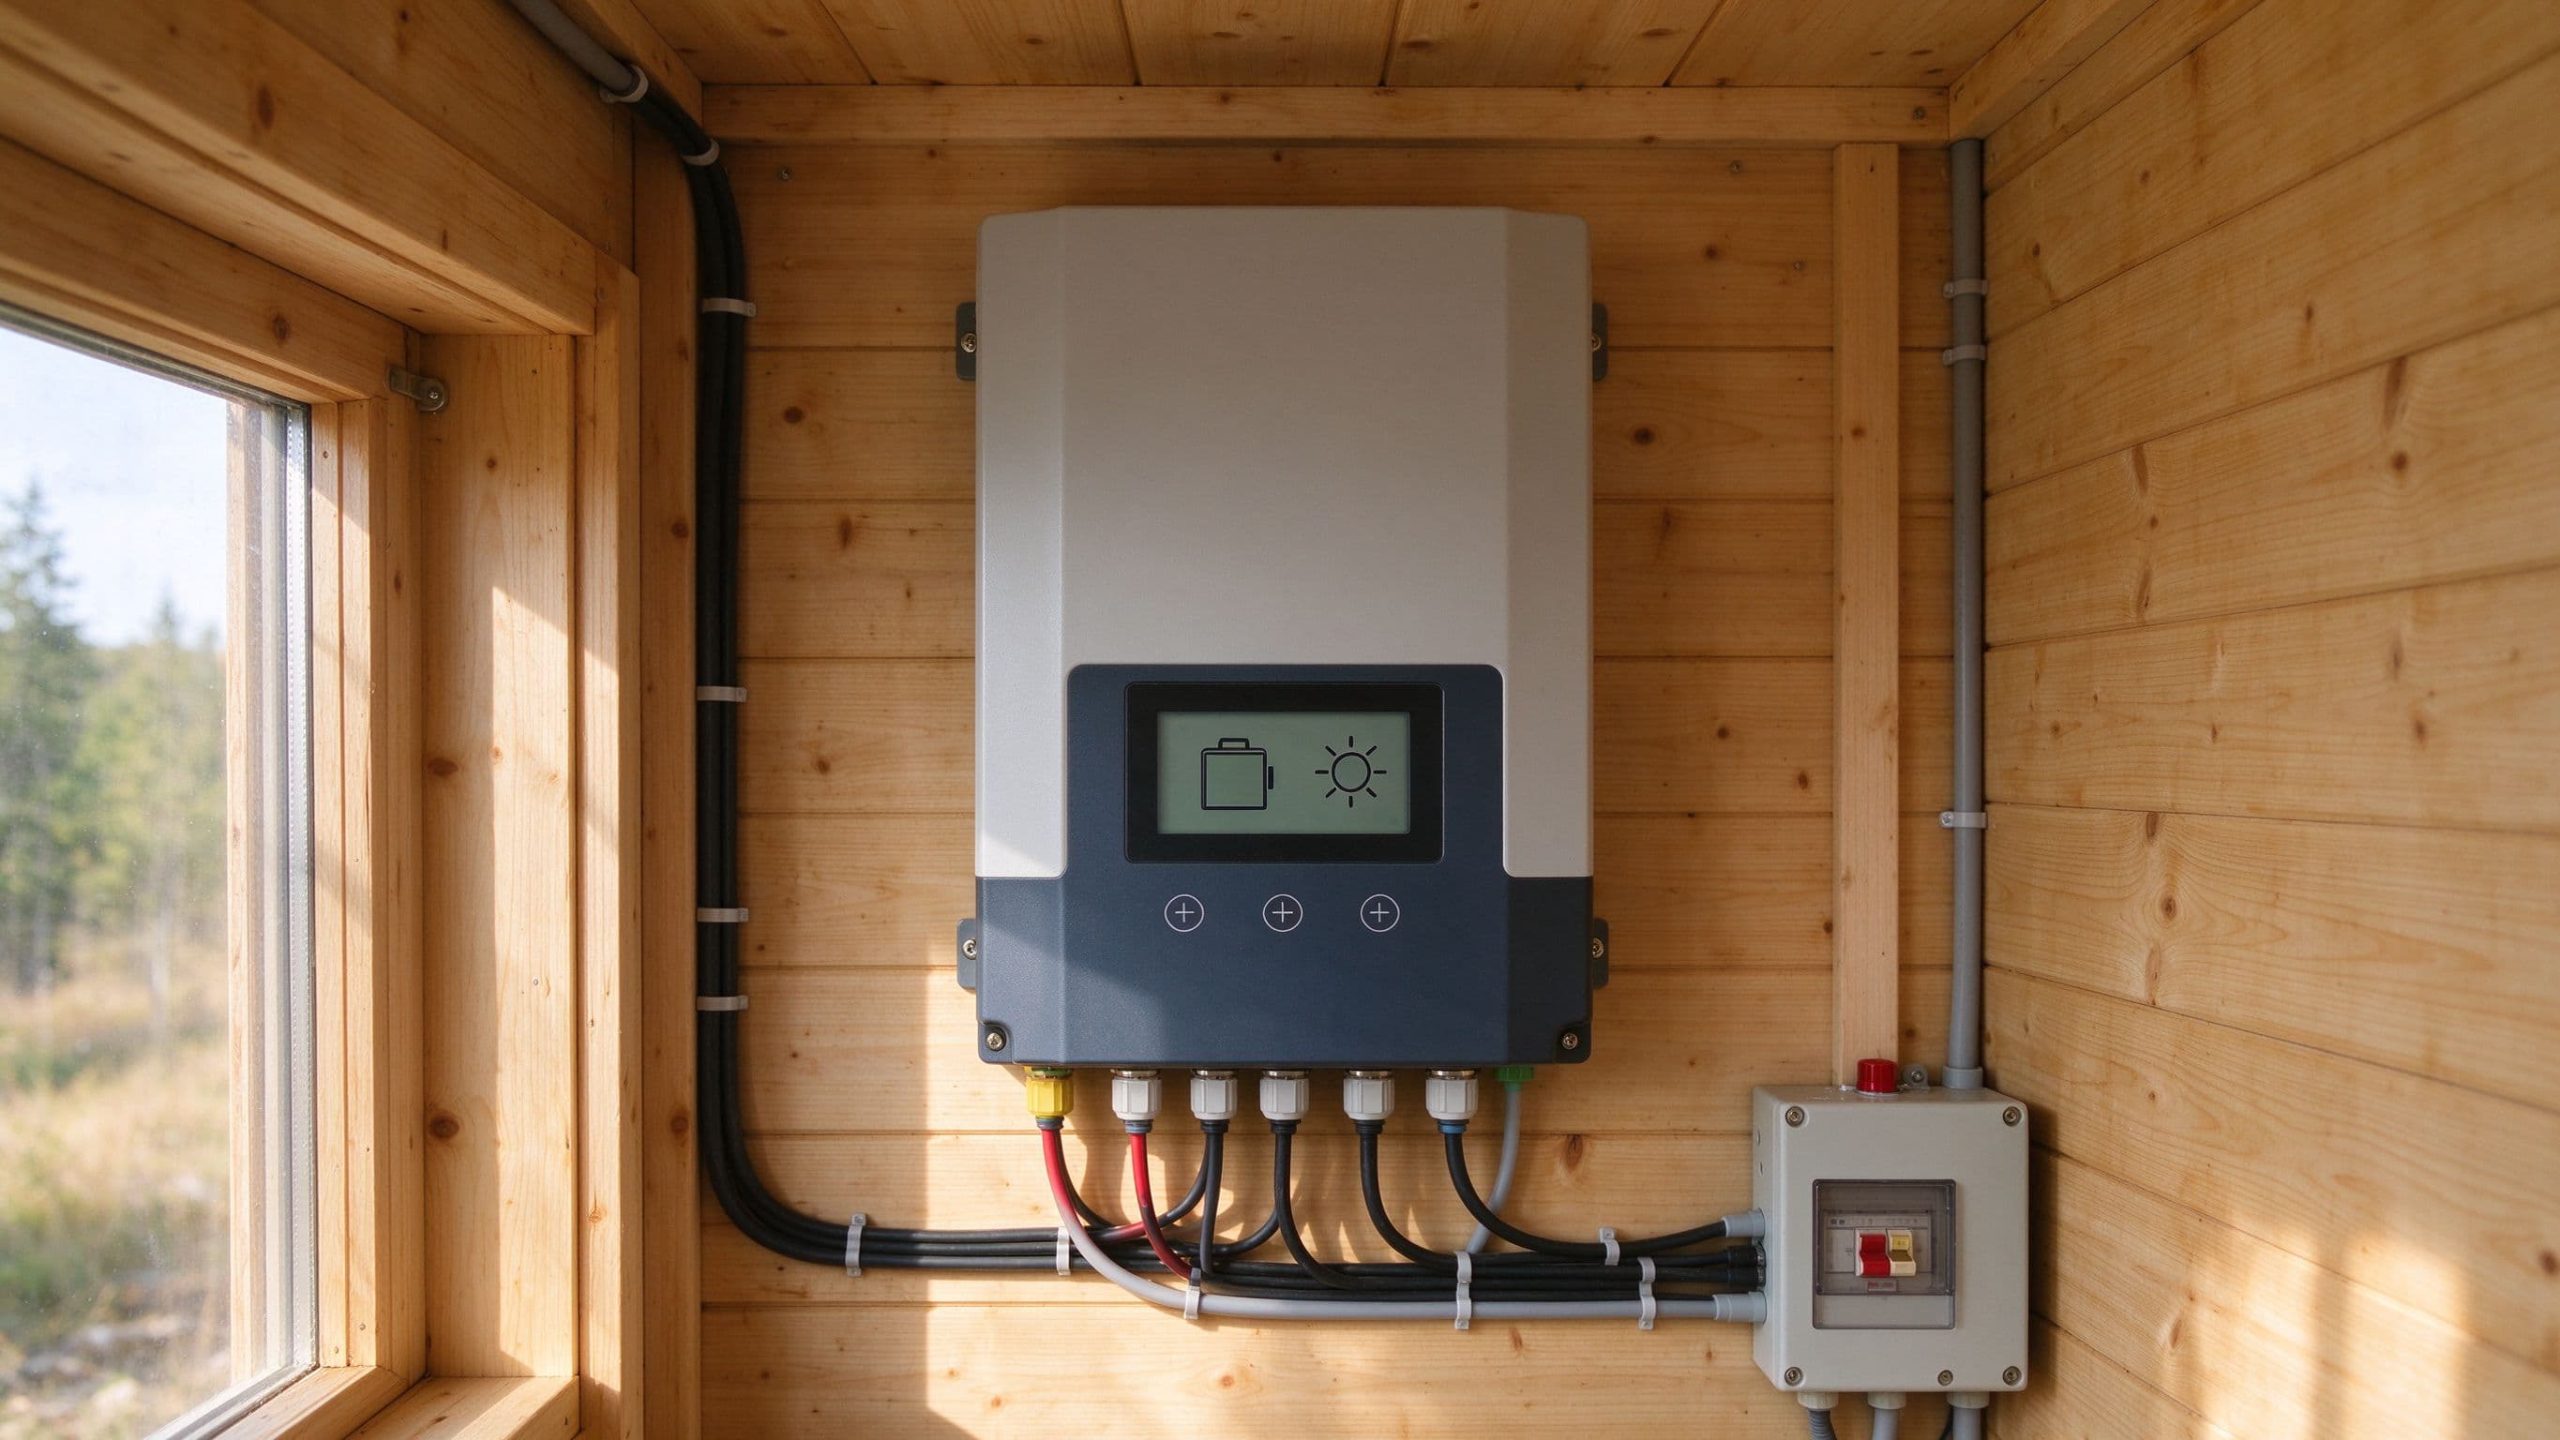
Solar charge controller problems usually show up as a dead battery in the morning, a controller display that reads zero, or a warning light that will not go off. The controller is the first thing people blame, but it is often the messenger, not the cause. Loose wiring, wrong battery settings, a weak battery, or shading on the roof all make a working controller look broken. Before buying a replacement, it helps to follow the signal path from panel to battery and find where the chain actually breaks.
What Are the Most Common Solar Charge Controller Problems?
The first job is matching the symptom to the part of the system. A controller that shows no input, a controller that shows input but no charging, and a controller that keeps alarming are three different problems. Treating them as one usually leads to the wrong repair. This section walks through four patterns you are most likely to see: the controller that is not charging the battery at all, the one that lights up a warning or fault code, the one that keeps dropping out and restarting, and the one that charges too hard or too slow. Each pattern points to a different place in the system.
Solar Charge Controller Is Not Charging the Battery
The battery voltage stays flat during the day. The controller display shows little or no charging current. PV input looks normal on a sunny roof, yet the battery never rises. This pattern points away from the controller’s output stage. Three areas to check first. Solar input may be weak from shade, dirt, or a disconnected PV fuse. The battery connection may be open at a loose lug, blown fuse, or wrong polarity. The charge settings may not match the battery, so the controller refuses to push the voltage the battery needs. Most controllers must see a valid battery voltage before they start the charging cycle at all.
Solar Charge Controller Shows Error Messages or Warning Lights
A warning light is a protection event, not always a defect. Overvoltage alarms usually mean the PV open-circuit voltage has passed the controller’s rated maximum, which matters most on cold mornings when Voc rises. Overcurrent alarms point to a short circuit or a load above the controller’s rating. Temperature alarms mean the controller is too hot or installed in direct sun. Battery fault alarms cover a range of conditions from a disconnected battery to a lithium BMS in protection. The exact code depends on the brand, so the controller manual is the reference. Do not reset the alarm and ignore it.
Solar Charge Controller Keeps Disconnecting or Restarting
A controller that cycles on and off, or drops out for a few minutes at a time, usually has a system-level cause. A battery whose voltage swings wildly under load can make the controller drop out and restart. Loose terminals create intermittent contact. Inrush current from an inverter or compressor can trip the load protection. Overheating causes the controller to reduce current or shut down until it cools. Internal failure is possible, but it is usually the last explanation to reach for.
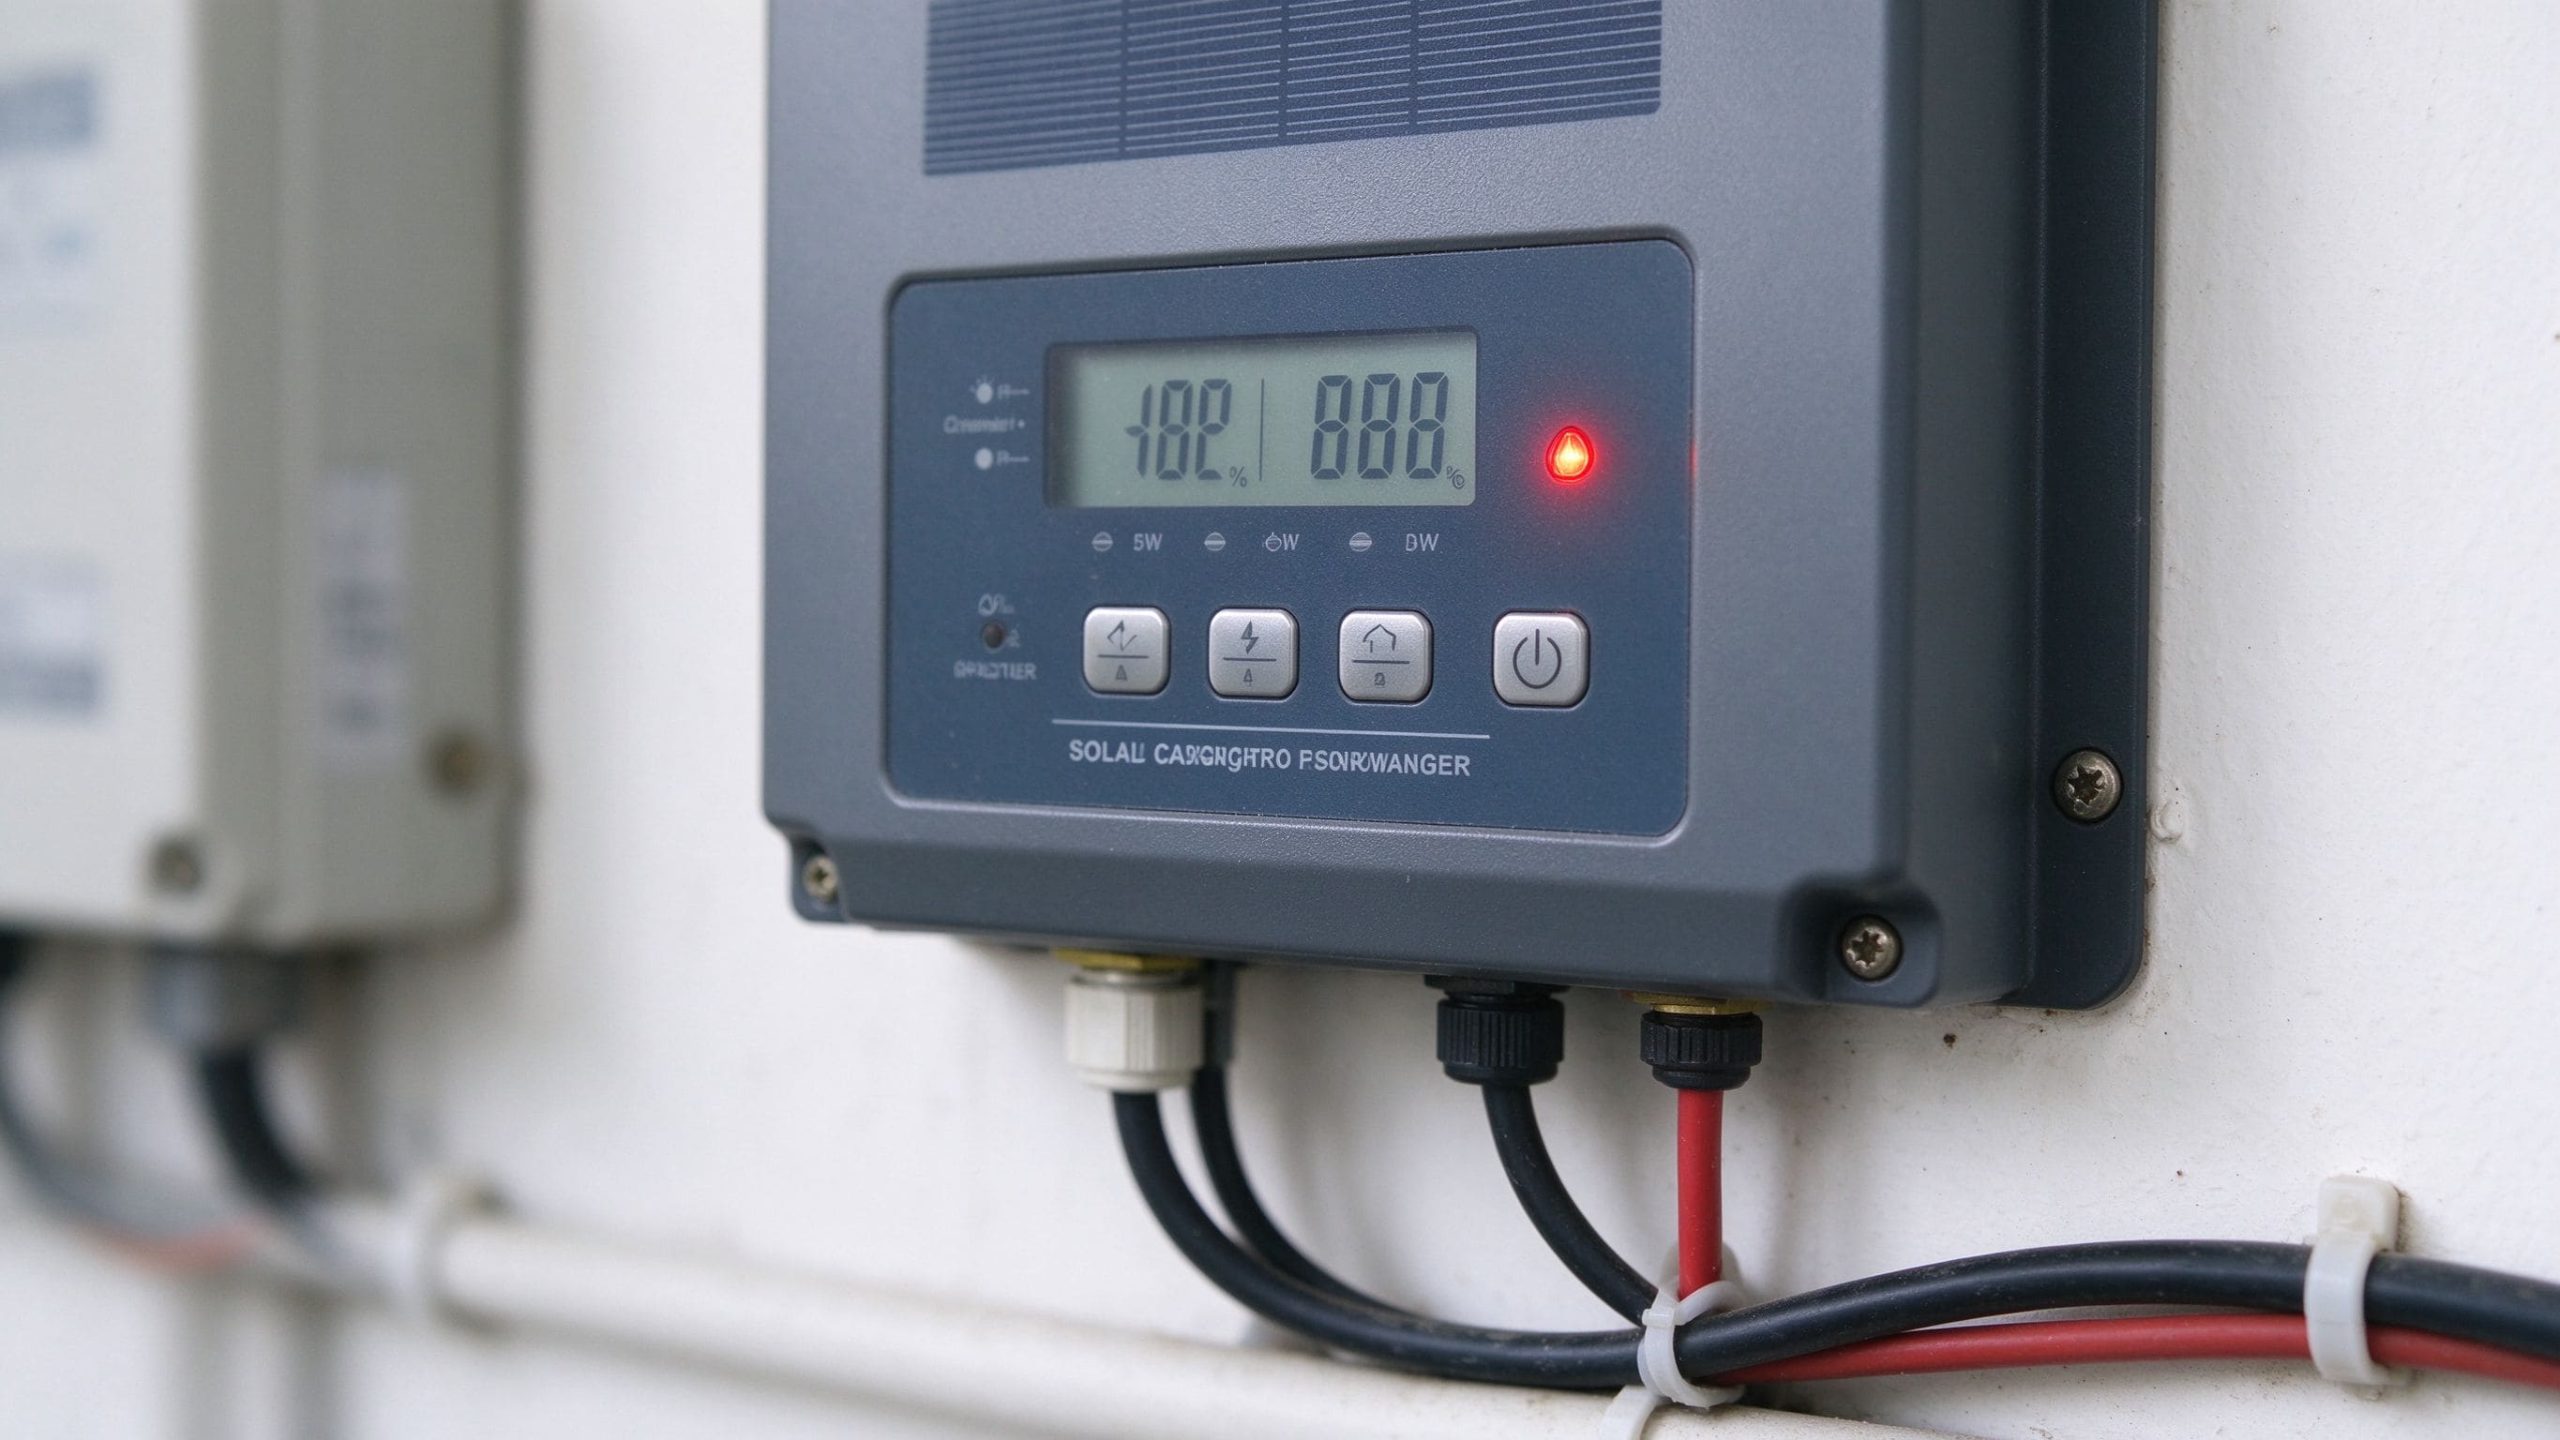
Battery Is Overcharging or Undercharging
Overcharging shows up as rising voltage above the battery’s absorption setpoint, warm battery cases, or water loss on flooded lead-acid. It usually means the voltage parameters are wrong, temperature compensation is off, or the controller itself has failed closed. Undercharging is far more common. The battery never reaches float, the day ends at a low state of charge, and the controller looks busy but is not delivering enough energy. Causes include low solar input, a battery bank that is too large for the array, wrong charge parameters, or an aging battery that cannot accept the current.
|
Observed symptom
|
Likely area to investigate
|
|---|---|
|
No charging current on the display
|
PV input, PV fuse, panel shading, battery connection
|
|
Battery never reaches full charge
|
Solar input, charge settings, battery condition, system sizing
|
|
Controller restarts or drops out
|
Loose lugs, overheating, battery voltage swings, inrush loads
|
|
Warning light or fault code
|
Protection trigger, system mismatch, battery BMS, wiring fault
|
|
Battery voltage too high or too low
|
Charge parameters, temperature compensation, controller hardware
|
How to Troubleshoot Solar Charge Controller Problems Step by Step
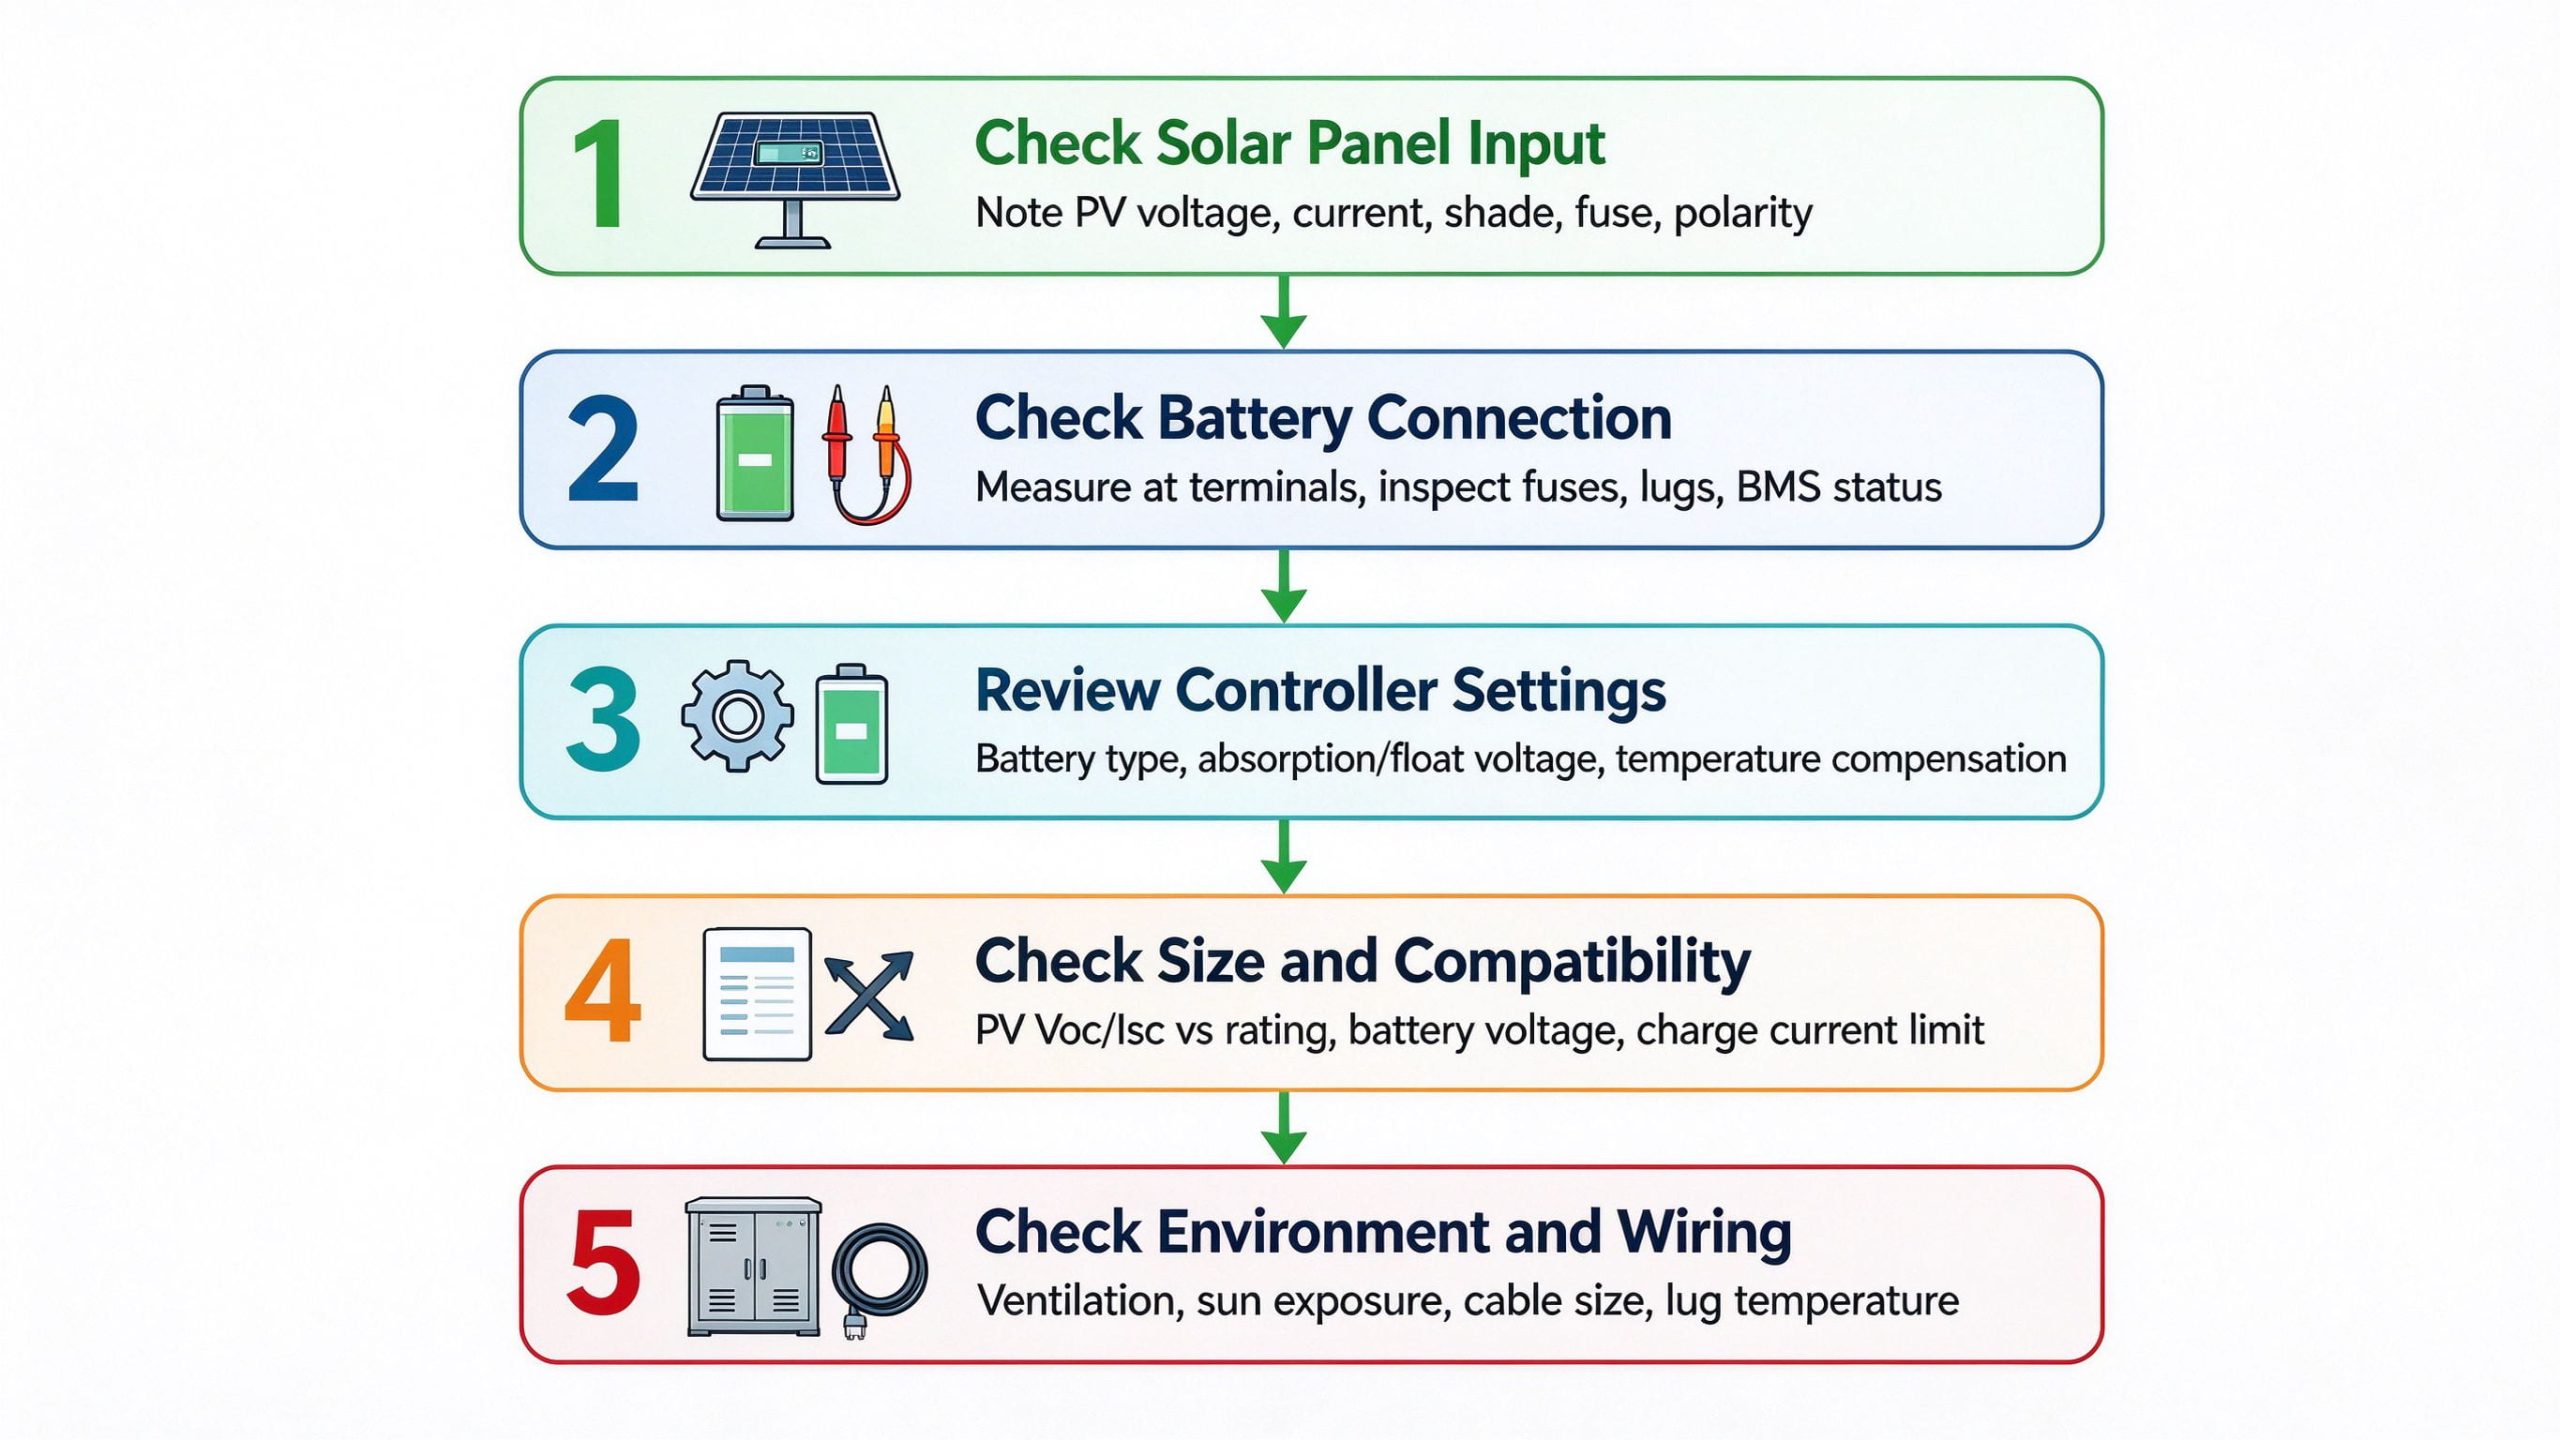
The fastest diagnosis follows the power path. Start with the sun at the panels, then the controller input, then the battery, then the settings. Move to measurements only after the visual checks are done. This order avoids opening panels on the roof before you know the fault is not inside the battery compartment.
Step 1 — Check the Solar Panel Input
Read the controller display on a clear, sunny day around midday. Note the PV voltage and current. If the PV voltage is near zero, look at the panels first. Check shade from trees, a dirty surface, and the PV disconnect. Confirm the PV fuse has not blown. On a small off-grid system, verify the panel polarity matches the controller input. A controller that sees no PV input is not a faulty controller. It is an empty input, and the problem sits upstream.
Step 2 — Check Battery Connection and Voltage
Measure the voltage directly at the controller’s battery terminals, not just on the display. The display and the terminal should read the same value. A large difference points to a loose lug, undersized wire, or a blown fuse between the controller and the battery. Confirm the battery is not in a protection state. A lithium battery with an active BMS alarm will block charging even when the controller is doing its job. A badly sulfated or shorted lead-acid battery can also refuse to charge. The controller depends on the battery to define the system voltage. A bad battery makes the controller behave strangely.
Step 3 — Review Controller Settings
Open the settings menu and check the battery type. Flooded lead-acid, AGM, gel, and lithium iron phosphate each need different absorption and float voltages. A controller set to flooded will undercharge a lithium battery. A controller set to lithium can overcharge a lead-acid battery. Confirm the load output mode, if present, matches how the load relay is used. Check temperature compensation settings and whether a remote sensor is actually connected. Wrong settings are a leading cause of slow or failed charging, and they take two minutes to fix.
Step 4 — Check Controller Size and System Compatibility
Match the controller ratings to the actual system. The PV side must handle the array’s open-circuit voltage at the coldest expected temperature and deliver the array’s short-circuit current. The battery side must carry the charging current at the system voltage. A small PWM controller on a high-voltage array will never see the panel’s maximum power point. An undersized MPPT will hit its current limit and waste the array on sunny days. Cross-check the numbers on the controller spec sheet against the panel and battery nameplates.
Step 5 — Check for Environmental and Installation Issues
Look at where the controller lives. It needs ventilation. Mount it inside a sealed cabinet next to a hot inverter, and it will overheat. Mount it in direct sun, and the temperature sensor will lie about the battery. Check cable size against the current over the cable length. A thin wire drops voltage between the panel and the controller, which looks like a weak array. Feel the lugs after a few hours of charging. Warm lugs are a loose connection waiting to fail.
How to Fix and Prevent Solar Charge Controller Problems
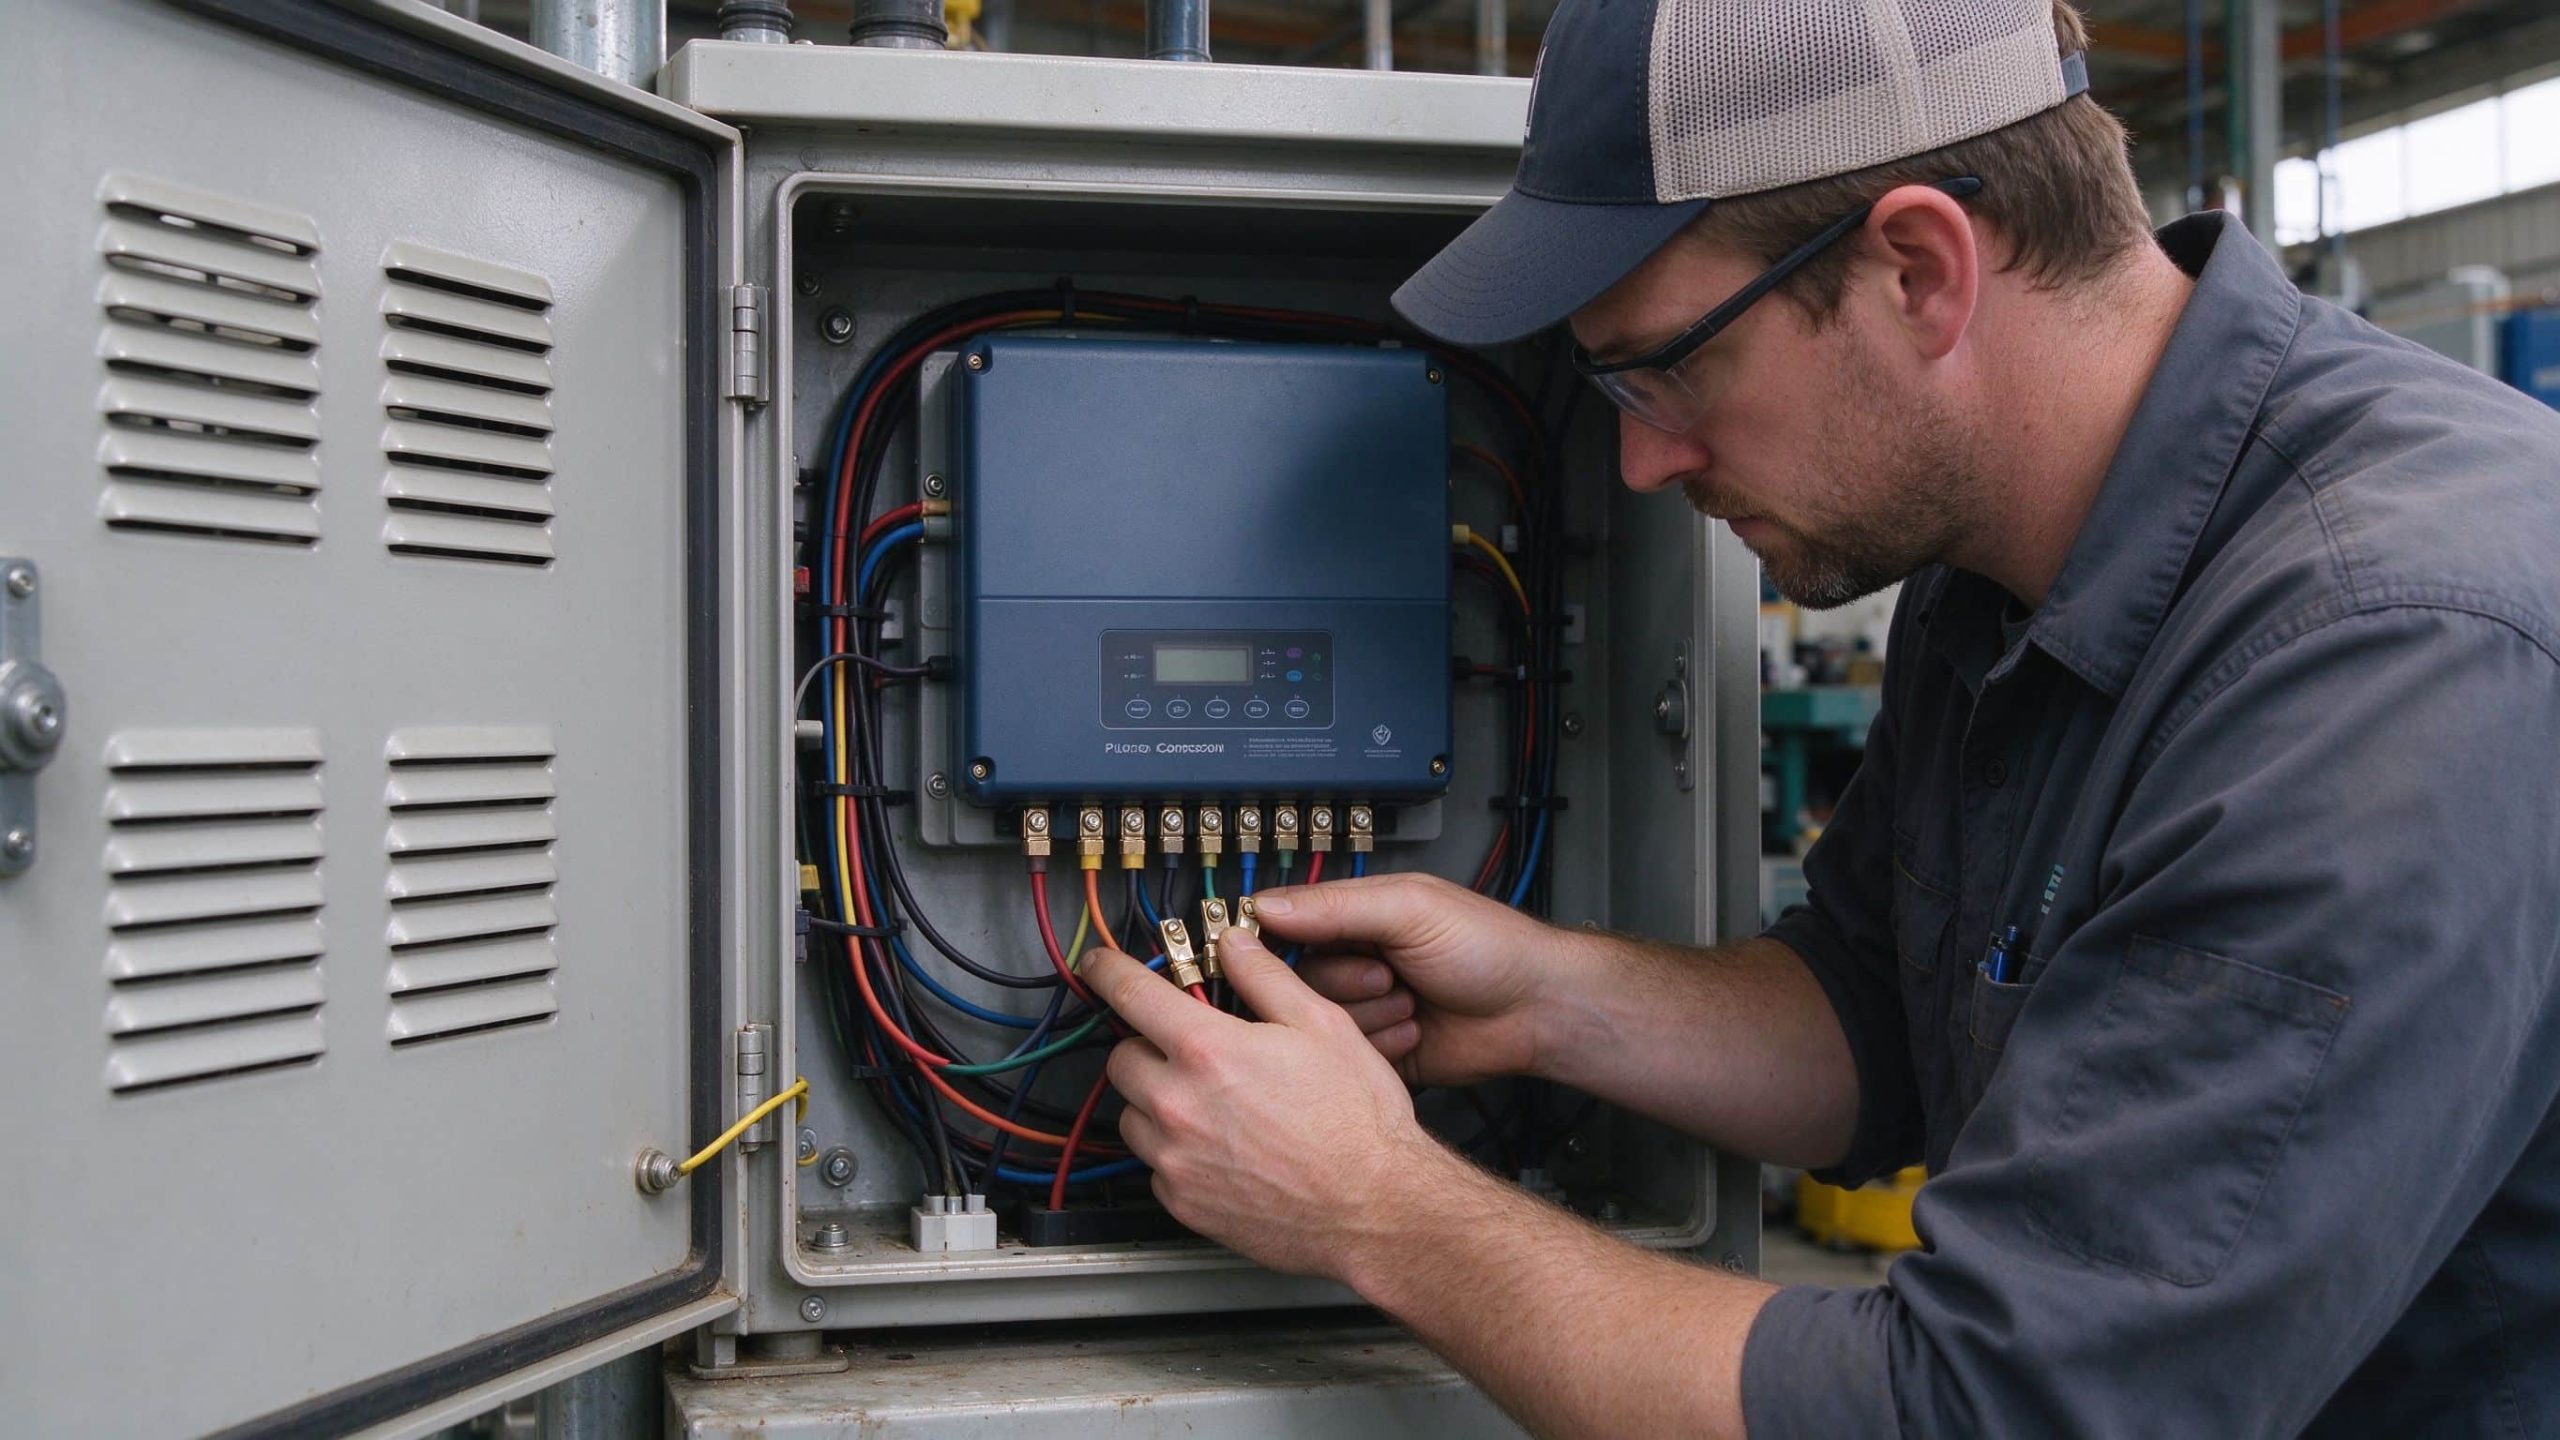
Most controller problems end with a tightened lug, a corrected menu setting, or a cleaned panel. A small number end with replacement. Fix Common Solar Charge Controller Issues:
-
Loose or corroded wiring. Power down safely, clean the lug, retorque to spec, and reassemble. Replace cable that has hardened or discolored insulation.
-
Wrong charge settings. Load the correct profile from the battery manufacturer’s datasheet. Do not guess absorption or float voltage.
-
Overheating. Move the controller to a cooler, ventilated spot out of direct sun. Leave the side clearance the manual calls for.
-
Protection keeps triggering. Find the root cause. Upsizing the fuse or disabling protection is not a fix. It creates a fire risk.
-
Weak solar input. Wash the panels, trim shade, and check the PV disconnect. Do not add panels beyond the controller’s rated input.
Common Mistakes When Troubleshooting
-
Replacing the controller before checking fuses, lugs, and battery condition.
-
Trusting the display reading without measuring at the terminals.
-
Blaming the controller for a battery that will no longer hold a charge.
-
Changing protection parameters to make an alarm go away.
-
Working on live DC circuits without understanding the PV side.
Getting the Right Answer Before You Buy a New Controller
Solar charge controller problems rarely start inside the controller. Most begin with a weak PV input, a battery that cannot accept charge, a lug that worked loose, or a menu setting that does not match the battery. Walking the path from panel to controller to battery, checking the display against real terminal measurements, and confirming the charge profile narrows the fault fast. If the controller shows scorch marks, repeated hardware alarms, or internal damage, that is the time to replace it. For everything else, the fix is usually smaller than a new part.