
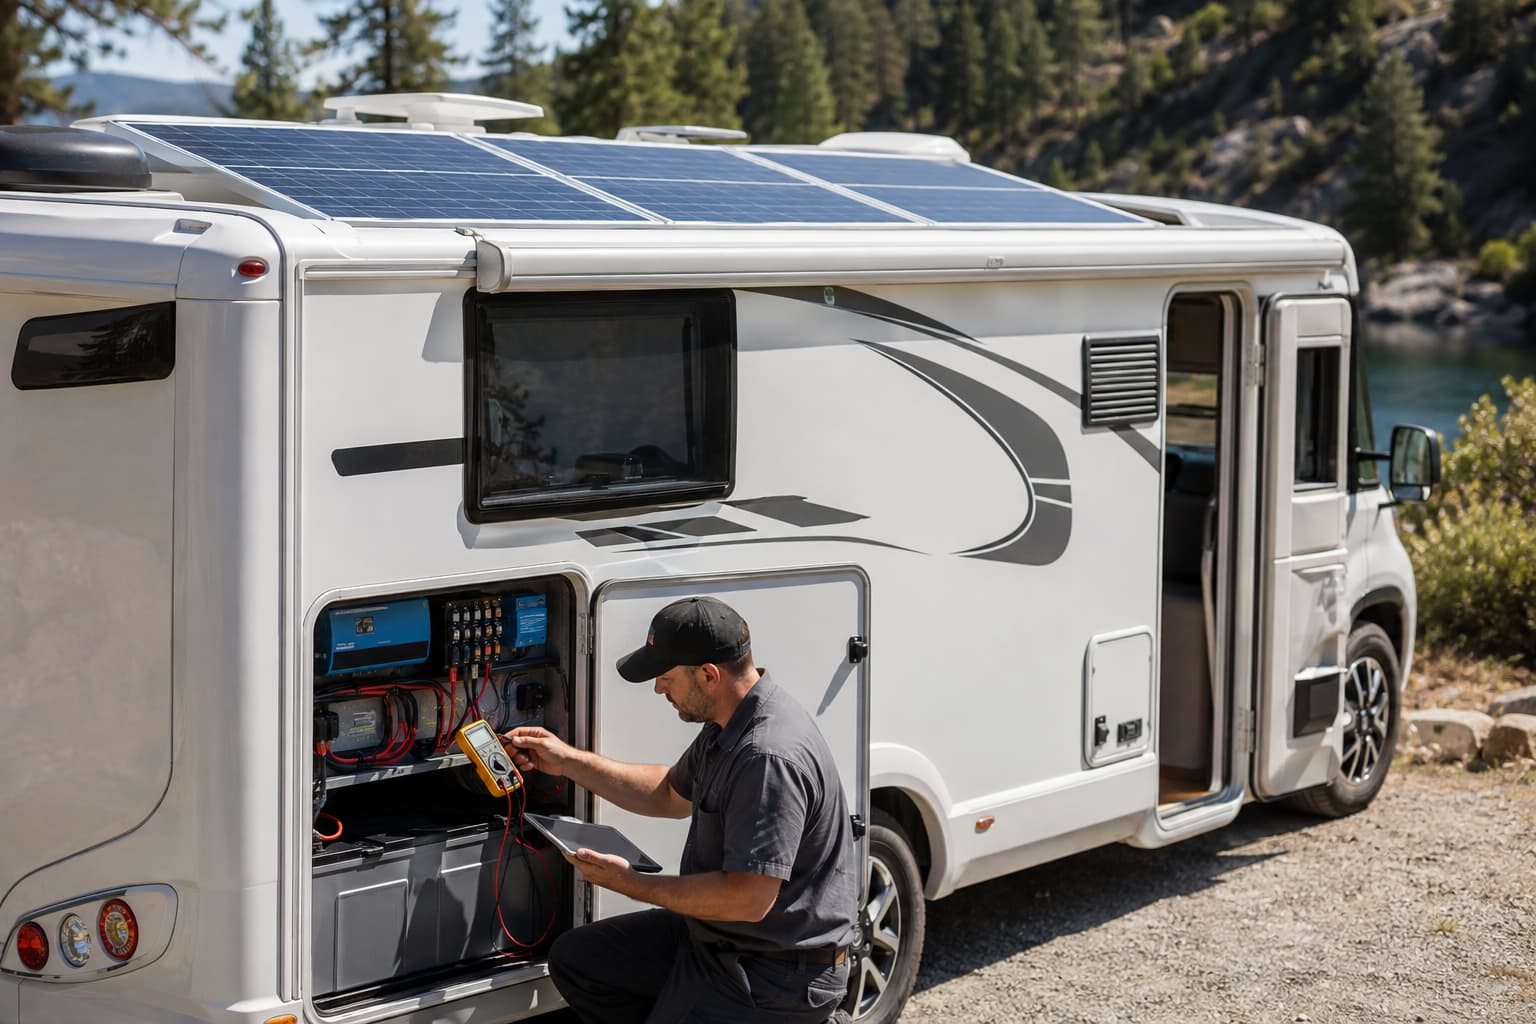
A solar power system for RV travel can appear ready while still failing on the first long trip. A brief driveway test may show strong charging under clear sun, but it cannot prove that the battery will cover overnight loads, recover after several hours of shade, or support the startup surge of a refrigerator, pump, or other appliance. Proper commissioning tests the complete energy path under conditions that resemble actual travel.
The result should be more than a verbal handover. Owners need measured limits for daily energy use, battery reserve, inverter loads, available charging sources, alarms, and low-sun operation. A clear commissioning record makes those limits easier to understand when the vehicle is far from shore power.
Define Solar Power System for RV Acceptance Targets
Start with the way the RV will actually be used. Weekend travel with regular campground hookups creates a different energy profile from full-time remote work or extended off-grid camping. List each appliance, its expected power demand, daily operating time, and any startup surge. Include standing loads such as routers, monitors, control boards, lighting controllers, and equipment that remains connected overnight.
Convert the load list into estimated daily watt-hours. Then define the minimum battery state the owner wants to preserve and the number of low-sun days the system should support. These figures provide a consistent basis for comparing Portable Solar Power Solutions and deciding what the commissioning process must demonstrate.
Separate confirmed measurements from assumptions. Refrigerator duty cycle, seasonal sunlight, parking shade, inverter efficiency, and travel habits can all change energy consumption. Record the test condition, expected result, responsible person, and evidence required for approval before the final test begins.
A panel nameplate rating alone does not show how much usable energy reaches the battery during a normal travel day. Acceptance targets should reflect actual energy use and reserve requirements rather than relying only on advertised component specifications.
Inspect the RV Solar Power System Before Full Load
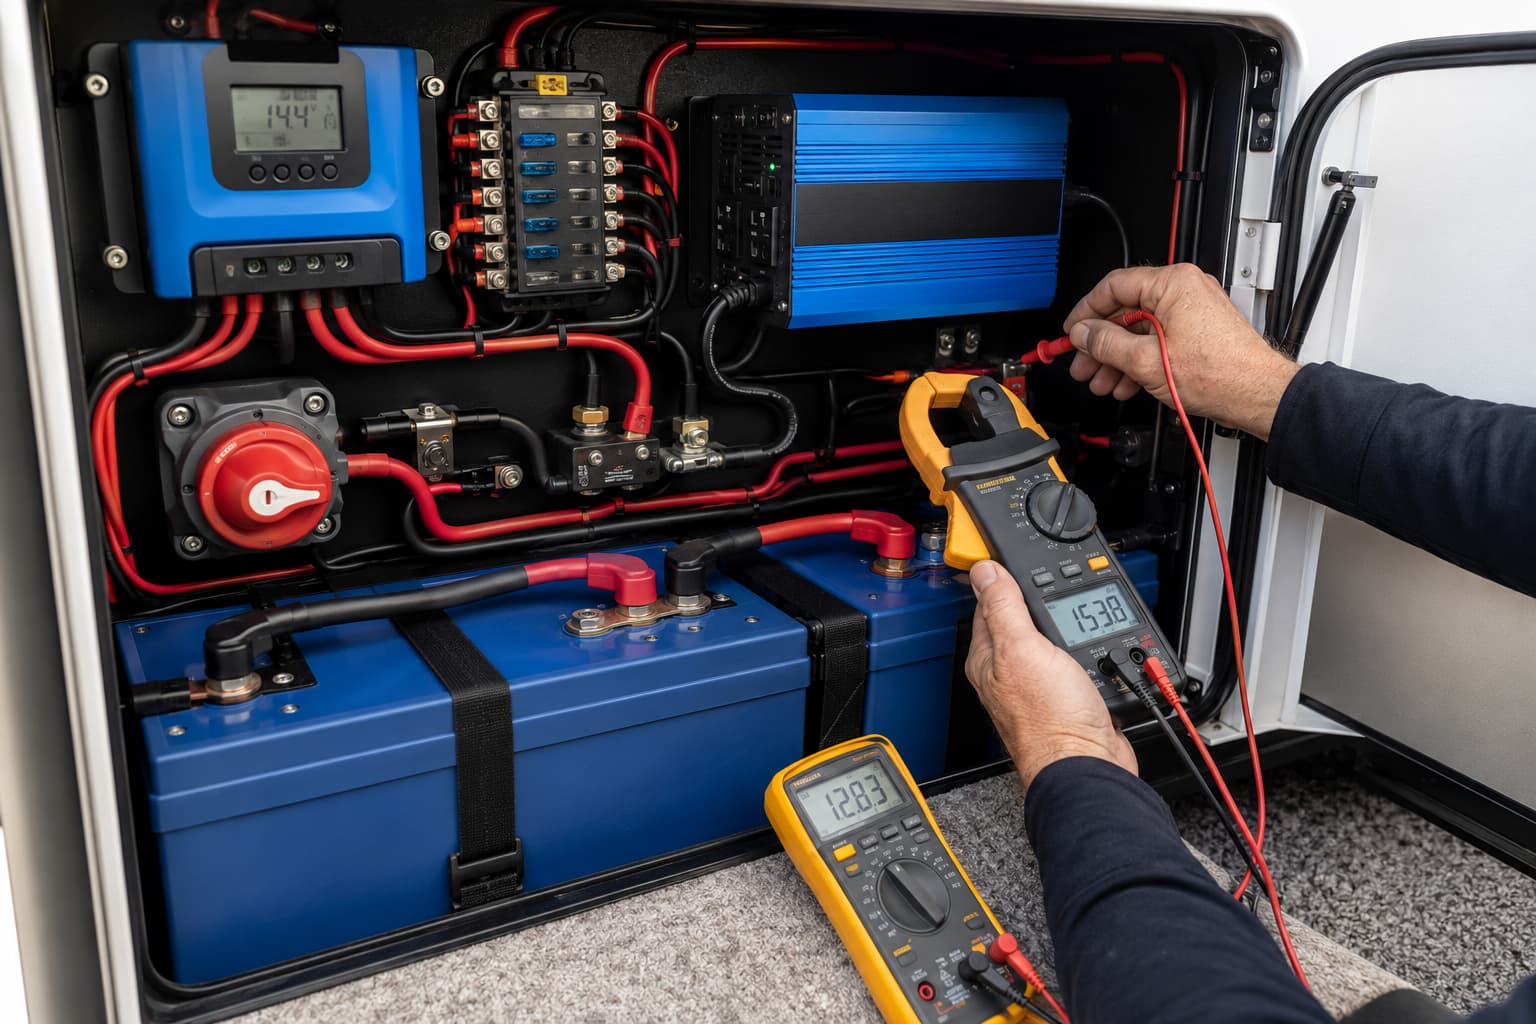
Complete a mechanical and electrical inspection before applying demanding loads. Roof mounts and penetrations should tolerate road vibration, water exposure, wind, and repeated temperature changes. Cables need proper support, abrasion protection, suitable service loops, and routing away from sharp edges or high-temperature components.
Check array polarity, conductor size, overcurrent protection, disconnects, enclosure clearance, battery retention, ventilation, and accessible isolation points. Verify connector engagement and compare terminal torque with the equipment manufacturer’s instructions.
The inspection should also confirm that important components remain accessible after furniture, storage panels, or interior covers are installed. A fuse, disconnect, controller, or connection that cannot be reached will make future maintenance and troubleshooting more difficult.
Relevant solar equipment options should therefore be evaluated not only by electrical rating but also by installation space, cable routing, cooling requirements, and maintenance access.
Correct visible installation defects before moving to performance testing.
Verify RV Solar Charging Under Recorded Conditions
Solar output changes with time of day, weather, panel temperature, battery state, orientation, and roof shade. A single peak number on a controller display does not show how much energy the array can deliver during a normal day.
Record environmental and battery conditions during every charging test so that the results can be interpreted later.
Measure array voltage, controller input, charging current, battery voltage, charging stage, and voltage drop between major components. Observe how output changes when an antenna, roof vent, air conditioner, tree, or nearby structure shades part of the array.
The Department of Energy’s overview of solar photovoltaic system design basics explains how orientation and shading influence photovoltaic performance. RV installations add another variable because parking direction and surrounding obstructions change from one location to another.
Avoid conducting the main charging test with a battery that is already full. A charge controller may reduce current as the battery approaches full charge, which can hide the array’s useful output.
Start from a documented battery state and run the test long enough to observe realistic charging behavior. For a solar power system for RV travel, the important question is whether available solar energy can replace expected daily consumption while maintaining the required battery reserve.
Load-Test the RV Battery and Inverter Together
The battery, cables, protection devices, and inverter operate as one electrical path. Test them together by adding loads in stages. Begin with smaller continuous appliances, then add the largest expected steady load and equipment with significant startup demand.
Record battery current, voltage at the battery terminals, voltage at the inverter input, inverter output, protective trips, fan behavior, and temperature rise at accessible connections.
A useful commissioning test should include appliances that the owner expects to operate at the same time. Testing each appliance separately may fail to reveal problems that occur only when combined loads are applied.
Voltage drop can indicate an undersized cable, excessive cable length, weak termination, damaged connection, or unsuitable connector. If a refrigerator, water pump, air conditioner, or other appliance causes the inverter to reset, determine the actual cause rather than increasing the fuse rating.
Electrical protection must remain matched to conductor and equipment limits.
A portable power station may simplify some RV power requirements, but practical checks are still necessary. Confirm supported continuous load, startup capability, charging time, usable battery reserve, connection method, ventilation, and placement inside the vehicle.
Test RV Solar, Shore, and Alternator Charging Sources
Many motorhomes combine solar charging with shore power and alternator charging. Test each source independently before checking how the complete system behaves when sources overlap or transfer while equipment is operating.
For shore power, confirm charger settings, current limits, grounding arrangement, and the behavior of connected AC appliances. For alternator charging, test under realistic engine conditions and monitor both charging current and the vehicle electrical system.
Solar testing should confirm that the controller continues to behave correctly when another charging source is active.
Observe transfer timing and verify that power cannot feed back into an unintended source. Record any equipment that shuts down or restarts when the supply changes.
The handover record should identify charging-source priority, current limits, and any operating restrictions the owner needs to understand. This is especially important in off-grid RV power systems where several charging methods may be used during the same travel day.
Calibrate RV Battery Monitoring and Low-Energy Warnings
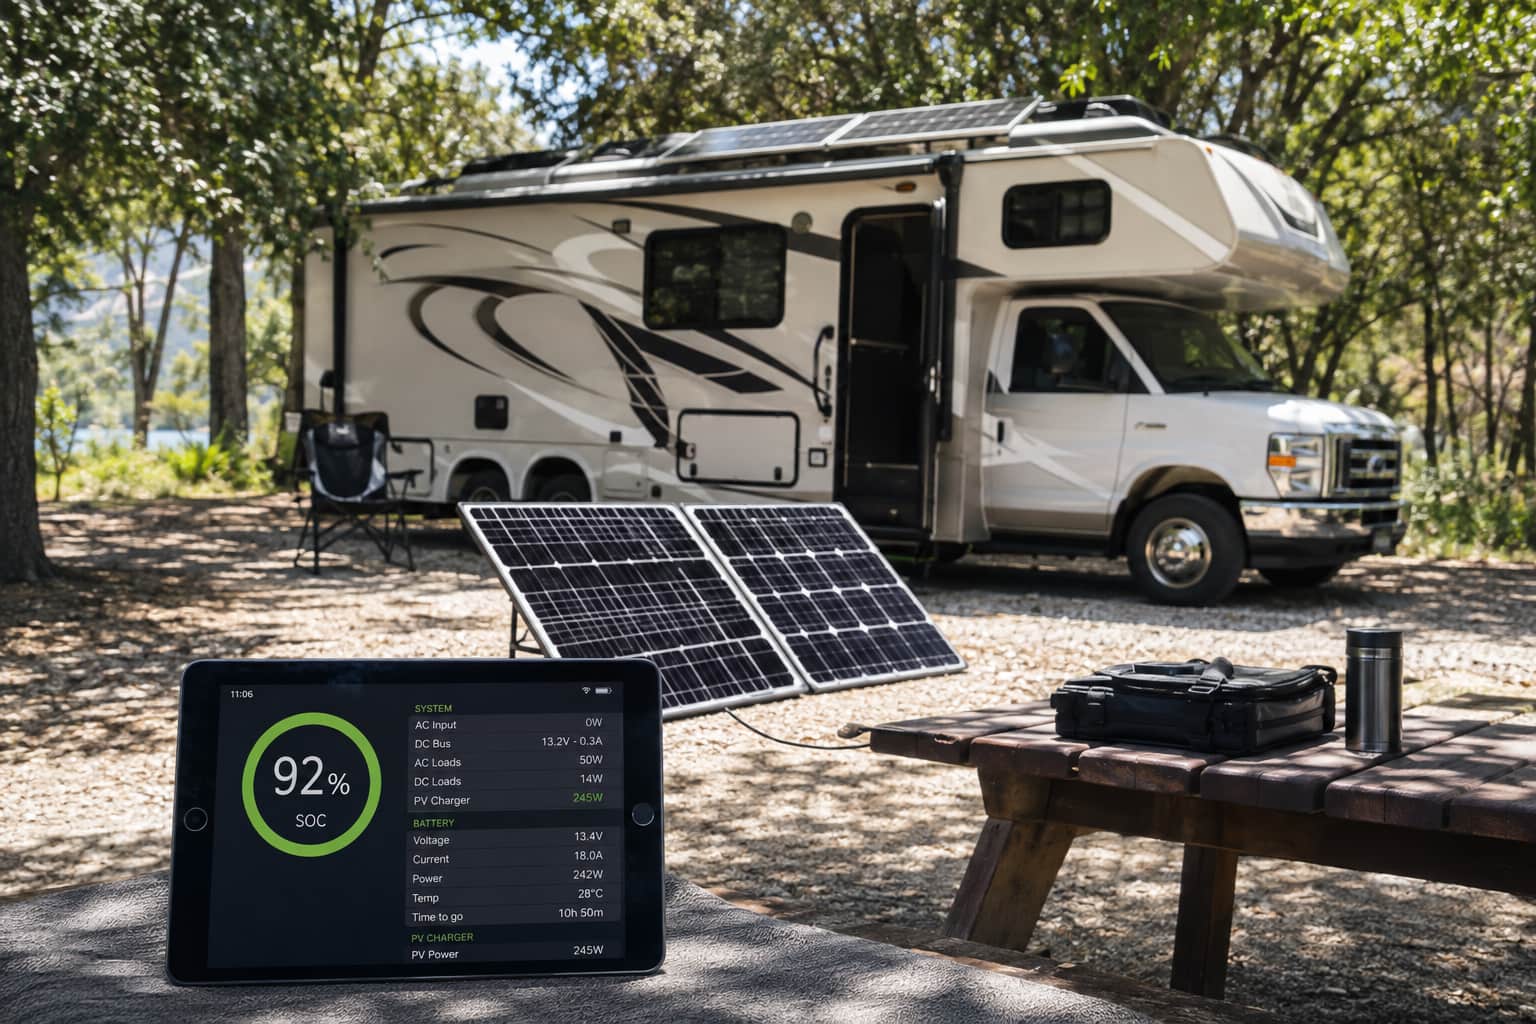
A monitoring display is useful only when it measures the complete battery path. Confirm that all intended charging and load current passes through the correct shunt or current sensor.
An accessory connected around the measurement point can cause the reported state of charge to drift over time.
Compare displayed voltage and current with appropriate test equipment at both light and heavier loads. Review battery capacity settings, charge efficiency, synchronization procedures, and alarm thresholds. Some state-of-charge estimates may require a complete charging cycle before becoming dependable.
Set the first warning early enough to preserve priority loads such as refrigeration, lighting, ventilation, and communications. Demonstrate what the owner should turn off, which charging source should be used, and when the system should be shut down.
Guidance on evaluating portable solar power can support equipment selection, but the RV handover record should retain the actual limits measured during commissioning.
Build a Useful RV Power System Handover Record
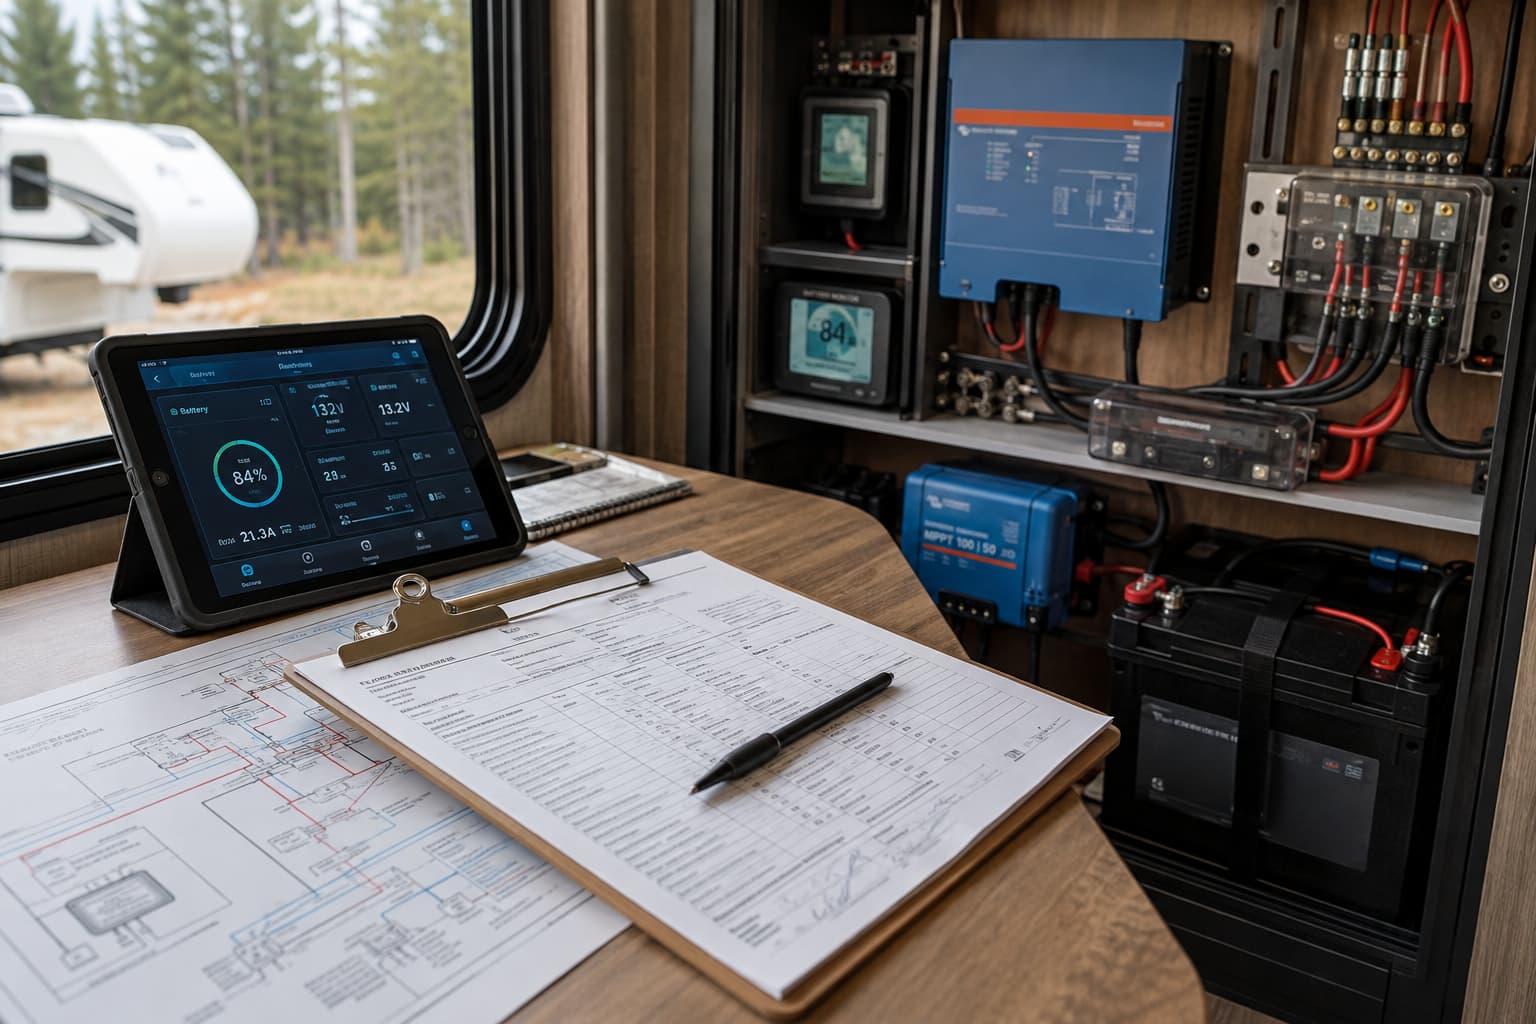
A useful handover file connects every test result with its operating conditions. Record starting and ending battery state, active loads, test duration, weather, charging source, measured values, alarm behavior, and any exceptions.
A photograph of a controller or monitor showing a current value provides little evidence unless the surrounding conditions are also documented.
Include system drawings, equipment settings, fuse and disconnect locations, isolation procedures, serial references, maintenance access points, and approved installation changes. Note which appliances were tested and identify any owner-supplied equipment that was unavailable during commissioning.
Future accessory additions should trigger another load and protection review instead of simply being connected to the existing system without checking remaining capacity.
The owner should receive clear operating boundaries for shade, low battery conditions, appliance combinations, seasonal sunlight changes, and backup charging. These practical limits are usually more useful on the road than a collection of component manuals alone.
A Commissioned RV Solar System Has Measured Limits
Final acceptance means the system can carry representative loads, accept every planned charging source, transfer safely, provide credible monitoring information, and maintain the agreed battery reserve.
Before approval, confirm daily energy balance, battery voltage behavior, inverter surge response, alarm operation, cable temperature, charging-source interaction, isolation instructions, maintenance access, and owner training.
A properly commissioned solar power system for RV travel should be supported by recorded measurements rather than panel wattage or battery capacity claims alone. When remaining limits are documented clearly, the owner can plan appliance use, charging, and battery reserve around real system performance during future trips.