Most RV owners get the solar panels right. The solar micro inverter is where things go sideways. Wrong placement, skipped wiring steps, or an undersized unit, and you’re sitting in a campsite with no AC power and a very long evening ahead.
What You Need Before Installing a Solar Micro Inverter?
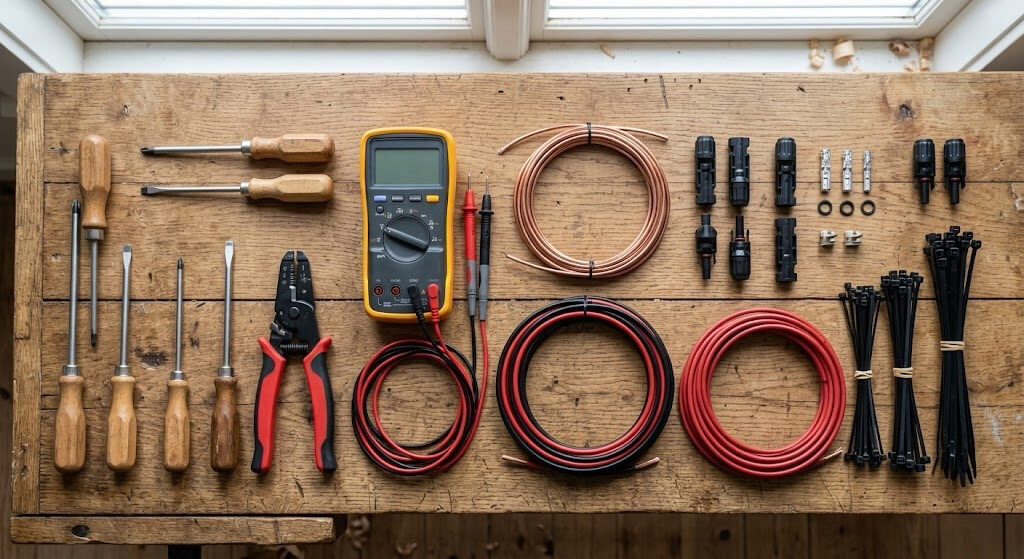
Before you touch a single wire, gather everything. Mid-job supply runs kill momentum and increase wiring errors.
Tools:
- Screwdriver set (flathead + Phillips)
- Wire stripper and crimping tool
- Multimeter
- Drill with mounting bits
- Cable ties and mounting brackets
Components:
- Solar micro inverter (sized to your panel — typically 250W–350W per unit)
- Solar panel(s) with MC4 connectors
- AC junction box or dedicated RV outlet
- UV-resistant wiring conduit
- 10 AWG or 12 AWG copper wire (check your inverter’s spec sheet)
A 300W solar micro inverter paired with a matching panel will reliably deliver around 240–270W of usable AC output under real-world conditions — not the lab-perfect figures on the box.
How to Install a Solar Micro Inverter Step by Step?
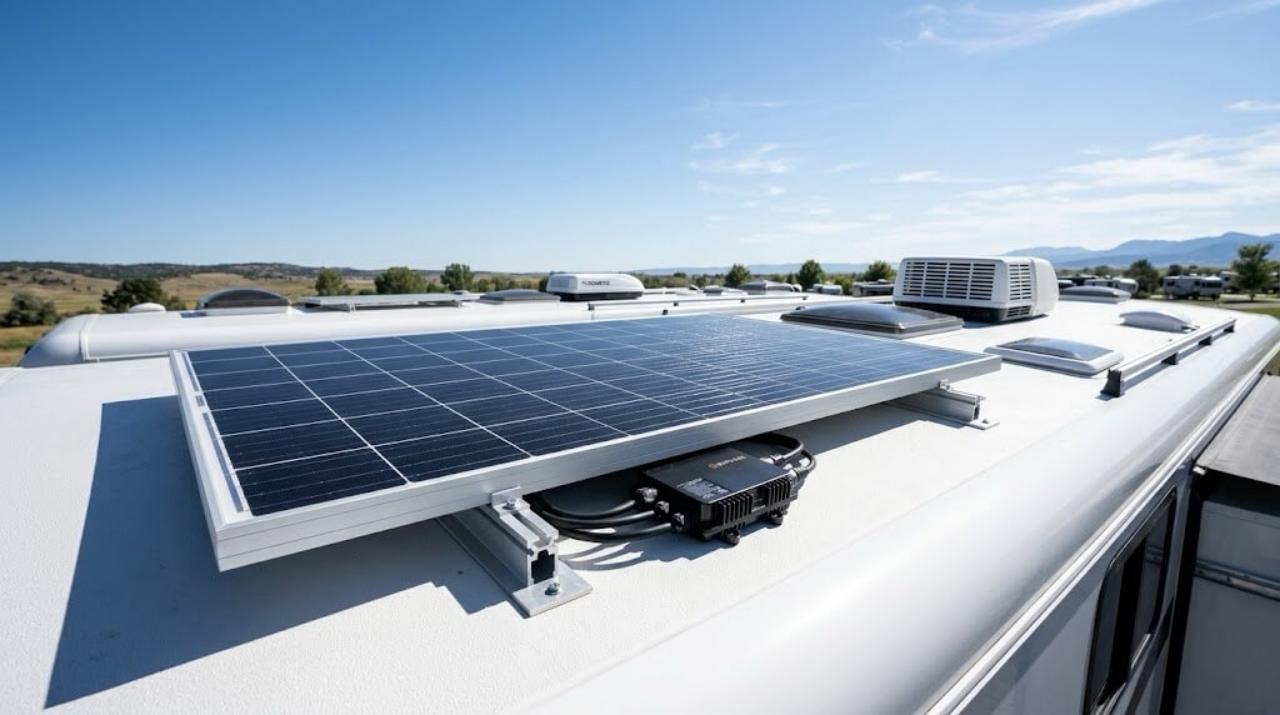
Step 1 – Choose the Right Location. Mount the solar micro inverter directly beneath its corresponding solar panel on the RV roof or exterior wall. Each microinverter works independently at the panel level, so placement matters for heat dissipation and cable length.
Avoid enclosed spaces with no airflow. Operating temperatures above 113°F (45°C) will trigger thermal throttling, reducing output. A shaded underside of the panel frame is ideal.
Step 2 – Connect to the Solar Panel. Plug the panel’s DC output cables into the solar micro inverter’s input ports using the MC4 connectors. These are keyed — positive to positive, negative to negative. They click into place; if you’re forcing it, something’s wrong. Double-check polarity with your multimeter before proceeding. A reversed connection won’t always trip a breaker immediately, but it will damage the unit over time.
Step 3 – Wire to Your RV’s Power System. Run the inverter’s AC output cable through your conduit and into the RV’s AC junction box or a dedicated outlet. Use wire rated for outdoor UV exposure — standard indoor wire degrades fast on a rooftop. Connect to a dedicated 15A or 20A breaker, depending on your inverter’s output rating. Never share a breaker with high-draw appliances like an air conditioner or microwave.
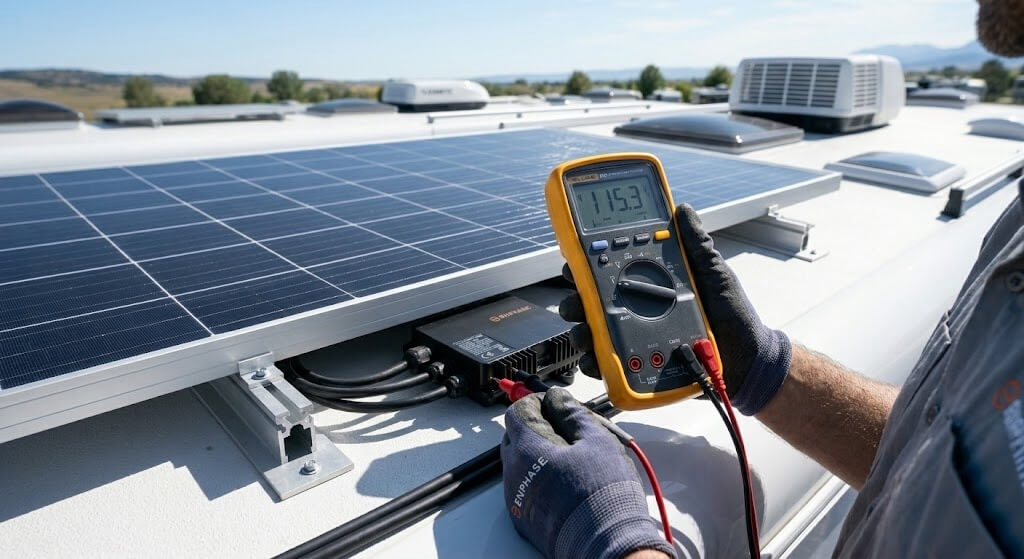
Step 4 – Test the Solar Micro Inverter Output. Power up the system in direct sunlight and use your multimeter to confirm AC voltage at the output — you should read between 110V and 120V for North American setups. Most solar micro inverters also have LED indicators: solid green means normal operation, flashing means the unit is still syncing. Give it 5–10 minutes. If output stays below 80% of rated wattage in full sun, recheck your MC4 connections first — loose contacts are the most common culprit.
Common errors during installation
Mismatching wattage. A 400W panel paired with a 250W solar micro inverter wastes generation capacity. Match inverter rating to panel wattage within ±10%.
Skipping the conduit. Exposed wiring on an RV roof cracks within a season from UV and road vibration. Always sleeve your cables.
Ignoring the breaker rating. Oversized breakers don’t protect the inverter — they protect the wiring. Size your breaker to the wire, not the inverter’s peak output.
Not checking firmware. Some solar micro inverters ship with outdated firmware that limits compliance with grid frequency. Check the manufacturer’s site before installation.
Ensure your solar micro inverter operates efficiently in any motorhome
Check MC4 connectors every 6 months, especially if you often drive near coastal areas where salt air can speed up corrosion. Look for green or white residue, loose locking clips, cracked housings, or dark burn marks around the connector. These problems can increase resistance, reduce charging efficiency, and create heat at the connection point.
Clean the solar panel surface regularly as well. Dust, pollen, road grime, and bird droppings can block sunlight and lower output even when the panel still looks mostly clean. Use water and a soft cloth instead of harsh cleaners that may damage the surface coating. After cleaning, compare the charging wattage under similar sunlight conditions to see whether the output improves.
Also, keep airflow clear around the inverter housing. Do not pack bags, blankets, or tools tightly against the vents, because trapped heat forces the inverter to work harder and may trigger shutdowns or shorten its service life. A simple check before each trip can prevent many charging problems from becoming expensive failures.
Not sure which solar micro inverter is right for your RV, or running into issues during setup? Contact the Homesolars team — we’re happy to help you find the right solution and walk you through the process.