
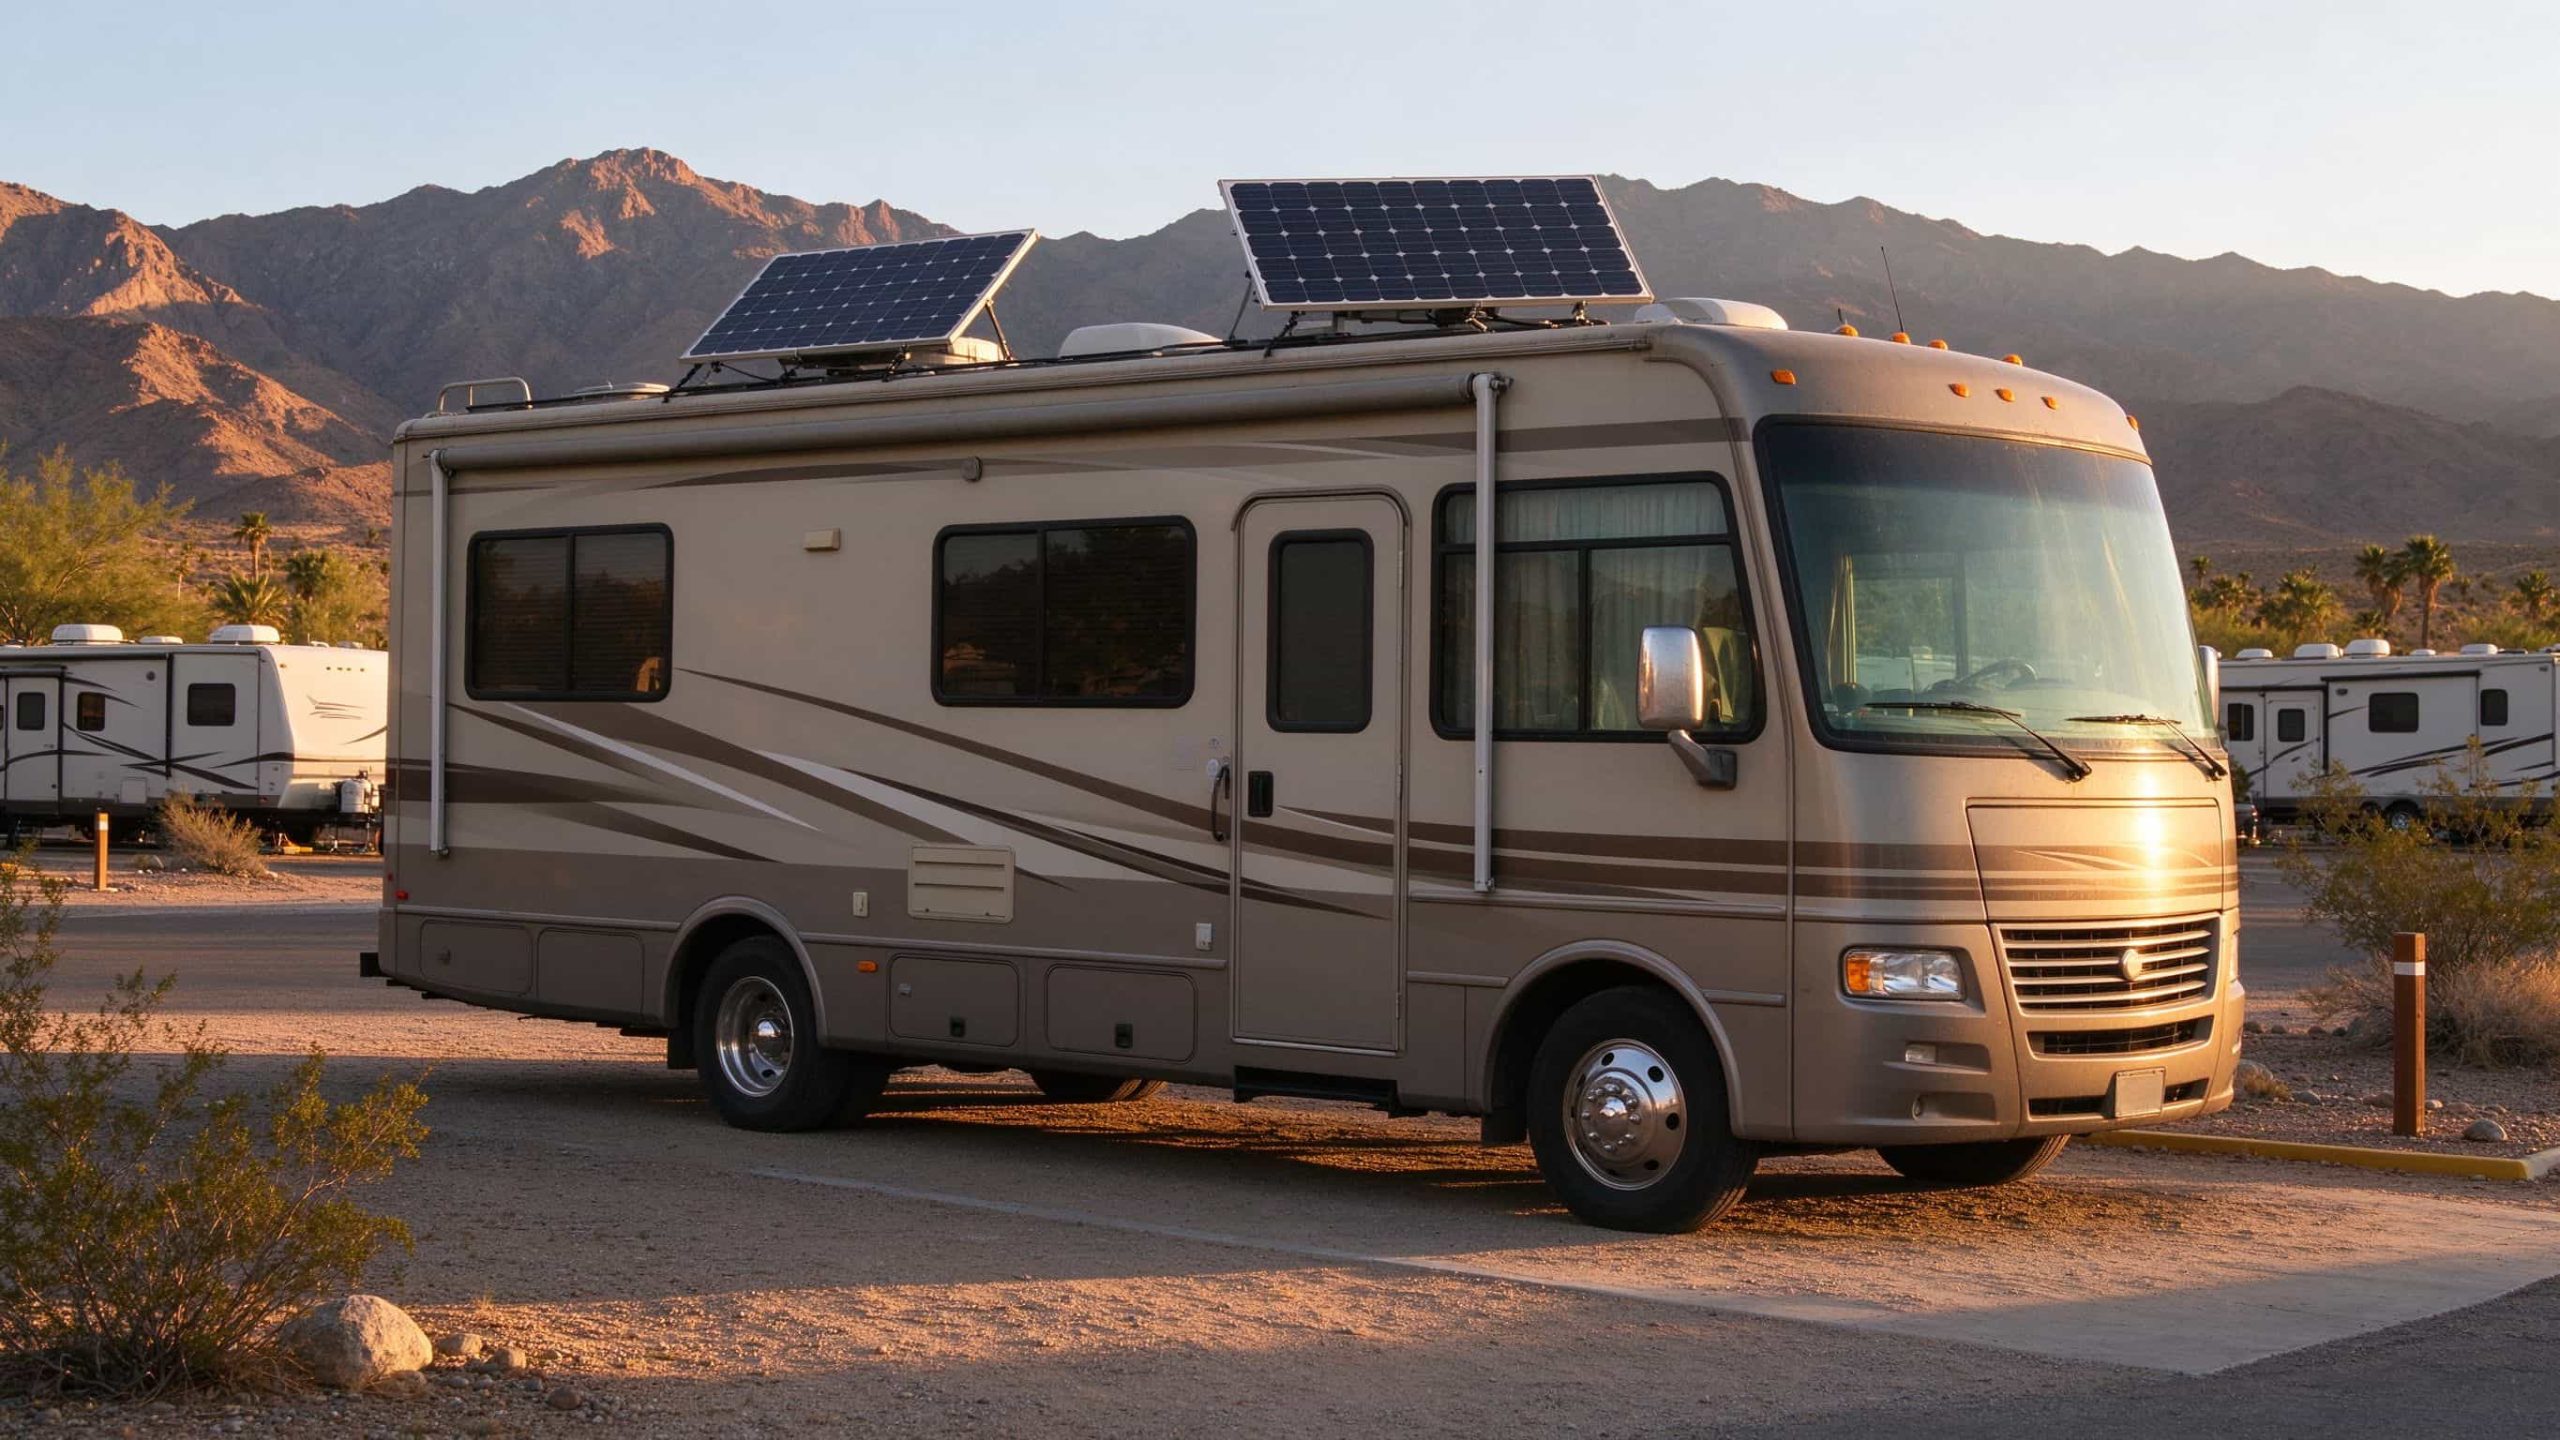
Reading an RV solar wiring diagram is easier than it looks. The whole system is just four devices in a row: roof panels, a charge controller, a battery bank, and an inverter. You can wire all of it in a weekend with basic hand tools and no previous electrical experience. The diagram only gets tricky when you add a second battery bank, a shore power converter, or a split charger for the engine battery. Start with the simplest version, get it working, and expand later.
RV Solar Wiring Diagram Functions
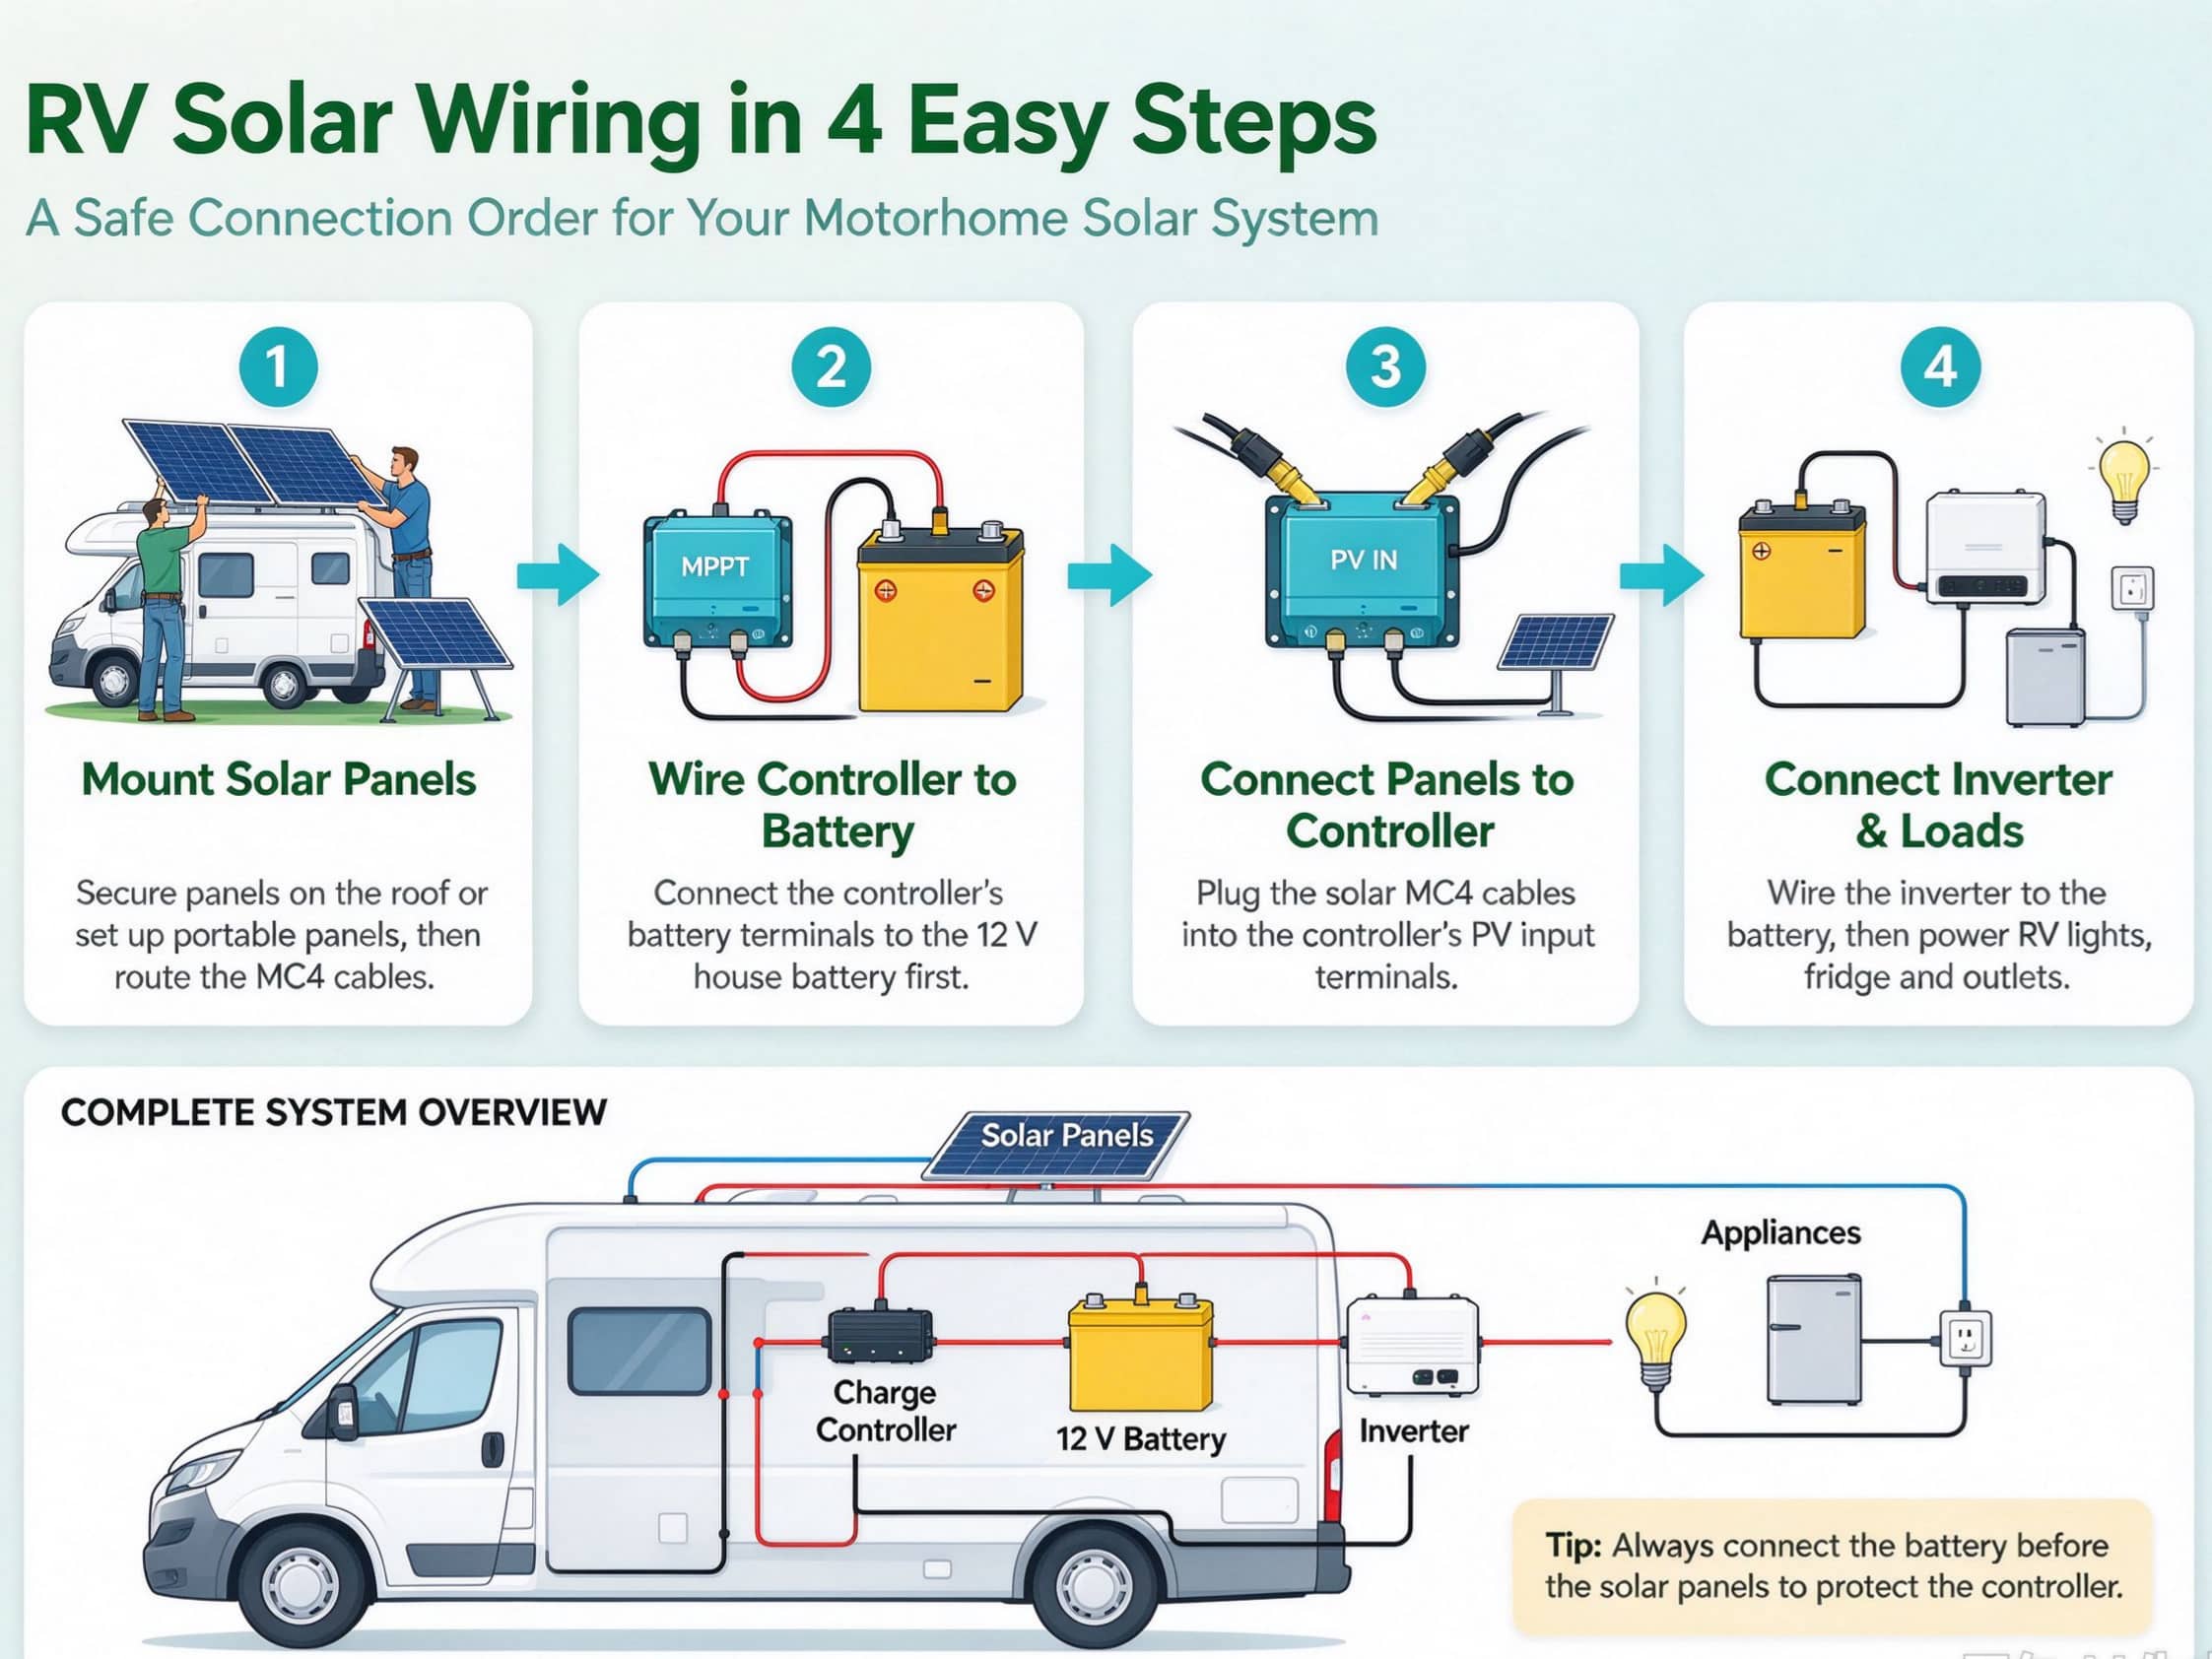
An RV solar wiring diagram is not a schematic for an engineer. It is a picture of the order your cables must follow, from the roof panels all the way to the 120V outlet by the bed. Every device has one job. The panels make DC power. The charge controller protects the battery from overcharging. The battery stores the power. The inverter turns stored DC into AC for your laptop, coffee maker, and TV. Get the order right, and the system works. Skip a fuse or reverse the positive and negative, and you can melt a cable before you even finish breakfast.
The diagram I used for my own 200W build had exactly six components: two roof panels in parallel, a 30A MPPT controller, a 100Ah LiFePO4 battery, a 1000W inverter, a 30A DC breaker between the battery and the inverter, and a 15A inline fuse on the positive wire between the controller and the battery. I drew it on a piece of paper before I ran a single cable, and I taped that paper to the inside of the battery compartment. If you can follow that paper, you can follow the diagram.
The Core RV Solar Wiring Diagram in Four Steps
The four steps below follow the current path the way electricity actually flows, from the roof panels down to the wall outlets. Do them in order. Wire one device at a time, double-check every connection, and never connect the battery last without confirming the polarity on every terminal. Keep the tools you need within reach: a Phillips screwdriver, a 10mm and 13mm wrench, a wire stripper, a roll of electrical tape, and a multimeter. Tape the end of every loose cable as you go, because a live positive that touches a ground plane will spark before you even see it. Budget a full weekend for the first build.
RV Solar Wiring Diagram: RV Solar Panels to Charge Controller
The roof panels connect to the controller by MC4 cables. Most 100W to 200W panels come with MC4 connectors already crimped on. Run the cables through a roof gland, seal the hole with self-leveling lap sealant, and bring them inside to the controller. Wire the positive to the PV+ terminal and the negative to PV-. Do not connect the battery yet. With just the panels wired, the controller display should light up and show the open-circuit voltage from the roof. If it does not, you have a reversed or loose connection before any battery is involved.
Charge Controller to Battery Bank
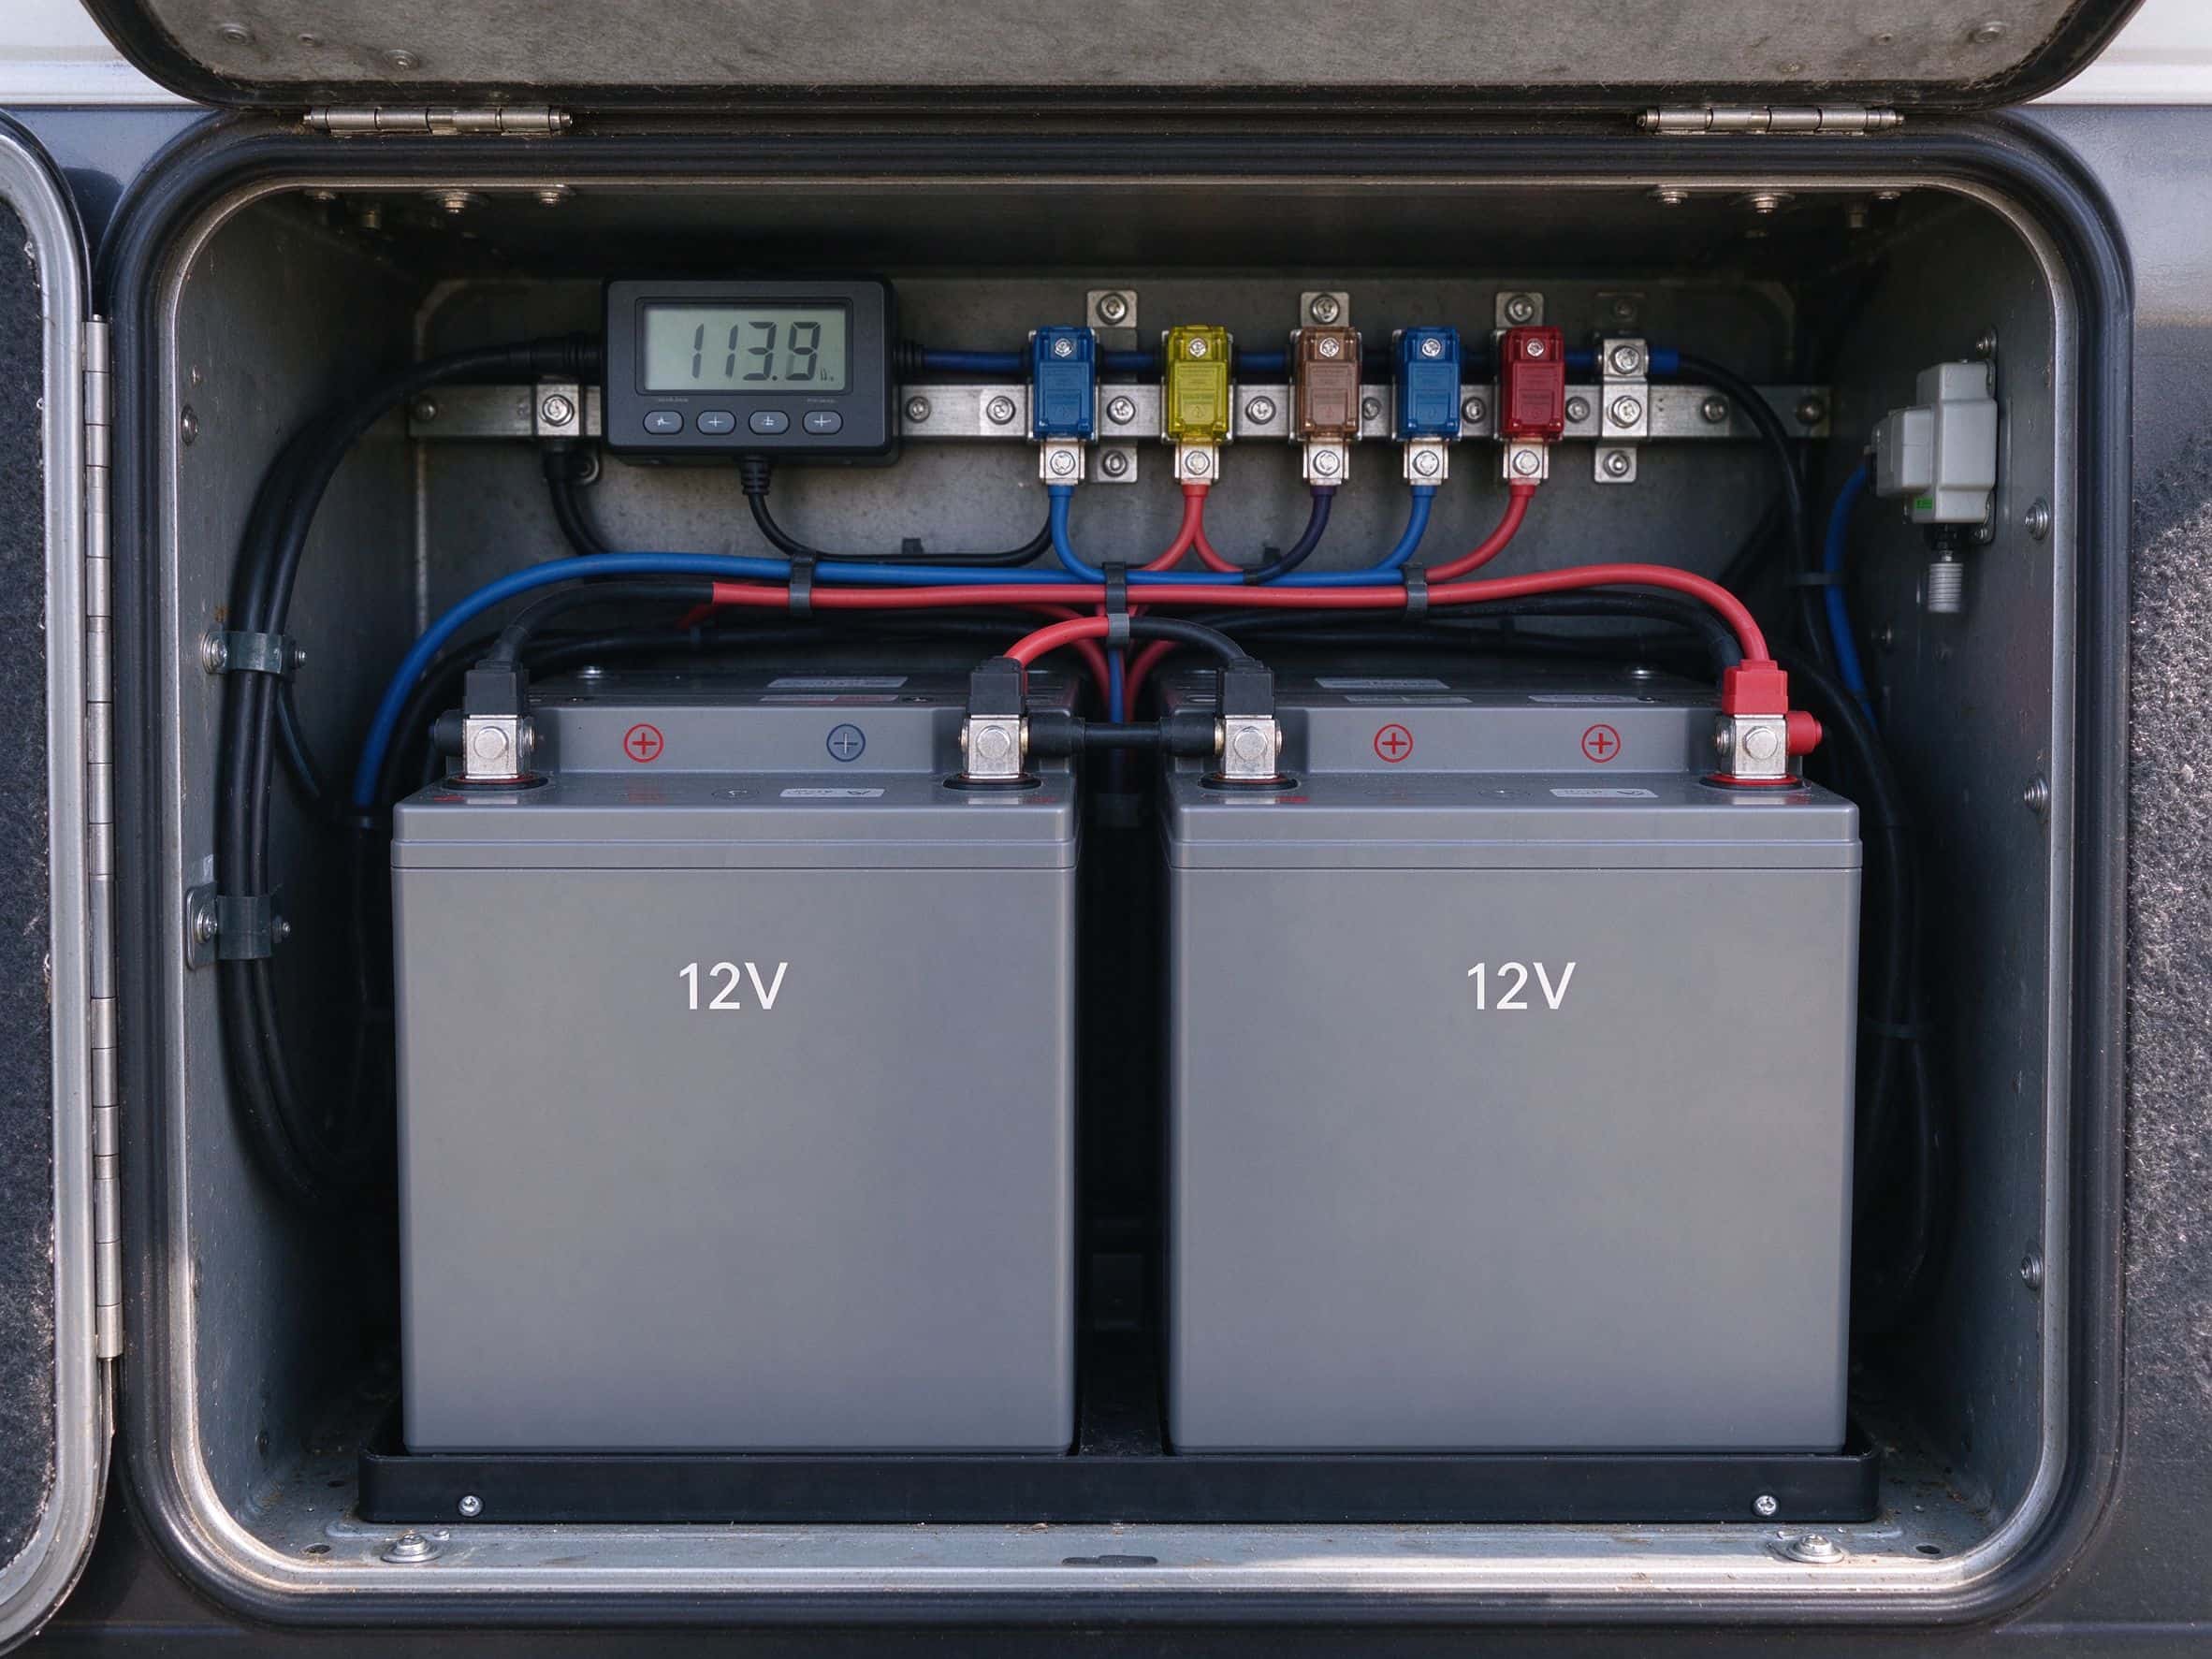
Next, run a fused cable from the battery+ terminal on the controller to the positive post on the battery. Use the correct wire gauge: 10 AWG for runs under 10 feet, 8 AWG for longer. Put a 15A to 30A inline fuse within seven inches of the battery positive post. This fuse blows if the controller shorts out. Without it, a dead short can start a fire. The negative wire goes straight from the controller’s battery terminal to the battery negative post. Tighten every terminal to the torque printed on the battery label. Loose terminals are the number one cause of melted lugs in RVs.
Battery to Fuses and DC Loads
From the battery positive post, run a second fused cable to a DC fuse block. That fuse block powers the 12V lights, the water pump, the vent fan, and the USB outlets around the coach. Each circuit on the fuse block gets its own fuse sized to the wire on that circuit. A 10A fuse is enough for LED lights and USB ports. A 15A fuse handles the water pump. Label every fuse before you close the panel, because you will be looking at it in the dark one night.
Inverter to 120V Outlets
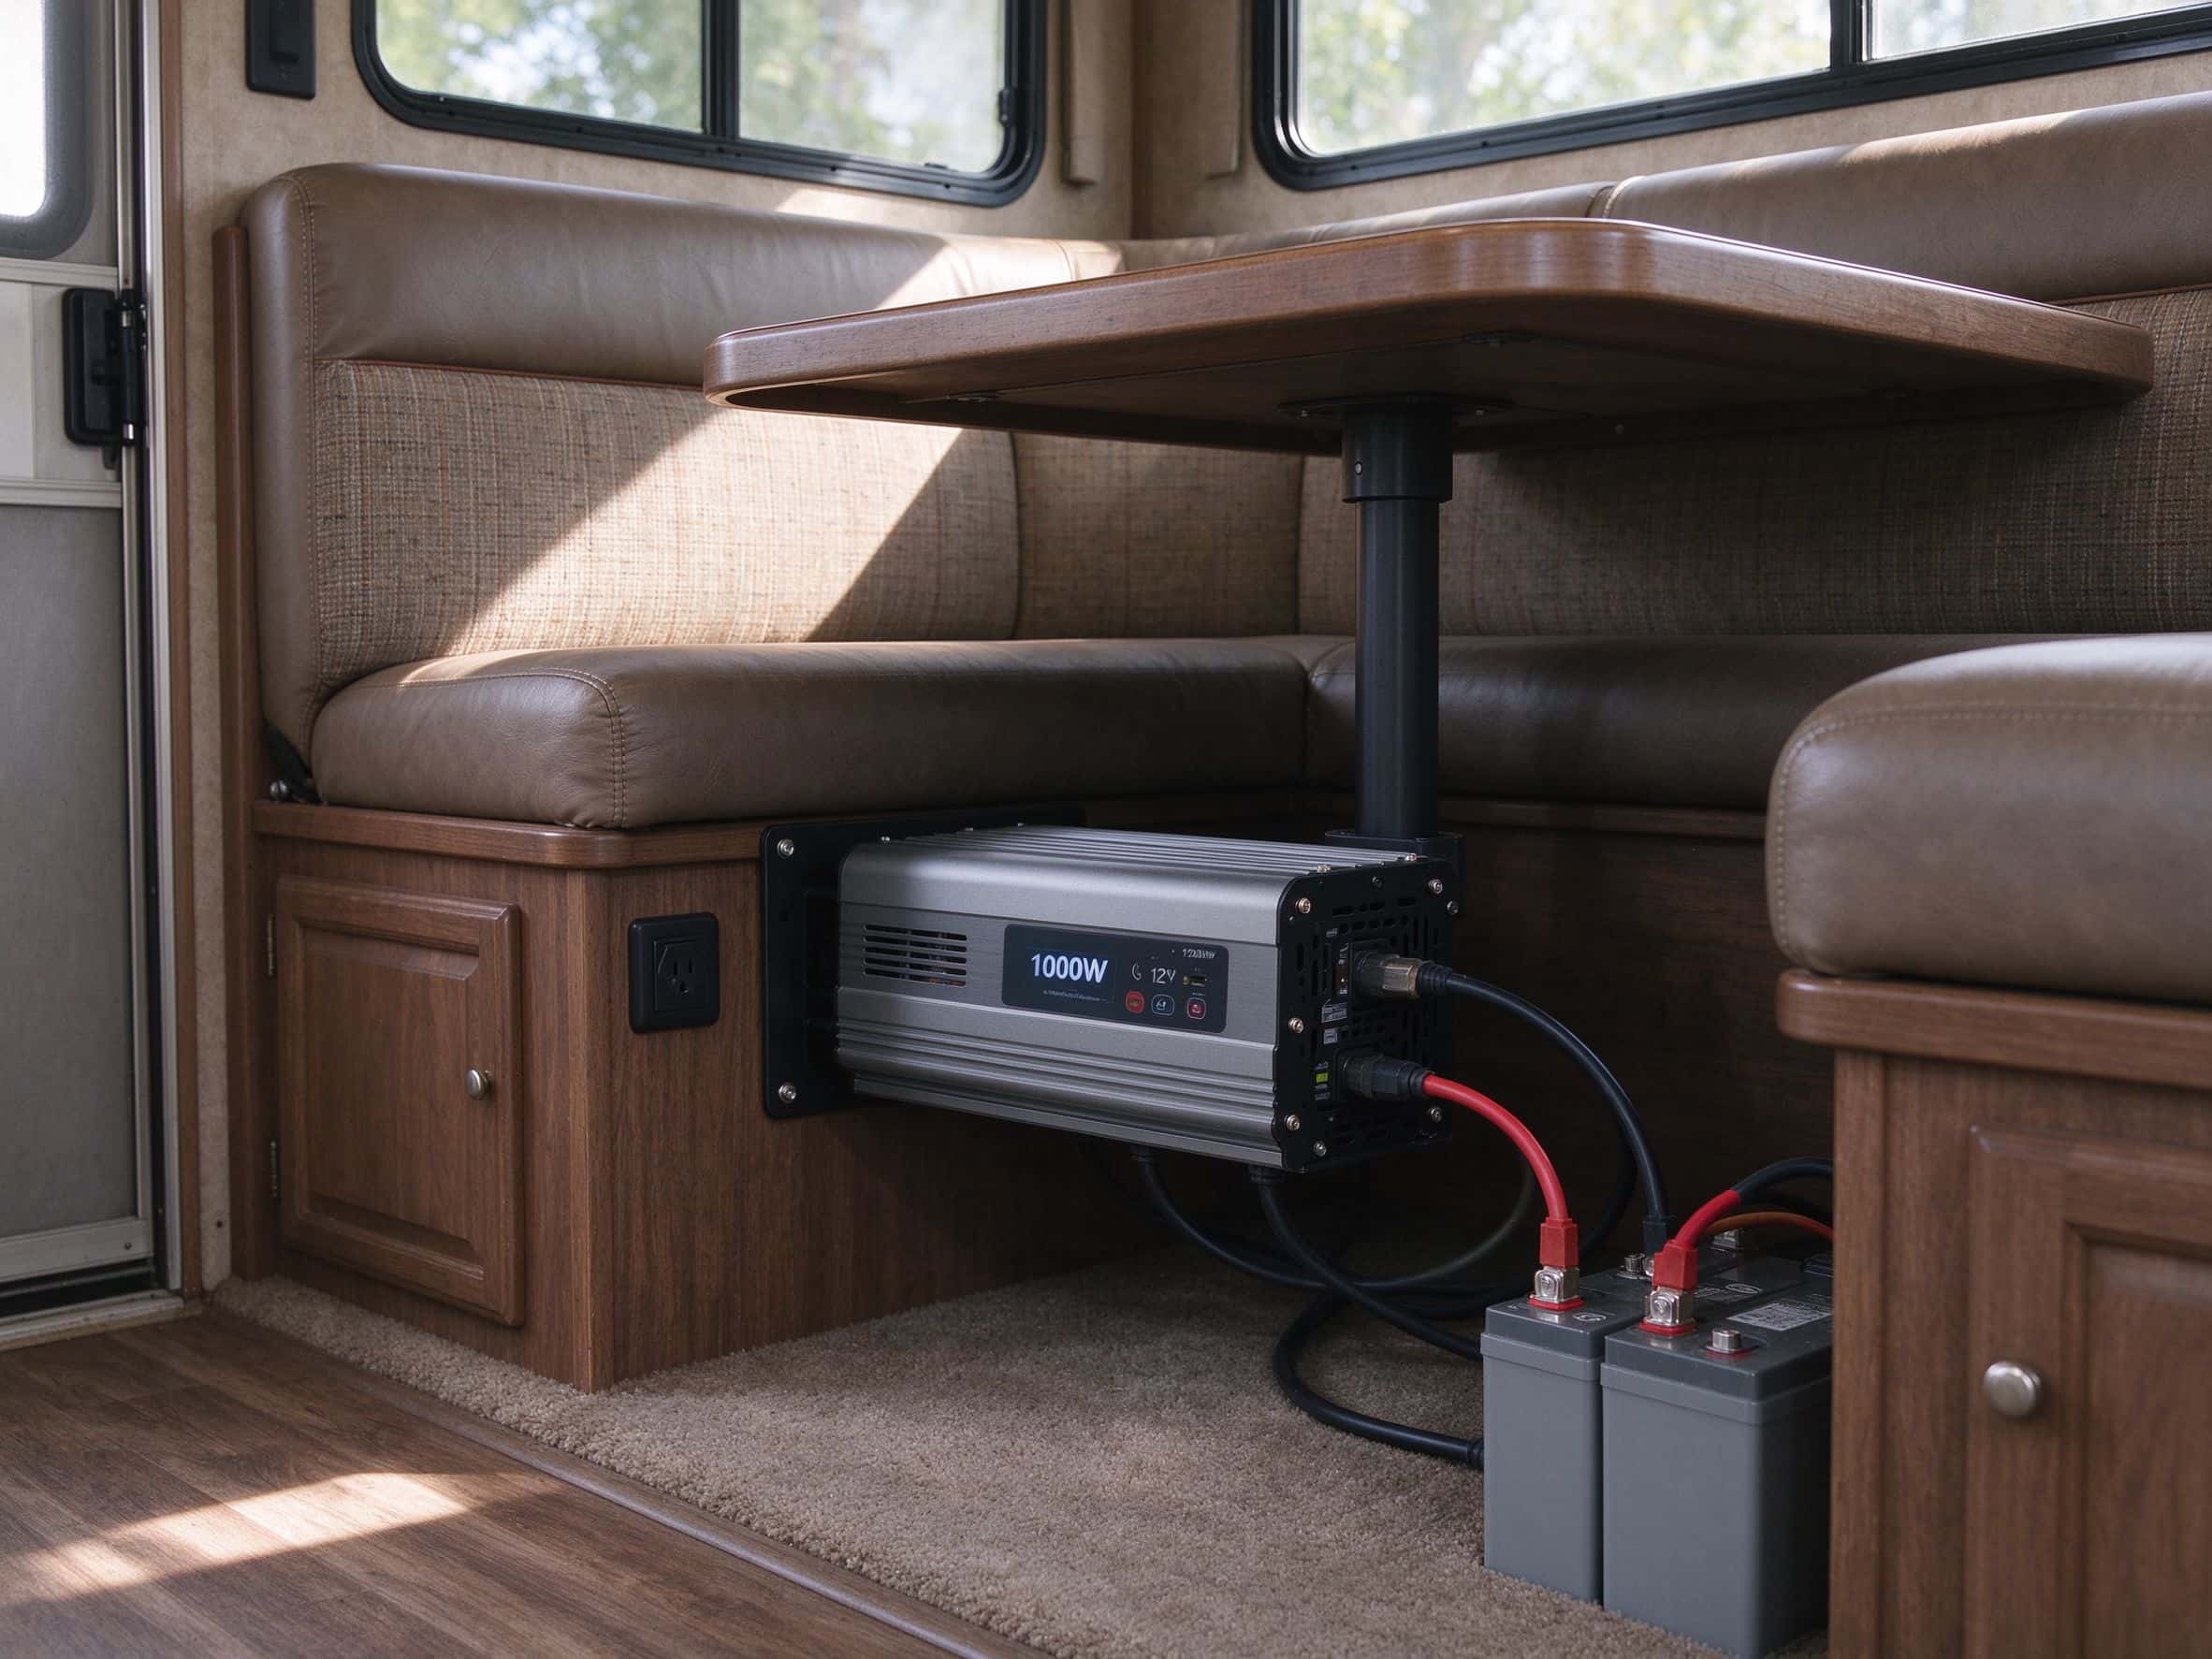
Finally, connect the inverter to the battery with the heaviest cables the inverter lugs will accept. A 1000W inverter at 12V draws about 80A at full load, so the cables between the battery and the inverter must be 4 AWG or thicker for runs over three feet. Put a 100A to 200A breaker on the positive cable within a foot of the battery. Plug your 120V appliances into the inverter’s AC outlets. Do not wire the inverter into the shore power inlet yourself unless you know how to install an automatic transfer switch. Backfeeding into a shore power pedestal is a fire and shock hazard.
Three RV Solar Wiring Mistakes That Burn Up Systems
I have seen enough builds go sideways to know that the diagram is only half the job. The other half is avoiding the cheap mistakes that turn a $600 project into a $1,200 repair.
- Forgetting the fuse on the positive cable. Every positive wire that leaves the battery needs a fuse within seven inches of the post. Skipping that fuse is the most common mistake new RVers make. A shorted cable melts insulation fast, and RV walls are thin.
- Using too-thin wire for long runs. Voltage drop is real. A 10-foot run of 12 AWG on a 12V circuit loses enough power to dim your lights and trick your controller into thinking the battery is full. Size the wire by the current and the length, not by what feels cheap.
- Connect the battery first. Always wire panels to controller first, then controller to battery, then battery to inverter. Reverse that order, and you can fry the controller before you even turn it on. The MPPT vs PWM charge controller guide explains why that order matters more with MPPT units, which are less forgiving about hot-plugging.
Start With the Simplest Diagram
An RV solar wiring diagram looks intimidating on paper, but once you trace the current path, it is just four devices in a row. Panels to controller, controller to battery, battery to fuse block and inverter, inverter to outlets. Fuse every positive cable close to the battery. Use the right wire gauge. Double-check polarity before you connect anything. Start with a 200W panel and a 100Ah battery, and leave room on the rail for a second panel later. Do that, and your boondocking setup quietly keeps the fridge, the lights, and the laptop running for days off-grid — no generator, no shore power, and no surprise melted cables under the bed.