
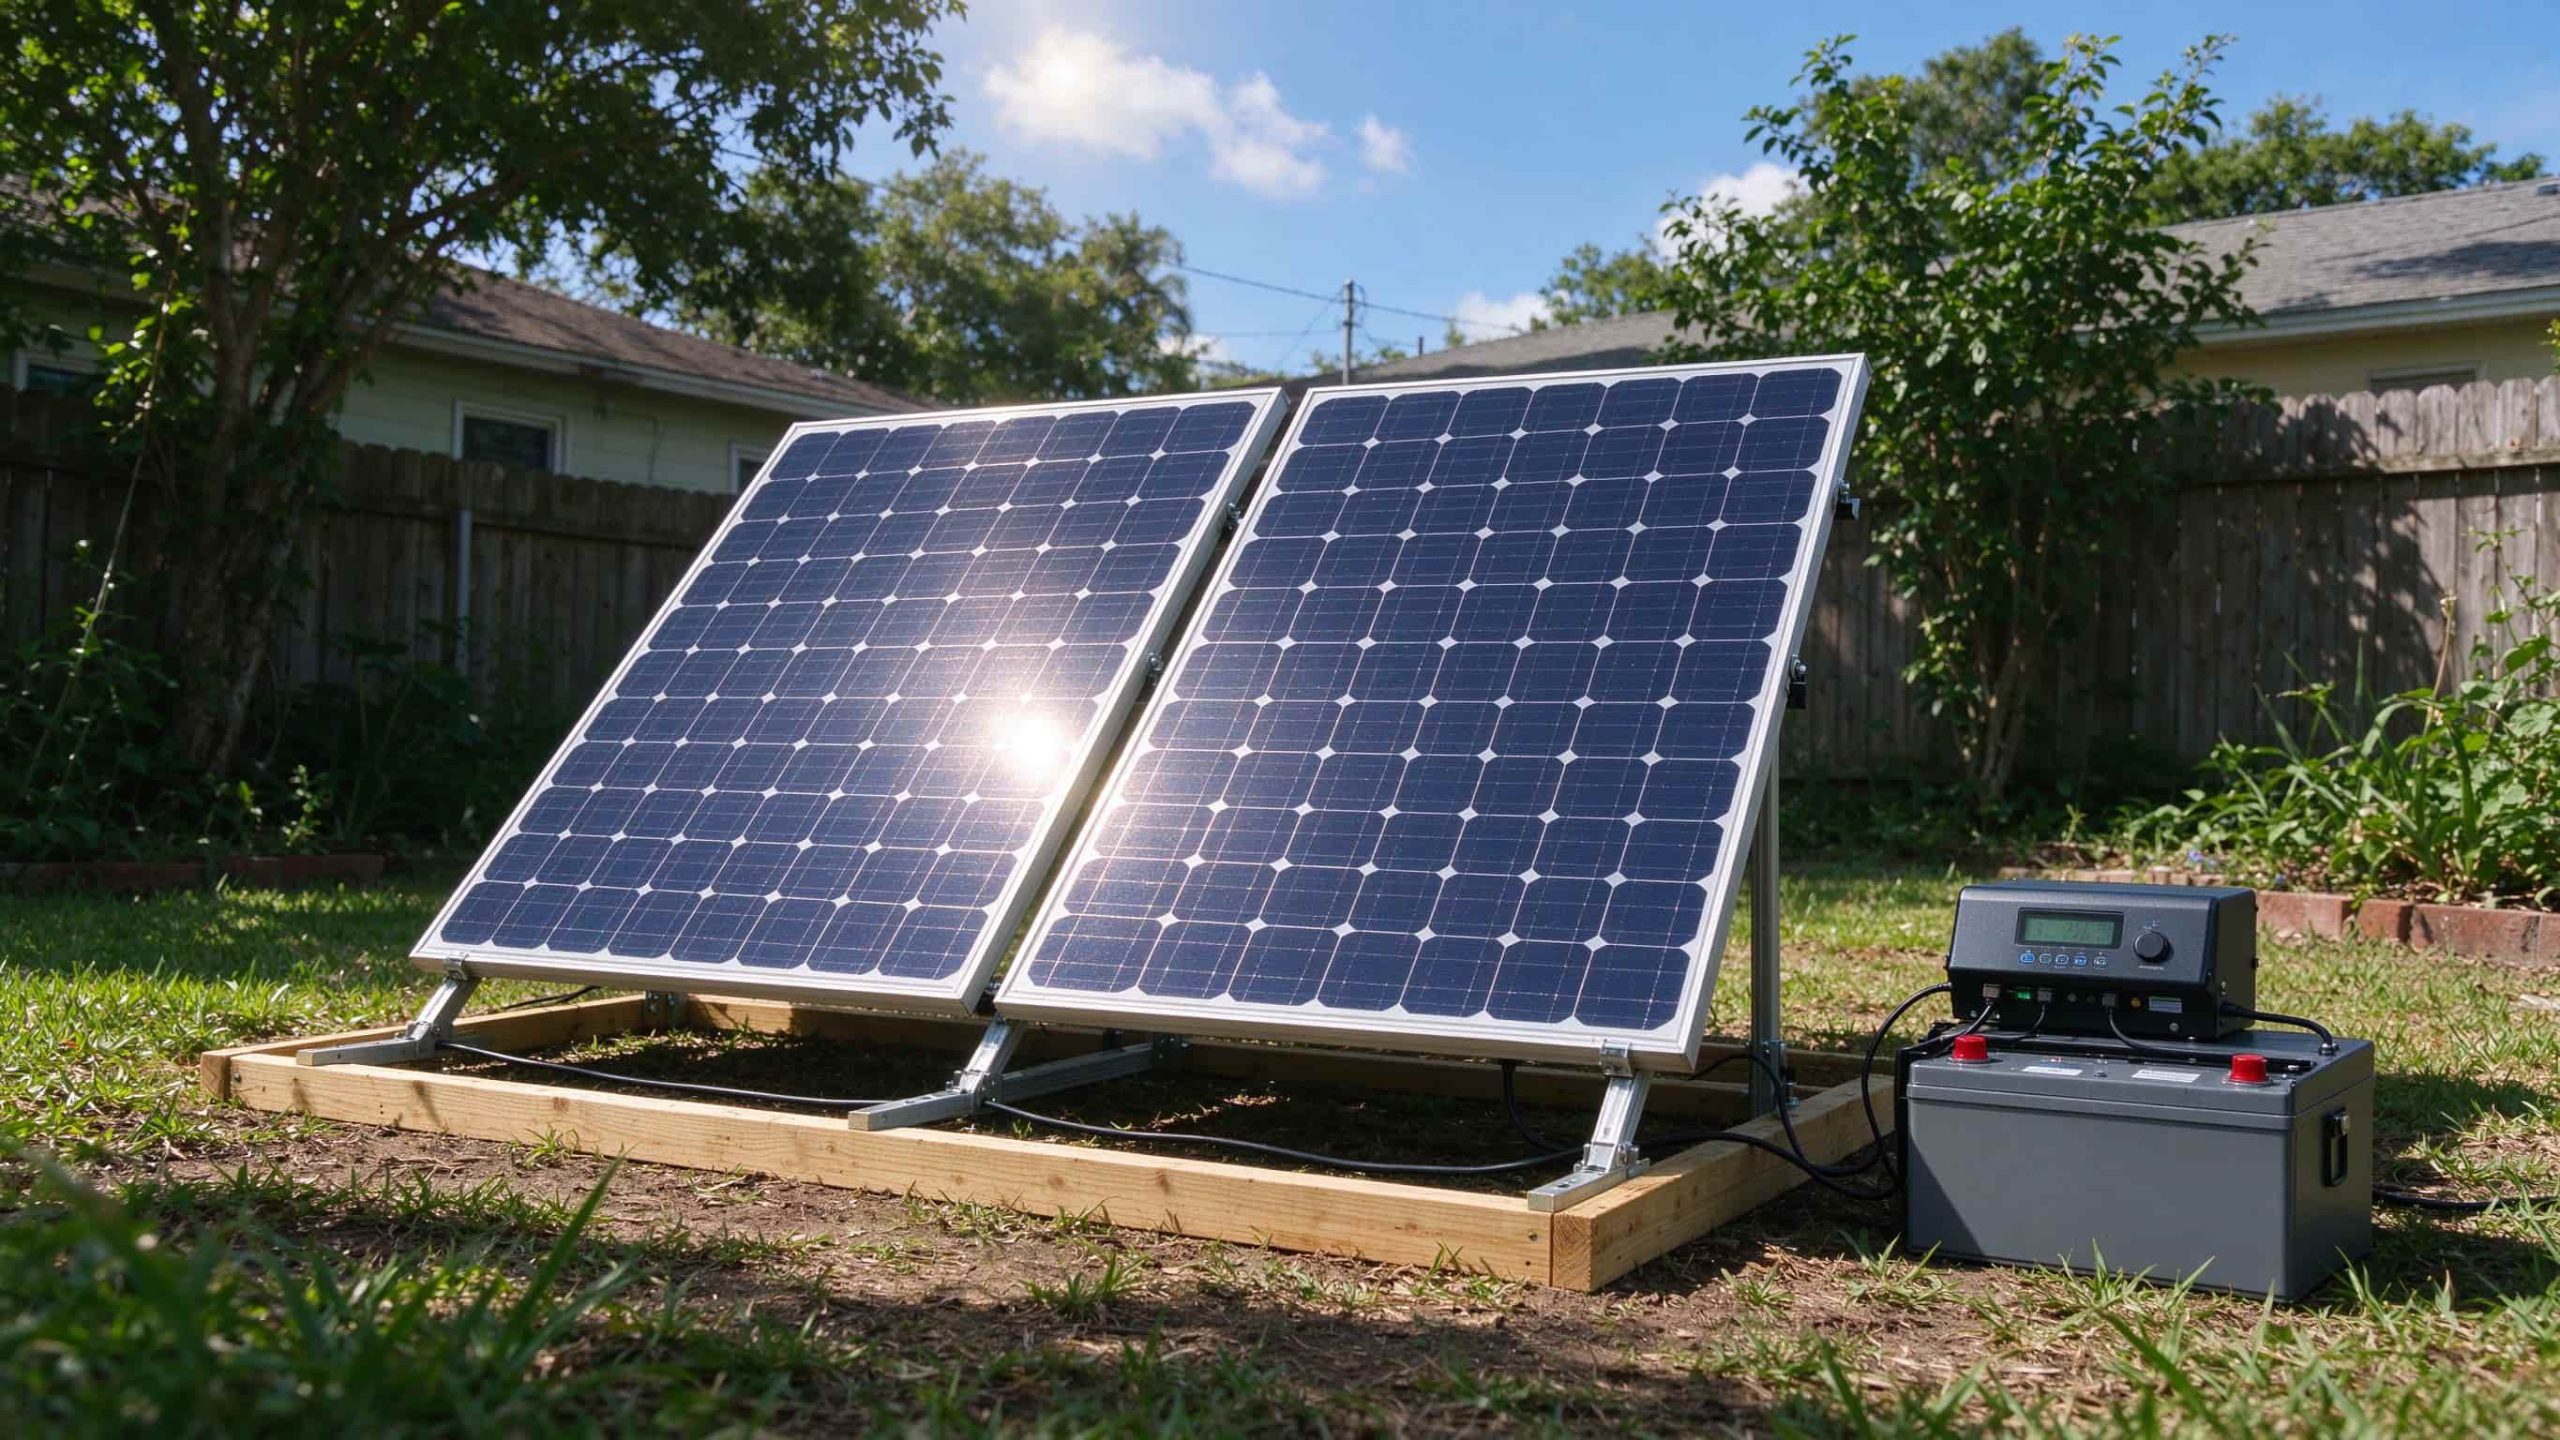
Building a solar power panel kit yourself is a weekend project, not an engineering degree. You mount the panels, wire them to a charge controller, connect a battery, and switch on your loads. The project succeeds when you work backward from your loads: total the watt-hours (Wh) you use each day, size the battery to store them, and size the panels to refill that battery even on your shortest winter day. Three decisions shape every build: (1) how many watt-hours your loads use each day; (2) whether the panels go on a roof or a ground frame; (3) whether you need 120V AC outlets, which require an inverter, or only 12V DC gear. Always wire the battery to the controller first and the panels last — connecting panels to a controller with no battery reference can destroy its input stage.
What a Solar Power Panel Kit Actually Includes
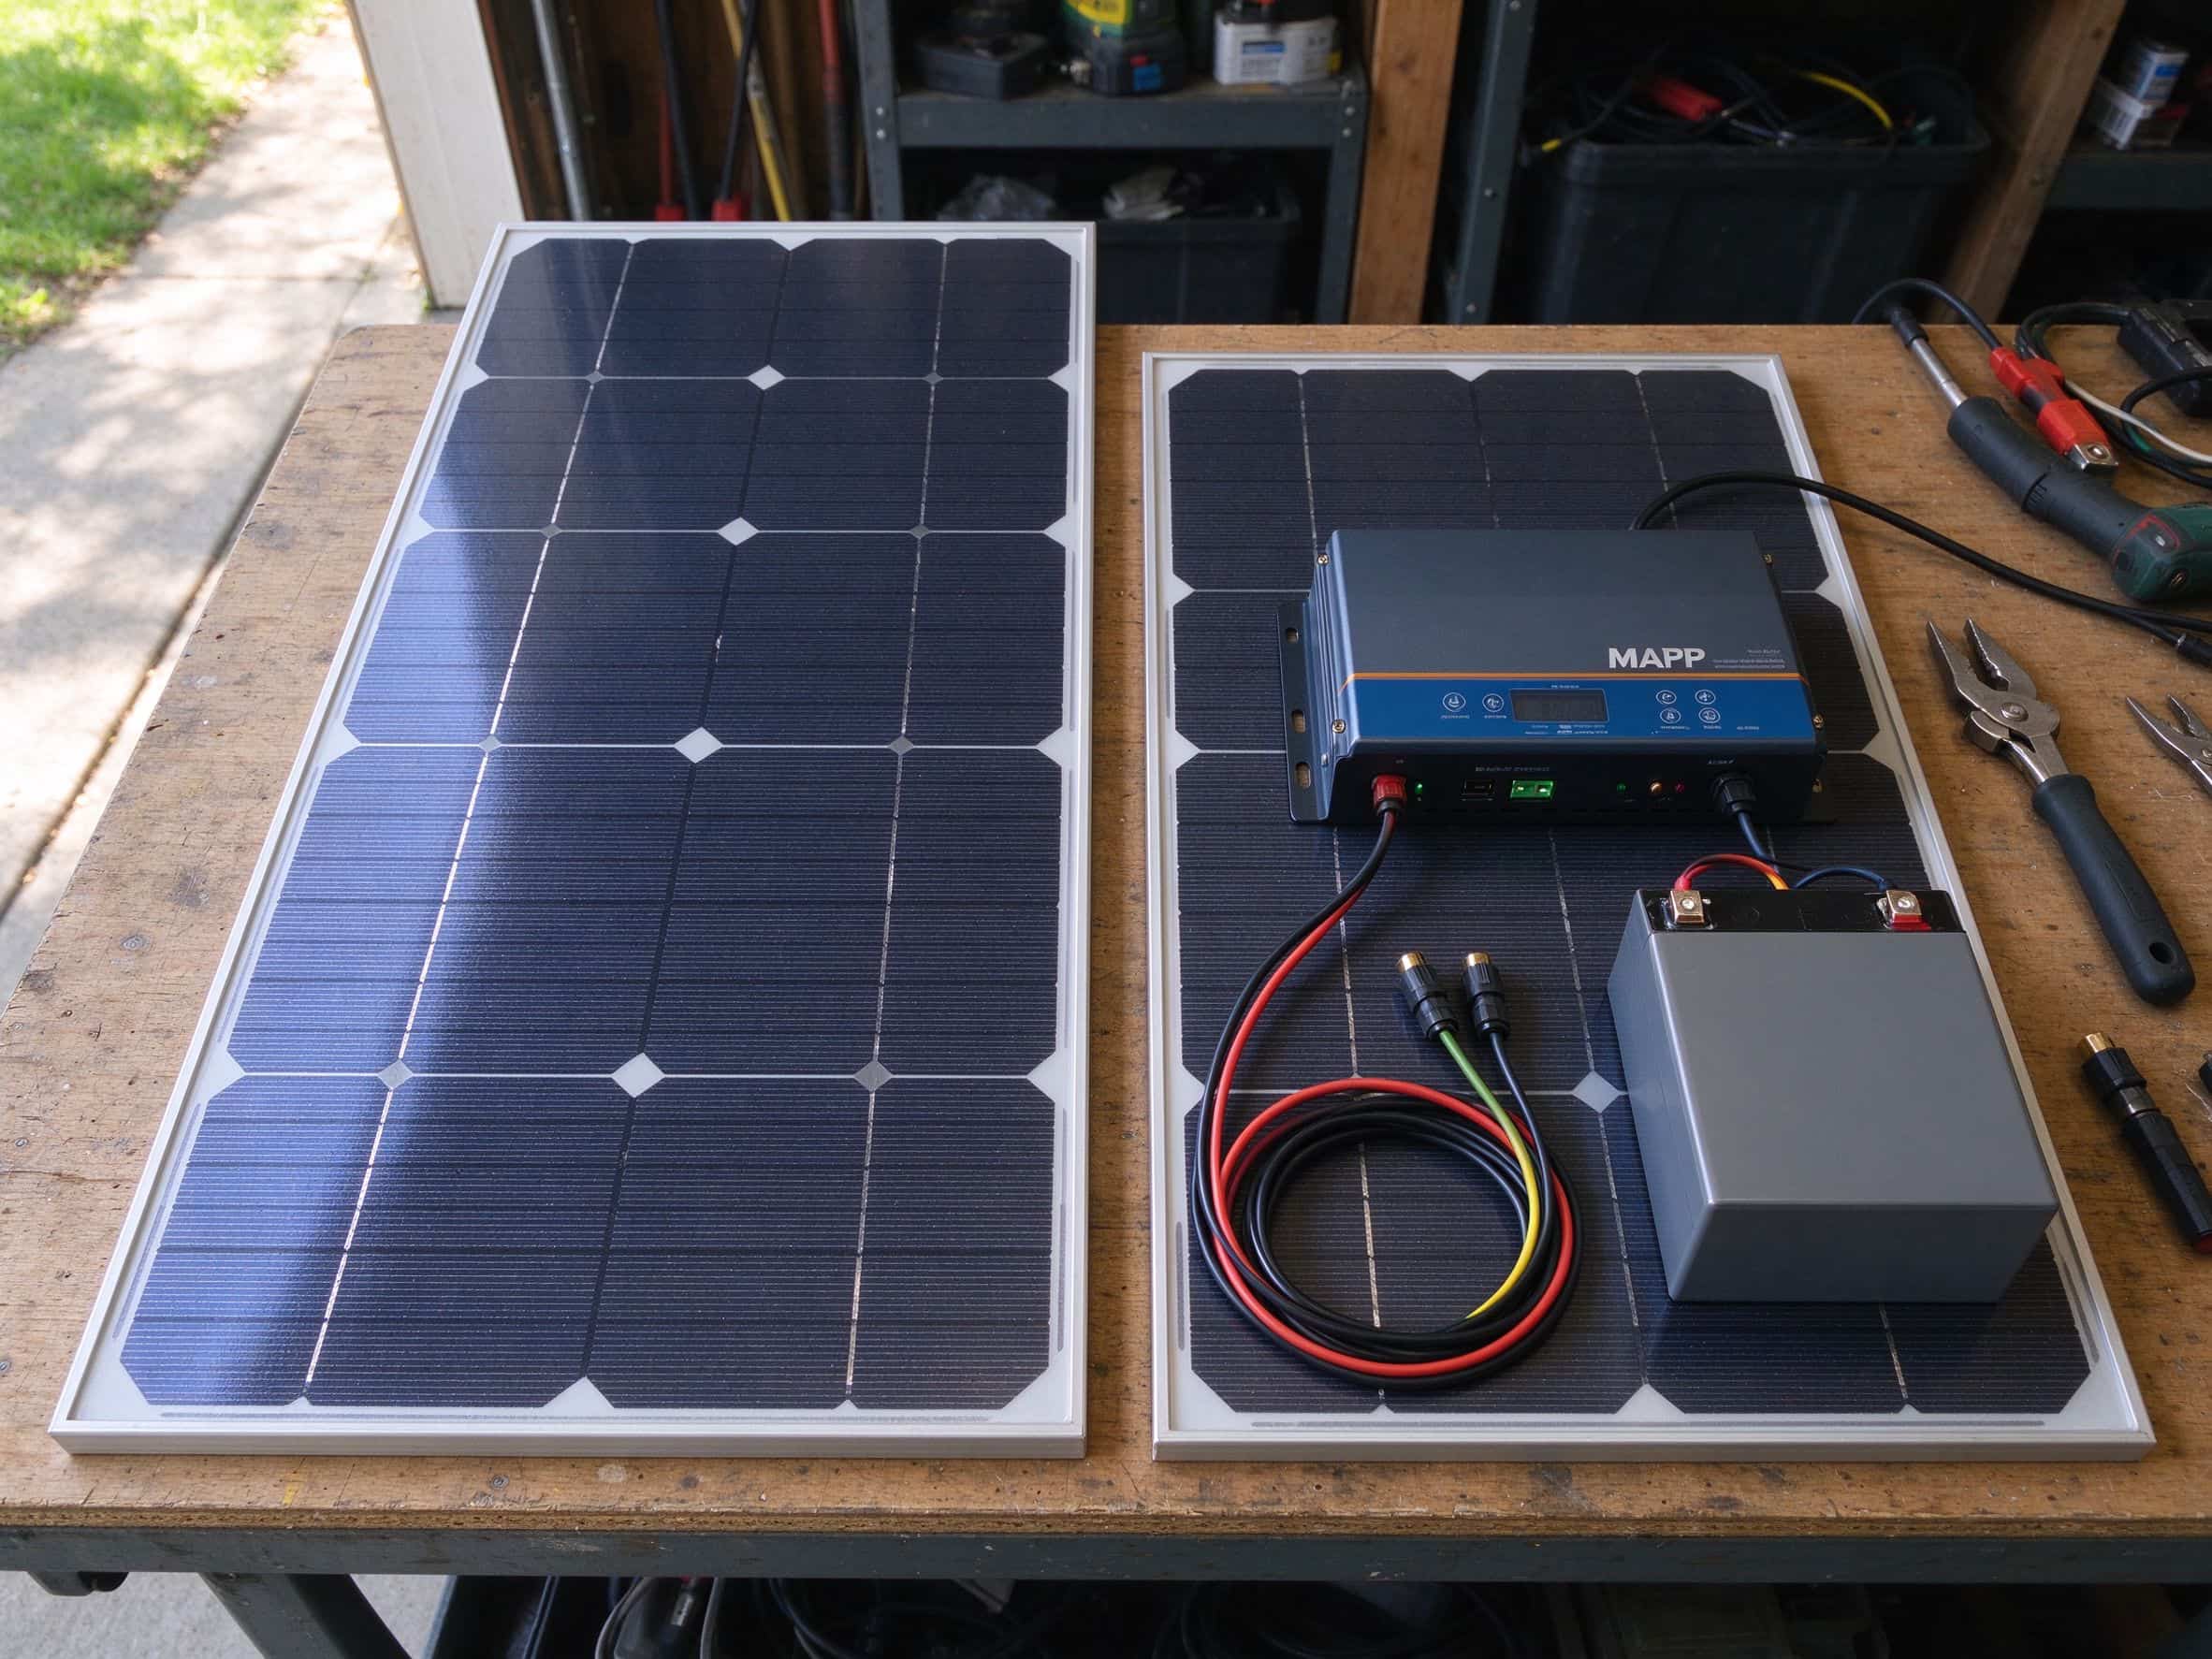
A real solar panel kit has four core components plus consumables. The panels convert sunlight into DC. The charge controller sits between the panels and the battery, regulating voltage and current so the battery charges correctly and cannot overcharge. The battery stores energy for night and cloudy days. An inverter converts battery DC into 120V AC for appliances such as a microwave or coffee maker; skip it if you run only 12V DC gear. The consumables are MC4 connectors and extension cables, wire sized for the run, a fuse at the battery, a PV-side disconnect, and mounting hardware. Buy matched, listed components rather than mixing unbranded parts from several listings: open-circuit voltage (Voc), charge current, and connector types must all line up, and power-handling parts should carry a recognized listing such as UL or ETL.
A typical starter kit pairs 300–400W of panels with a 12V 100Ah LiFePO4 battery (about 1,280Wh, roughly 1,000Wh usable) and an MPPT controller rated for 40A — enough for lights, a Wi-Fi router, a laptop, and a small fan, about 800Wh/day. Adding a refrigerator means roughly 1,200Wh more per day plus a compressor surge at startup, so plan on about double the array and battery and an inverter whose surge rating covers the compressor
Build A Solar Power Panel Kit That Actually Works
A solar power panel kit that actually works follows one simple energy flow. Sunlight hits the panels and turns into DC. That current travels through MC4 cables to the charge controller, which trims the voltage down to what the battery can accept. The battery stores that energy as chemical power. When you flip a light switch or plug in the laptop, the battery feeds the inverter. And the inverter turns the DC back into the AC your wall outlets expect. Every piece has to match the next: the controller has to accept the panel voltage, the battery has to hold your daily watt-hours. And the wires have to carry the current without overheating. Get that chain right, and the kit runs for years. Get one link wrong and the whole system underperforms.
A complete solar panel kit needs wiring and mounting the Panels
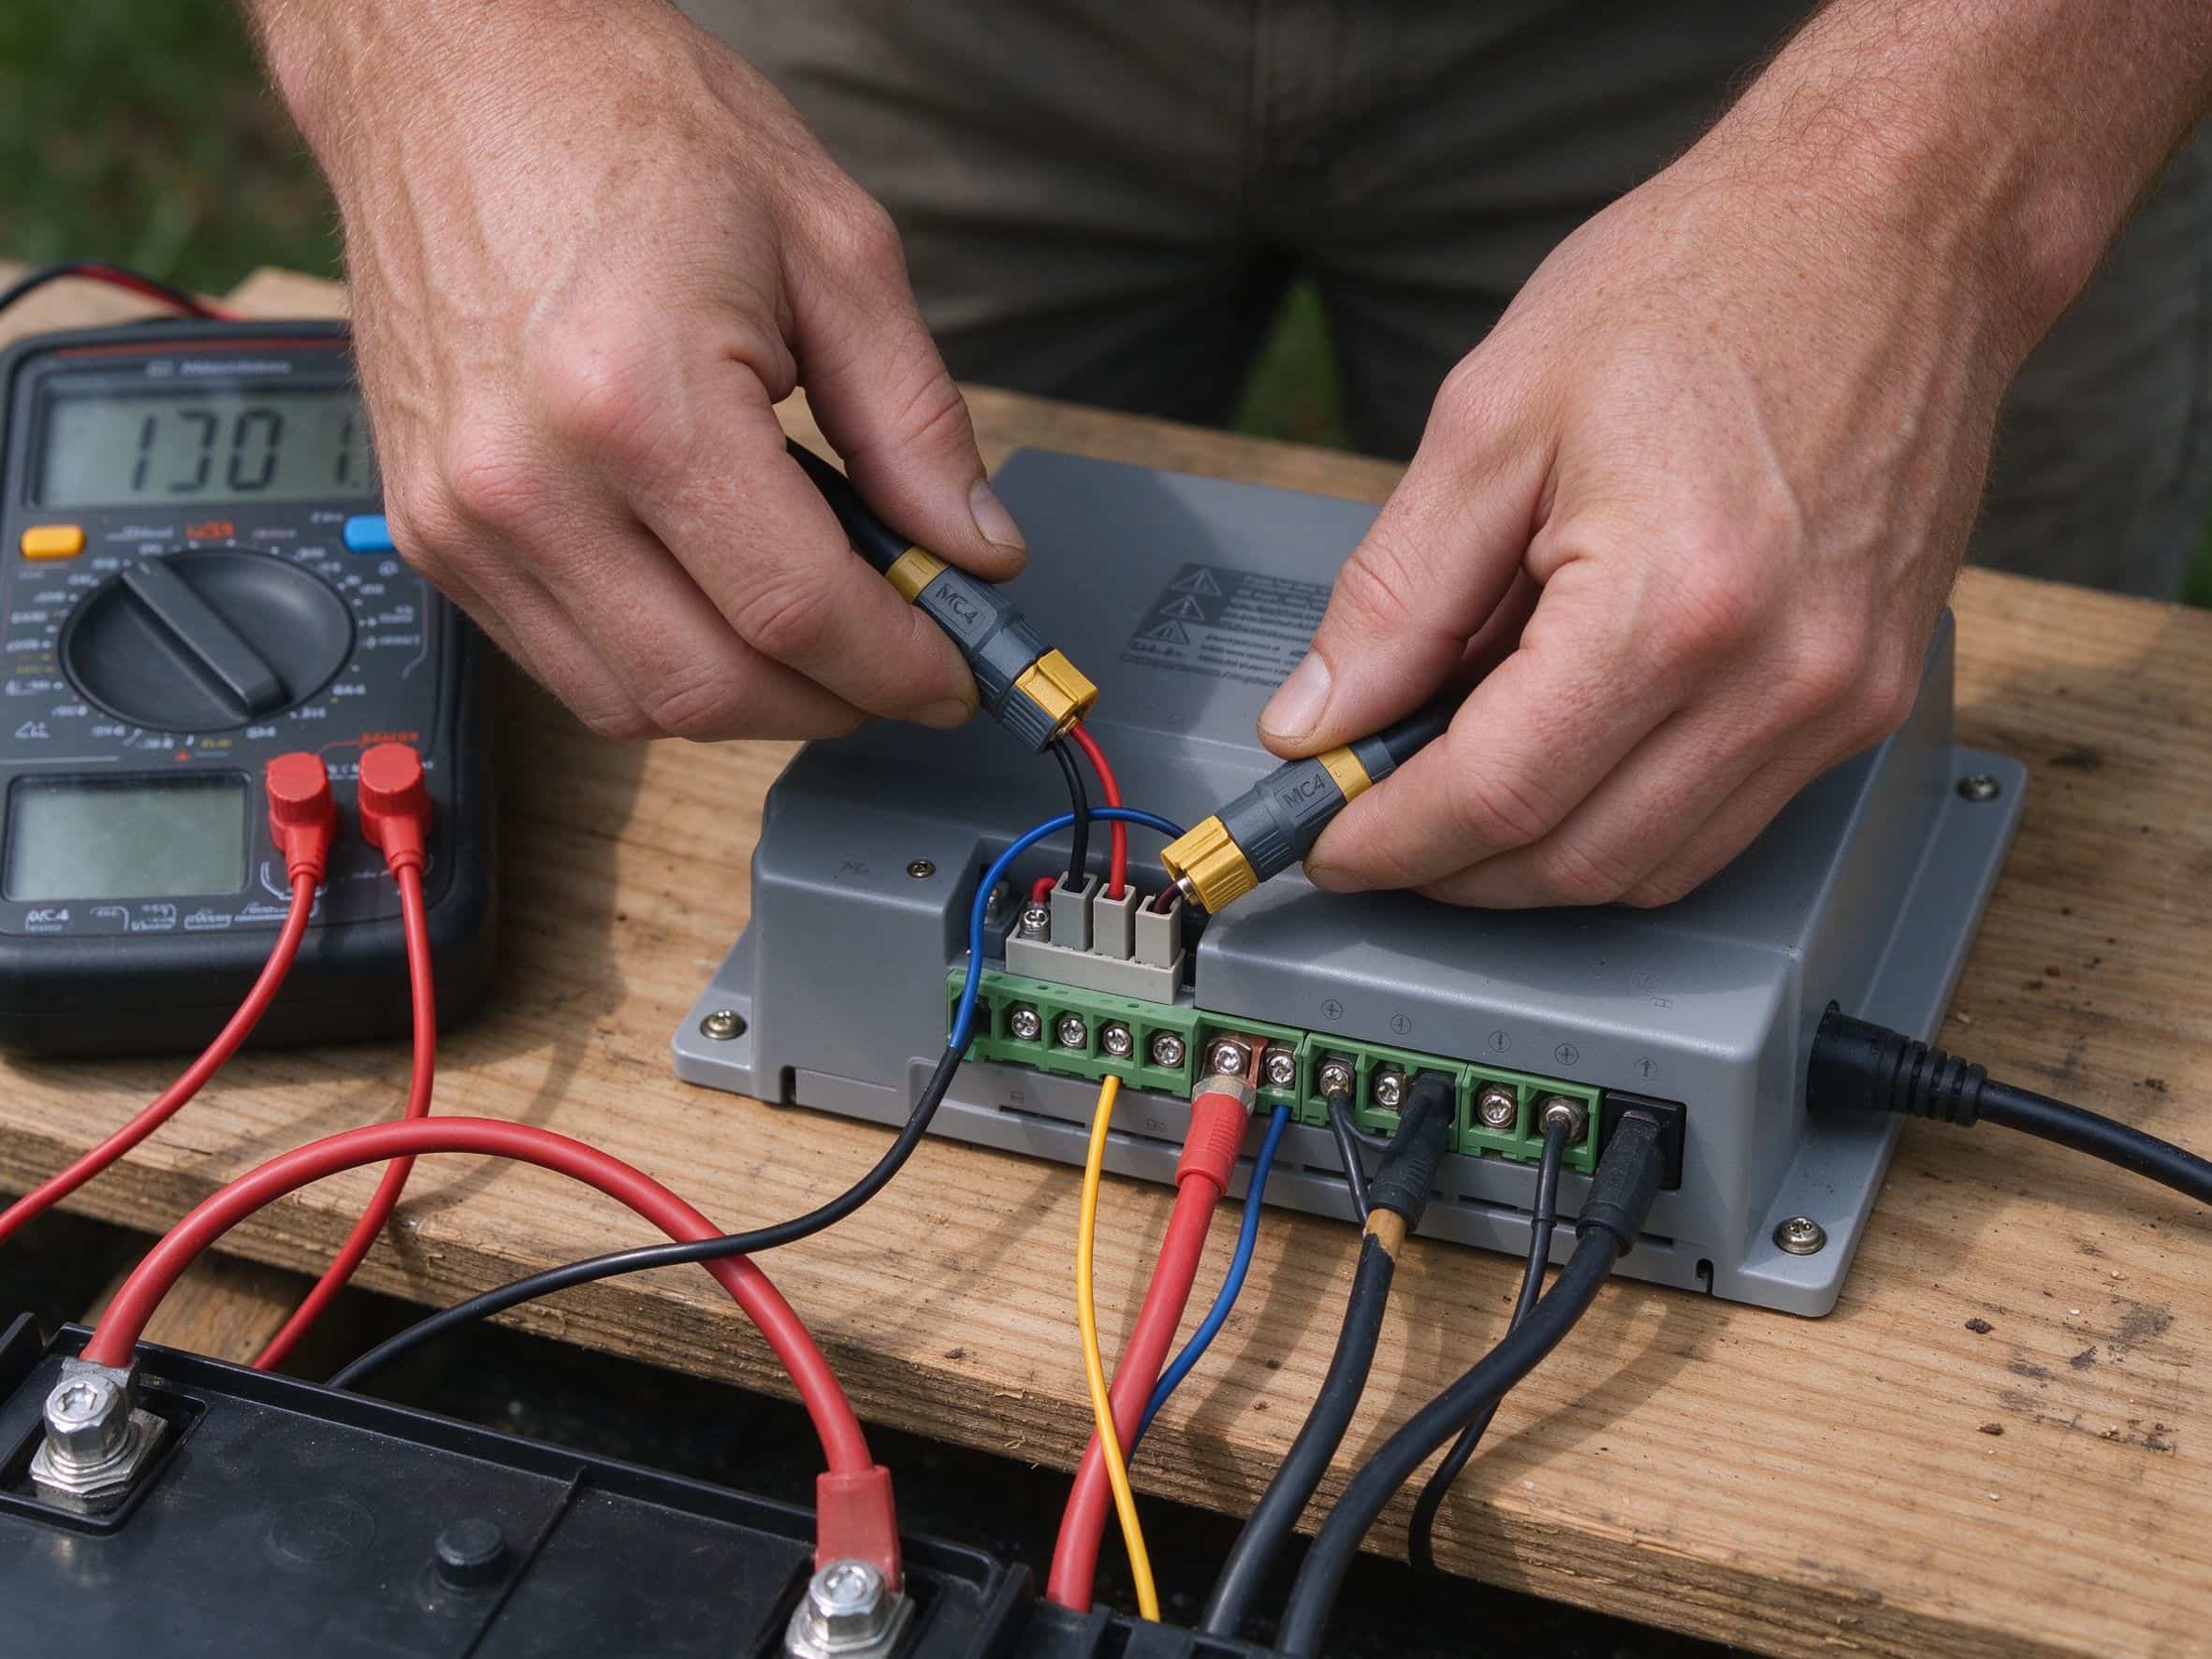
Wiring order matters more than the brand of wire. Connect the battery to the controller first, then the panels to the controller last. Reverse that order, and the controller sees full panel voltage before it has a battery reference, which fries the input stage. Use the wire gauge the manual calls out for the run length, and put a fuse within six inches of the battery positive terminal. Mount the controller in a cool, ventilated spot, not inside the battery box.
Series vs Parallel Wiring
Two panels in series add their voltages while the current stays the same. Two panels in parallel add their currents while the voltage stays the same. Match the configuration to your controller. MPPT controllers accept a wide voltage range, so series wiring is usually the better choice because it reduces wire loss over a long run. PWM controllers want the panel voltage close to the battery voltage, so parallel wiring fits better. The MPPT vs PWM charge controller guide explains the difference in detail before you buy.
Roof vs Ground Mount
A roof mount uses the space you already have and keeps the panels out of the yard. A ground mount costs more in rail and concrete but lets you tilt the panels toward the winter sun and walk on the ground to clean them. For a first build, a ground frame made from pressure-treated 2x4s is the forgiving choice. You can adjust the angle, you do not have to drill through shingles, and you can move the whole thing when the lease ends.
Where a DIY Solar Kit Pays Off the Most
A home solar panel kit is not right for every house. It pays off in three situations:
- An off-grid cabin, shed, or workshop where extending the utility line would cost more than the system;
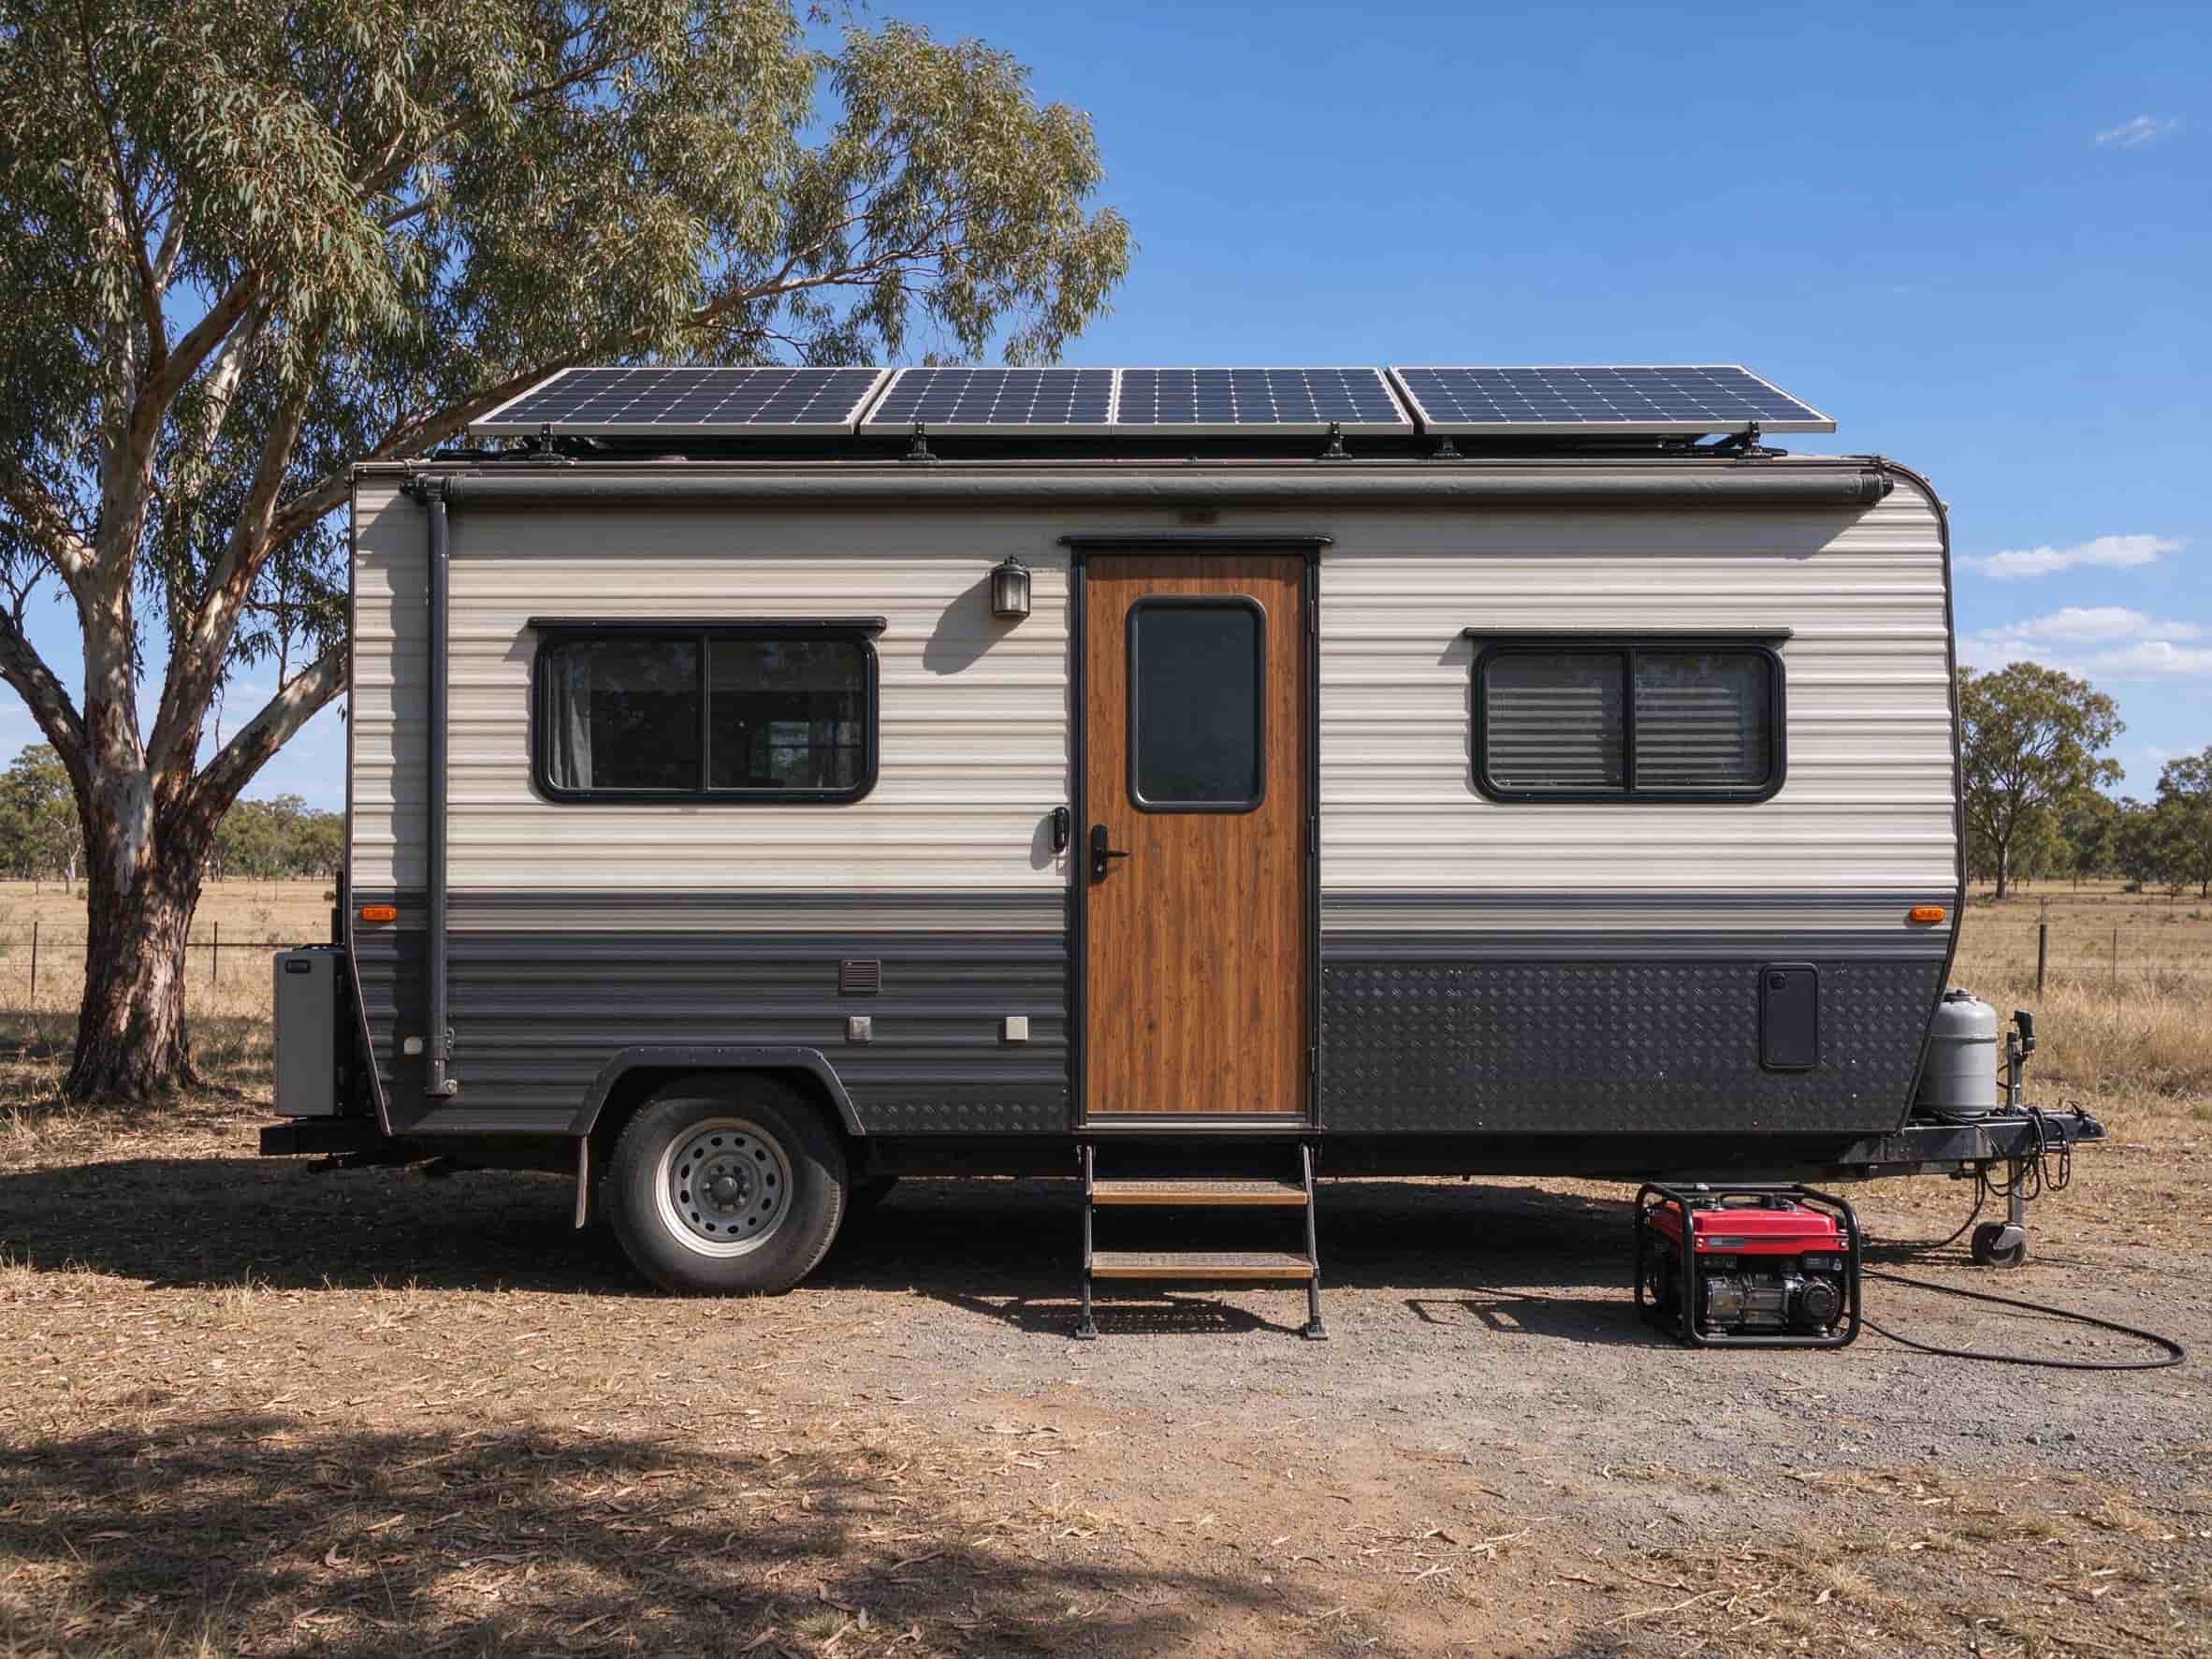
- An RV, van, or boat used for boondocking, where it replaces generator fuel and noise and keeps the fridge running;
- Backup for a few critical circuits during an outage, delivered through an installed manual transfer switch or a dedicated inverter sub-panel.
A key distinction: a battery-based DIY kit is not a grid-tied system. Grid-tied inverters must be listed to UL 1741, comply with IEEE 1547 anti-islanding rules, and be permitted and inspected; most grid-tied arrays shut down during outages by design. Never plug an inverter into a wall outlet to backfeed the house — it can energize a dead utility line and kill a lineworker. Pure bill savings are small: a 400W array yields roughly 1 to 1.5 kWh/day, about $5 to $7/month at typical rates, so a home paying $50/month may wait more than a decade for payback.
Flip the Switch and Start Measuring
Building a solar power panel kit is a weekend project that pays you back every sunny day afterward. Start with a load audit, buy matched, listed components, wire the battery before the panels, and mount the array where it sees unshaded southern sky. Commission it with a multimeter: verify the array Voc, fuse every battery cable and parallel string, and keep any connection to house wiring behind a transfer switch. Do that, and Friday’s pile of parts is quietly running your lights, router, and coffee maker by Sunday evening. Add a panel next season once you know what you actually use — that is how every durable off-grid build grows.