
Choosing solar lights for a driveway should start with the space, not the product photo. A driveway needs clear nighttime guidance. Drivers need to see the entrance. People need to walk safely around the garage, along the garden edge, near steps, or around parked vehicles. The light should help the space work better after dark. The right choice depends on driveway size, brightness, installation position, lighting mode, battery life, weather resistance, and sun exposure. A product may look clean online, but if it is too dim, badly placed, or blocked from sunlight during the day, it will not perform well at night. Products, tragically, still obey physics.
Choose Solar Lights Based on Driveway Size First
Start by checking the driveway length, width, and shape. This decides how many lights you need and where each light should go.
A short driveway usually needs lighting near the entrance and garage area. A long driveway requires repeated light coverage along its length. A curved driveway requires stronger guidance at turning points because drivers cannot see the entire path at once.
Do not choose by pack size alone. A four-pack may work for a short straight driveway, but it may leave dark gaps on a longer driveway with a gate, slope, or curve. The goal is to create a clear visual path from the street to the parking area.
If the driveway connects to a garden, walkway, or side entrance, using consistent outdoor solar lighting can make the entire outdoor area feel planned rather than randomly patched together.
Short, Long, and Curved Driveways Need Different Layouts
For a short driveway, compact ground lights, low post lights, or wall-mounted lights near the garage can work well. They mark the main entry and parking zones without overlighting the space.
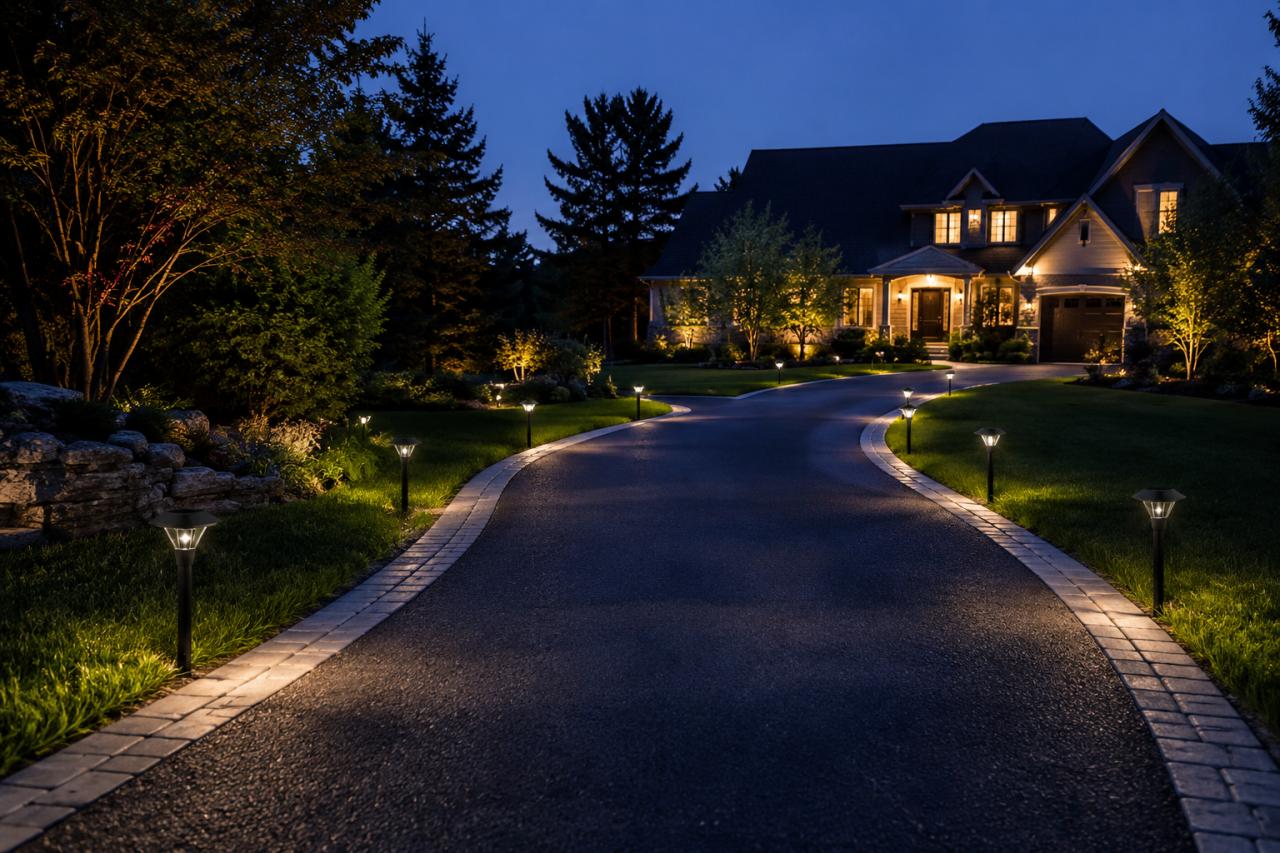
For a long driveway, place lights at regular intervals. Each light should visually connect to the next, so the middle section does not disappear into darkness. For a curved driveway, add lights near the outside edge of the curve and around direction changes. This helps drivers read the driveway shape earlier.
Choose Solar Lights with the Right Brightness Level
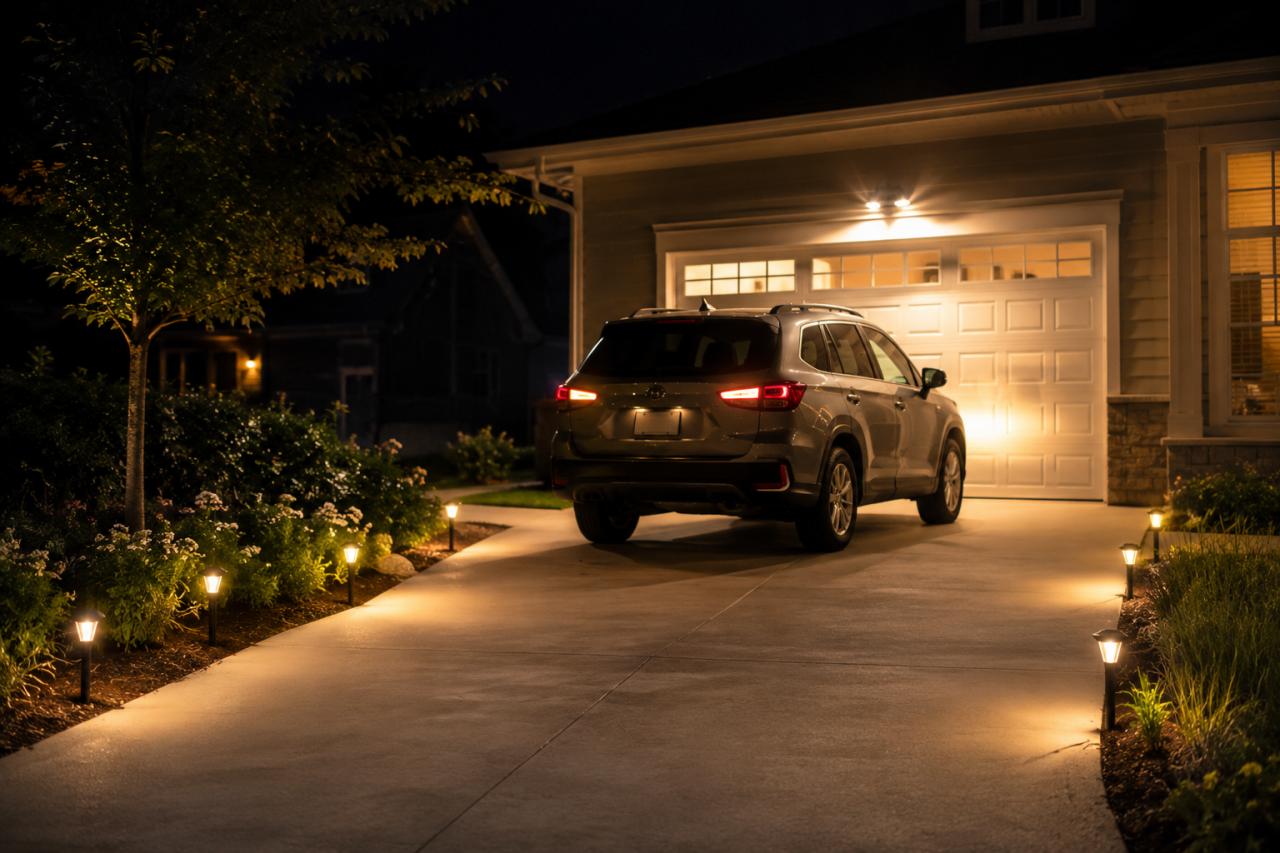
Brightness should match the job of each area. A driveway entrance and parking area usually need stronger light than a soft edge-marking zone. The entrance helps drivers turn in from the road. The garage area needs clearer visibility for parking, unloading, and walking.
Check lumens before buying. Lumens describe how much visible light a fixture produces. Low-lumen lights can work for edge guidance. Higher-lumen lights work better near entrances, garage doors, parking areas, and security zones.
Do not assume the brightest option is always better. Too much brightness can create glare, especially when the fixture points toward the driver. Lower brightness with better placement often works better than a single harsh light aimed poorly. Very bright, very annoying, very human.
Higher Brightness Works Better for Entrances and Parking Areas
Use stronger brightness near the driveway entrance, garage door, and parking area. These are the places where people slow down, turn, reverse, park, or walk.
Use softer brightness along the edges. Edge lights do not need to flood the whole driveway. They only need to show where the driveway begins and ends. If the driveway is close to windows or neighboring homes, avoid harsh glare. The light should guide movement, not punish everyone nearby with a tiny outdoor interrogation lamp.
Choose Solar Lights by Installation Position
The installation position decides the light type. Before buying, decide where the lights will actually go.
Ground lights or path lights work well along driveway edges. Wall-mounted lights work better near garage doors, side walls, or entry areas. Post lights are useful near gates and driveway entrances. Motion-sensor floodlights work better in security spots where stronger light is needed only when someone approaches.
The solar panel position matters as much as the light position. If the fixture sits under trees, roof edges, walls, or heavy shade, the panel may not charge well during the day. A light placed in the wrong shaded spot can become weak at night, even when the product itself is not the problem.
Check sunlight exposure before final placement. This refers to how much direct sunlight the panel can receive during the day. More direct sunlight usually supports better charging, longer runtime, and more stable nighttime brightness.
Choose by Sensor and Lighting Mode
The lighting mode should match how the driveway is used. Some driveways need steady light all night. Others only need stronger light when a person, car, or animal enters the area.
Motion sensor lights work well near gates, garage doors, side entrances, and security zones. They save battery power because they brighten only when movement is detected. They also make nighttime activity more noticeable.
Dusk-to-dawn lights turn on automatically at night and stay on until morning. They work better for long driveways, rural entrances, and areas where people need continuous visibility.
Motion Sensor and Dusk-to-Dawn Modes Fit Different Driveway Needs
Choose motion sensor mode when the main goal is security, entry detection, or battery saving. Choose dusk-to-dawn mode when the main goal is continuous visibility.
For many driveways, a mixed setup works better. Use motion-sensor lights near the entrance and the garage. Use softer, steadier lights along the driveway edge. This keeps the space visible without wasting battery power or making the driveway look like a stadium.
Choose Solar Lights with Enough Battery Life
Battery life is one of the most important factors when buying. Do not trust runtime claims without checking the conditions behind them. A product may say it runs for 8 or 12 hours, but that number often depends on full sunlight, low brightness, and mild weather.
If the driveway is used often at night, the light may drain faster, especially in motion sensor mode with frequent triggers. If the driveway needs all-night visibility, choose a model with stronger battery capacity and efficient LED output.
The weather also affects the runtime. Cloudy days, short winter sunlight, and shaded panels can reduce charging. If the area has limited sun exposure, choose lights with larger panels, higher battery capacity, or a lighting mode that manages power more efficiently.
Choose Solar Lights That Can Handle Outdoor Weather
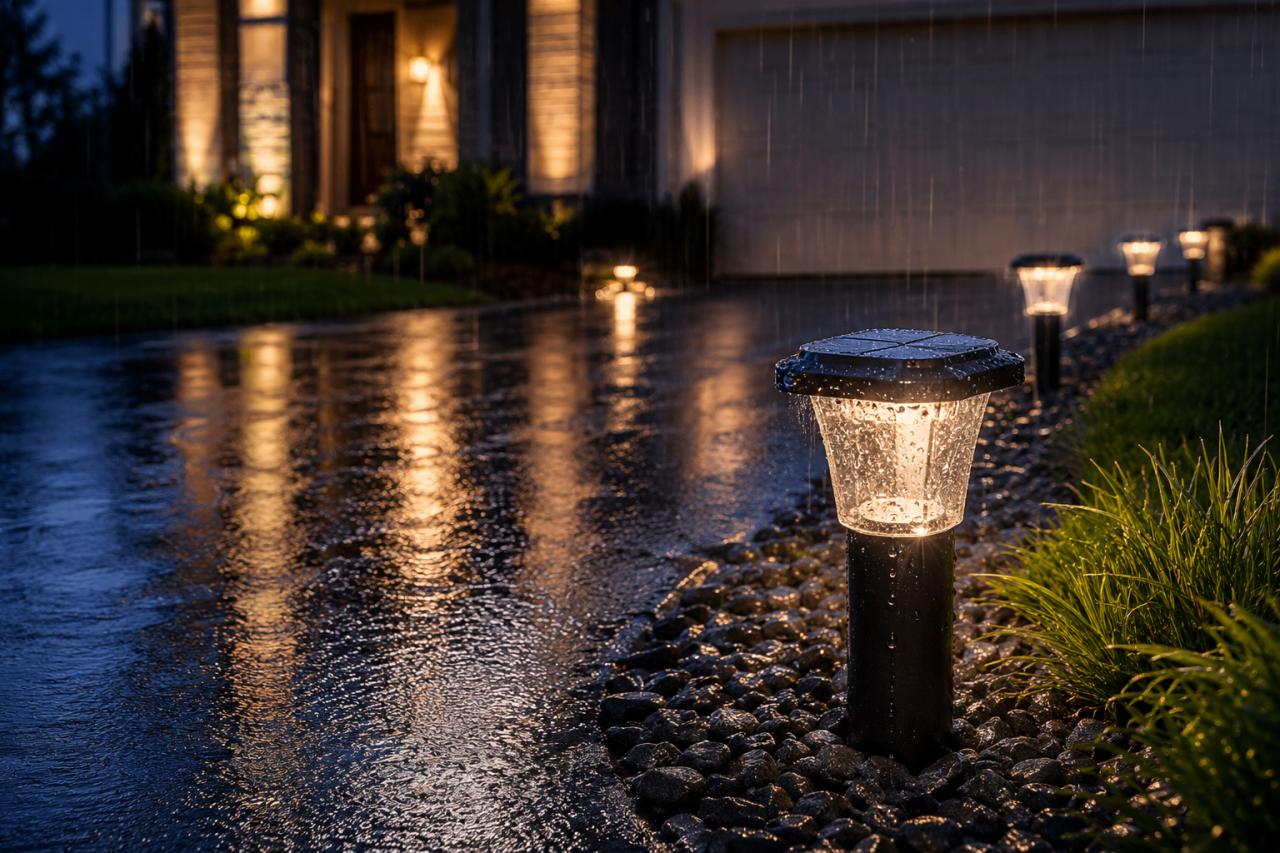
Driveway lights stay outside, exposed to rain, dust, heat, wind, and temperature changes. They may also face splashes of water, mud, or snow; lawn tools; bikes; bins; or accidental knocks. A driveway light does not live a gentle indoor life. It lives next to tires, weather, and human carelessness. Brave little thing.
Check the waterproof rating before buying. For normal outdoor use, the fixture should be designed for rain and dust exposure. If the driveway is open, windy, or exposed to heavy rain, choose a stronger housing and a stable mounting design.
Material quality also matters. Lightweight plastic can work in protected areas, but stronger housings are better for exposed driveways. The solar panel should also be durable enough for long-term exposure to sunlight and easy to keep clean.
Waterproof Rating and Housing Quality Affect Long-Term Use
A driveway light should protect the LED, battery, wiring, and panel connection. Weak seals can allow moisture to enter. Poorly mounted parts can loosen over time. Cheap stakes may lean, changing the direction of light and reducing coverage.
Look at the full fixture, not only the lamp head. The panel, housing, battery compartment, bracket, stake, and switch design all affect outdoor performance.
Choose a Style That Matches the Driveway
Style matters, but function should come first. A beautiful light that does not show the driveway edge is decoration, not safety lighting.
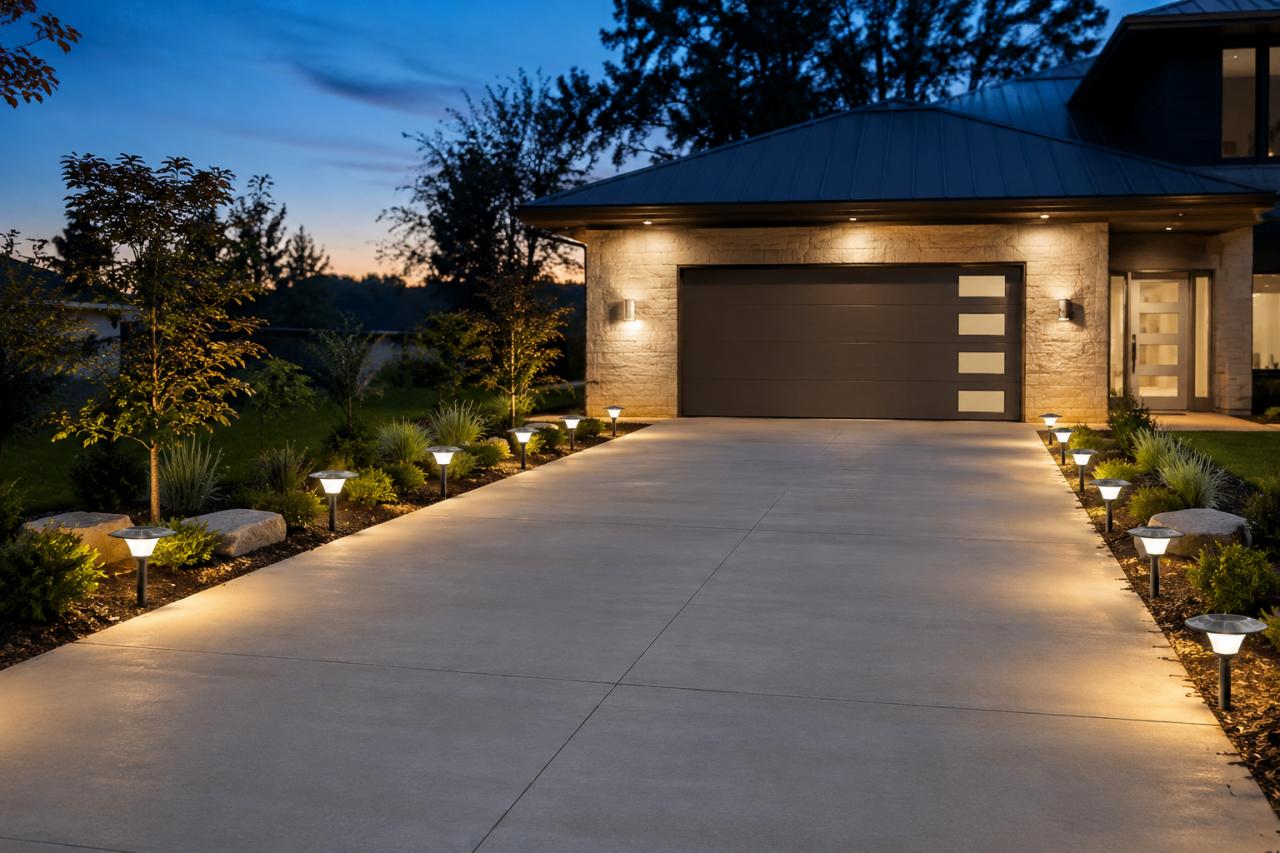
Choose fixture height based on the job. Low-profile lights keep the driveway clean and simple. Post lights make entrances more visible. Wall lights fit garage doors and side walls. Flood-style fixtures cover larger areas but need careful aiming.
Color temperature also affects the final look. Warm white creates a softer entrance. Neutral white gives clearer visibility without looking too harsh. Cool white can improve security visibility, but it may feel cold if used across the whole driveway.
For areas where the driveway connects with patios, garden paths, or outdoor work zones, matching the setup with nearby solar-powered outdoor lights can create a more consistent lighting plan across the property.
Final Checklist Before Buying Solar Lights
Before buying solar lights, review the driveway as a complete space. The right product should match where cars move, where people walk, where stronger visibility is needed, and where the panel can receive enough sunlight.
Use this checklist:
- Confirm the driveway length, width, slope, and turning points.
- Mark the entrance, garage door, parking area, and walking path.
- Choose brightness based on function, not only the highest lumen number.
- Match the fixture type to the installation position.
- Choose motion sensor mode for security areas.
- Choose dusk-to-dawn mode for continuous visibility.
- Check battery life under real use conditions.
- Make sure the panel gets enough direct sunlight.
- Choose waterproof housing for year-round outdoor use.
- Match the light height and color temperature to the driveway style.
A good driveway lighting setup does not need to be complicated. It needs to match the space. When brightness, placement, sensor mode, battery life, weather resistance, and panel exposure all fit the driveway, solar lighting can improve night driving, walking, parking, and entrance visibility without extra wiring.