
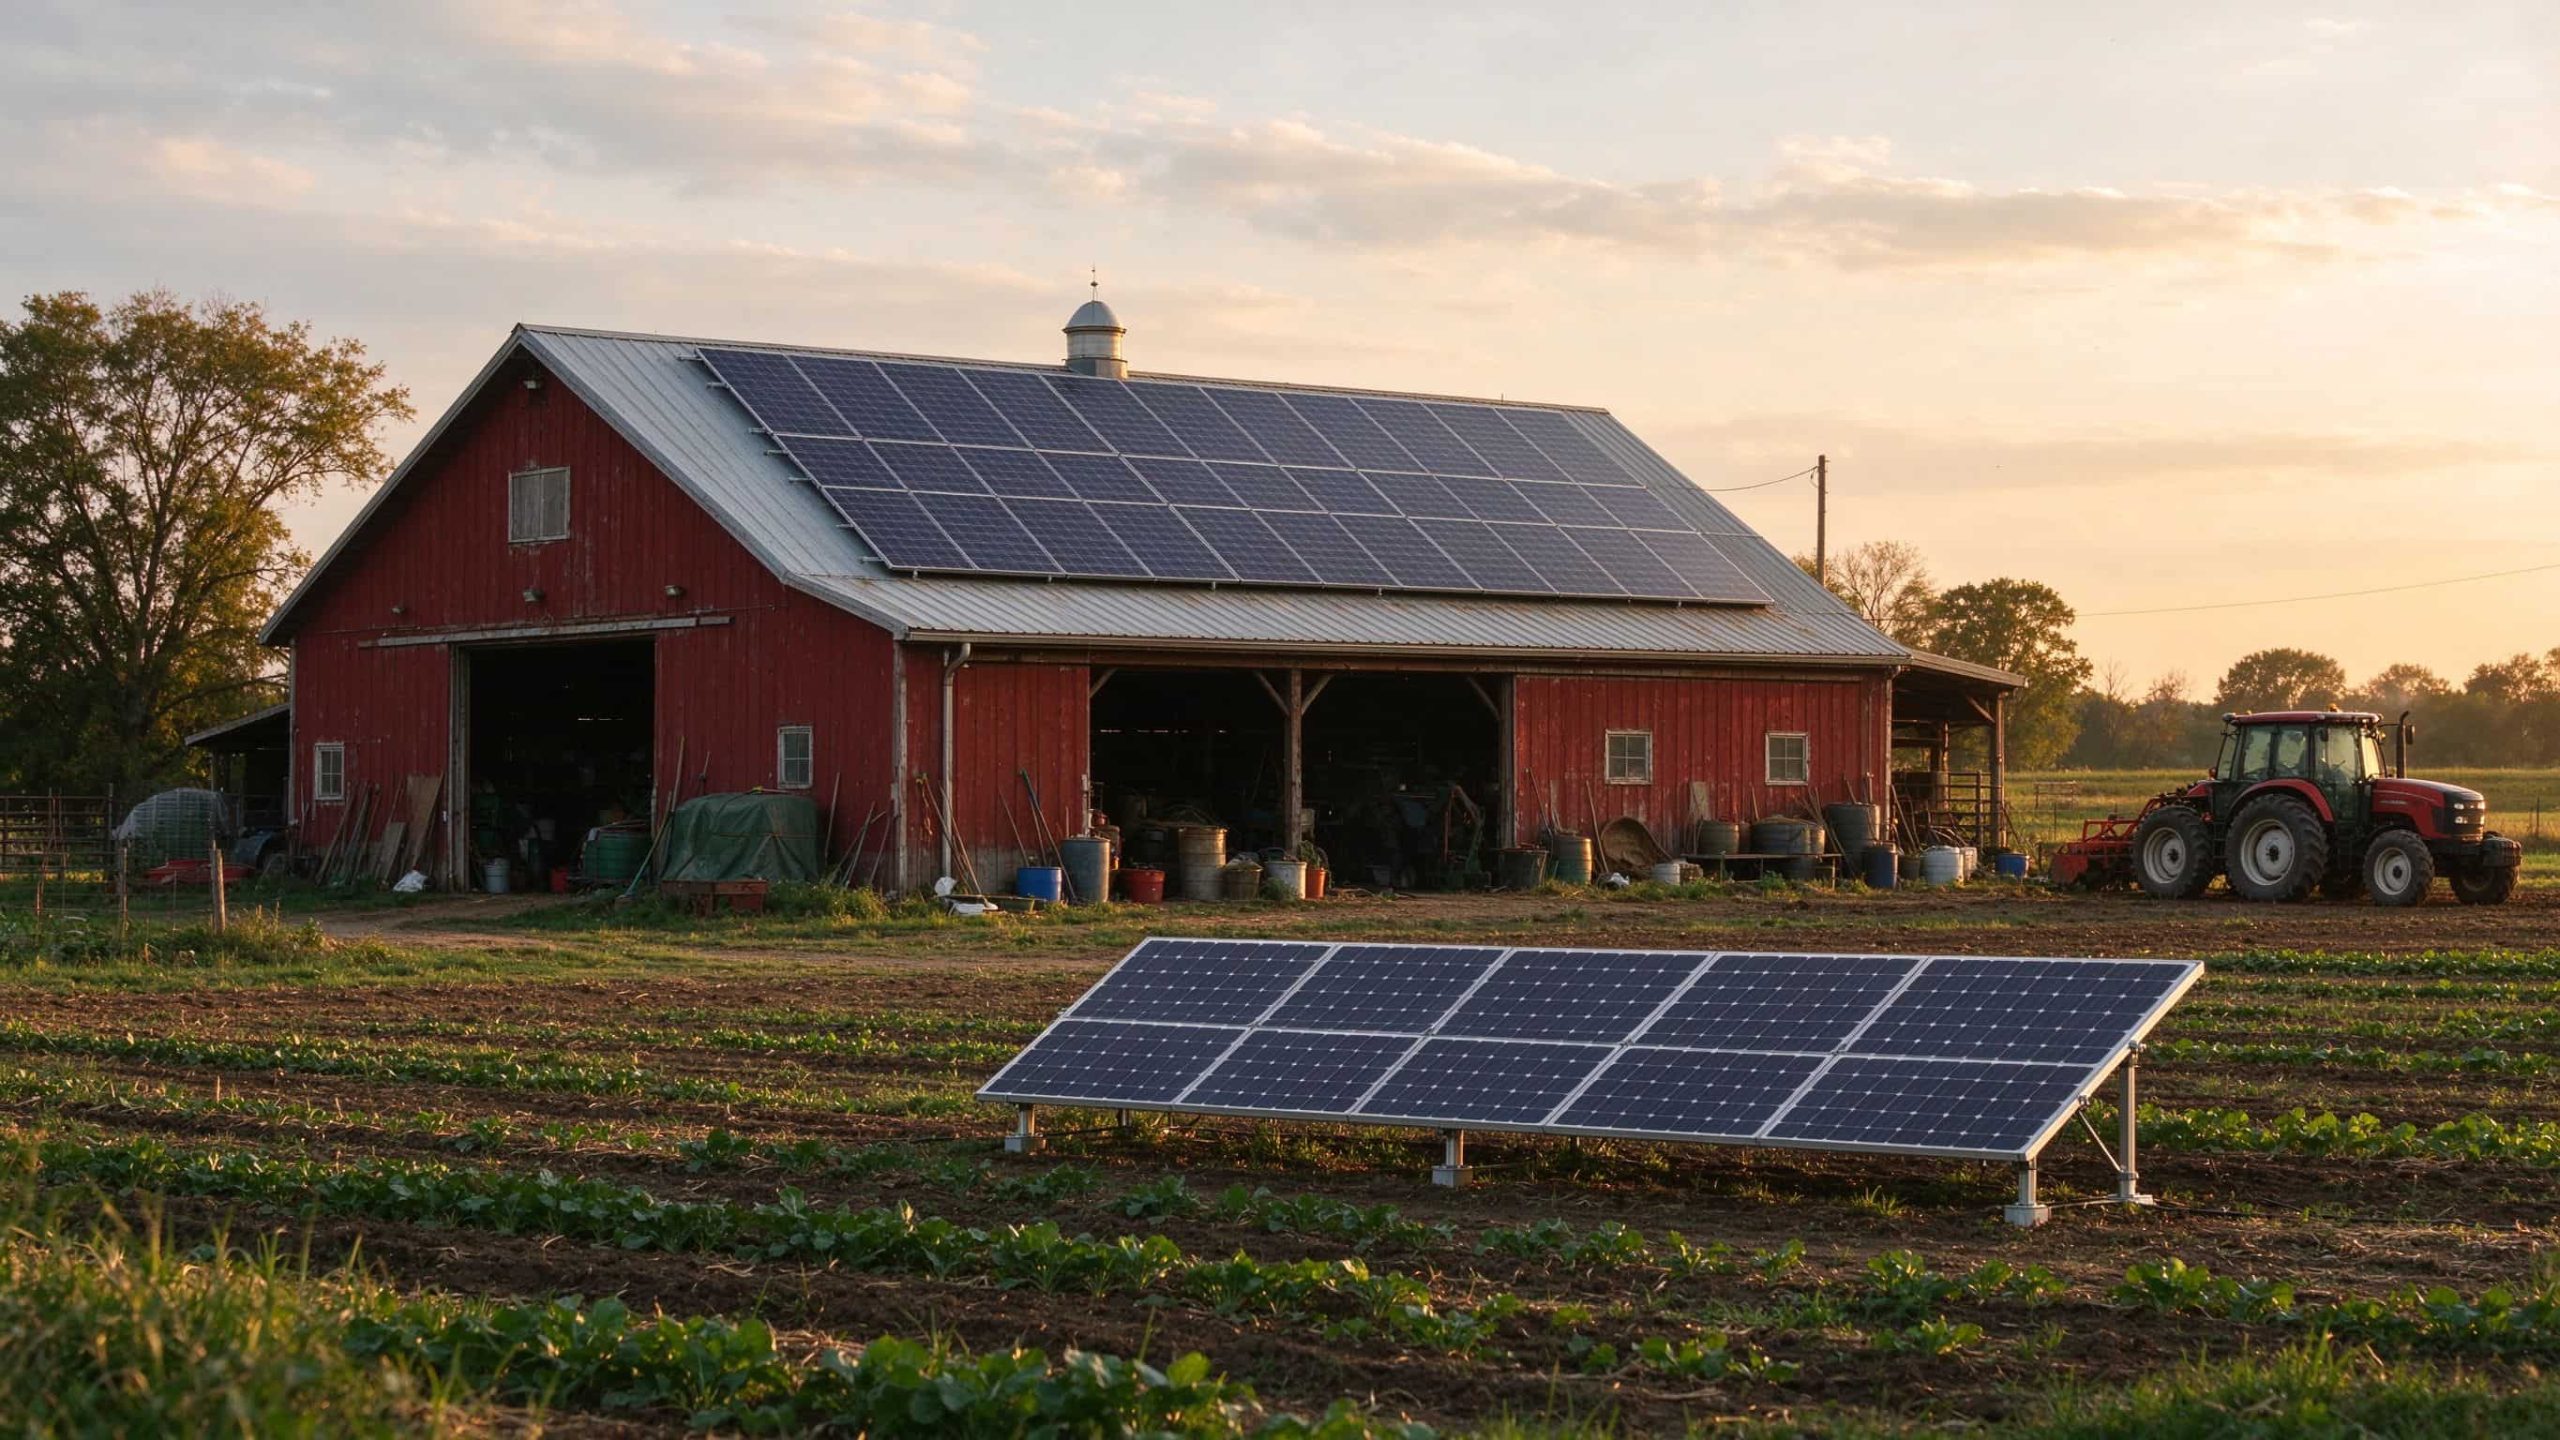
A farm solar power system is chosen incorrectly when it is bought by the watt. The real decision is which system matches your load, your grid connection, and your downtime tolerance. Irrigation pumps, barn fans, milk chillers, and remote off-grid sites each need a different answer. A grid-tied array costs the least per watt but dies in a blackout. An off-grid battery bank keeps the chiller running but adds a large capital cost. A hybrid system splits the difference, and a solar irrigation pump ignores the grid entirely. Understand the load on each server cluster, recommend appropriate system types, and provide a detailed overview of the planning process to prevent you from purchasing hardware before you understand the actual resource consumption of the server clusters.
Why the Real Decision Is Matching System to Load, Grid, and Downtime
A farm solar project rarely fails because the panels are the wrong brand. It fails when the system size or architecture does not match how the farm actually uses power. The biggest motors and chillers set the load. Steady daytime loads pair naturally with solar. Heavy startup currents demand an inverter with surge headroom. Night-time loads require storage, not more panels. The nearest transformer sets the grid boundary. A farm on a three-phase line with net metering skips the battery bank. A remote parcel where running a line costs more than the array needs batteries sized for autonomy days. A hybrid site keeps the grid or a generator as backup.
The cost of a blackout sets the reliability bar. A workshop idle for an afternoon can wait. A milk chiller down for two hours loses product. An irrigation pump that misses the watering window loses the season. The U.S. Department of Energy farmer’s guide to solar frames the same split: load profile, grid access, and downtime tolerance, not panel wattage, are the first design boundaries. Once those three inputs are on paper, the right system type narrows quickly, and shopping for panels becomes the last step rather than the first.
How to Plan and Choose a Farm Solar Power
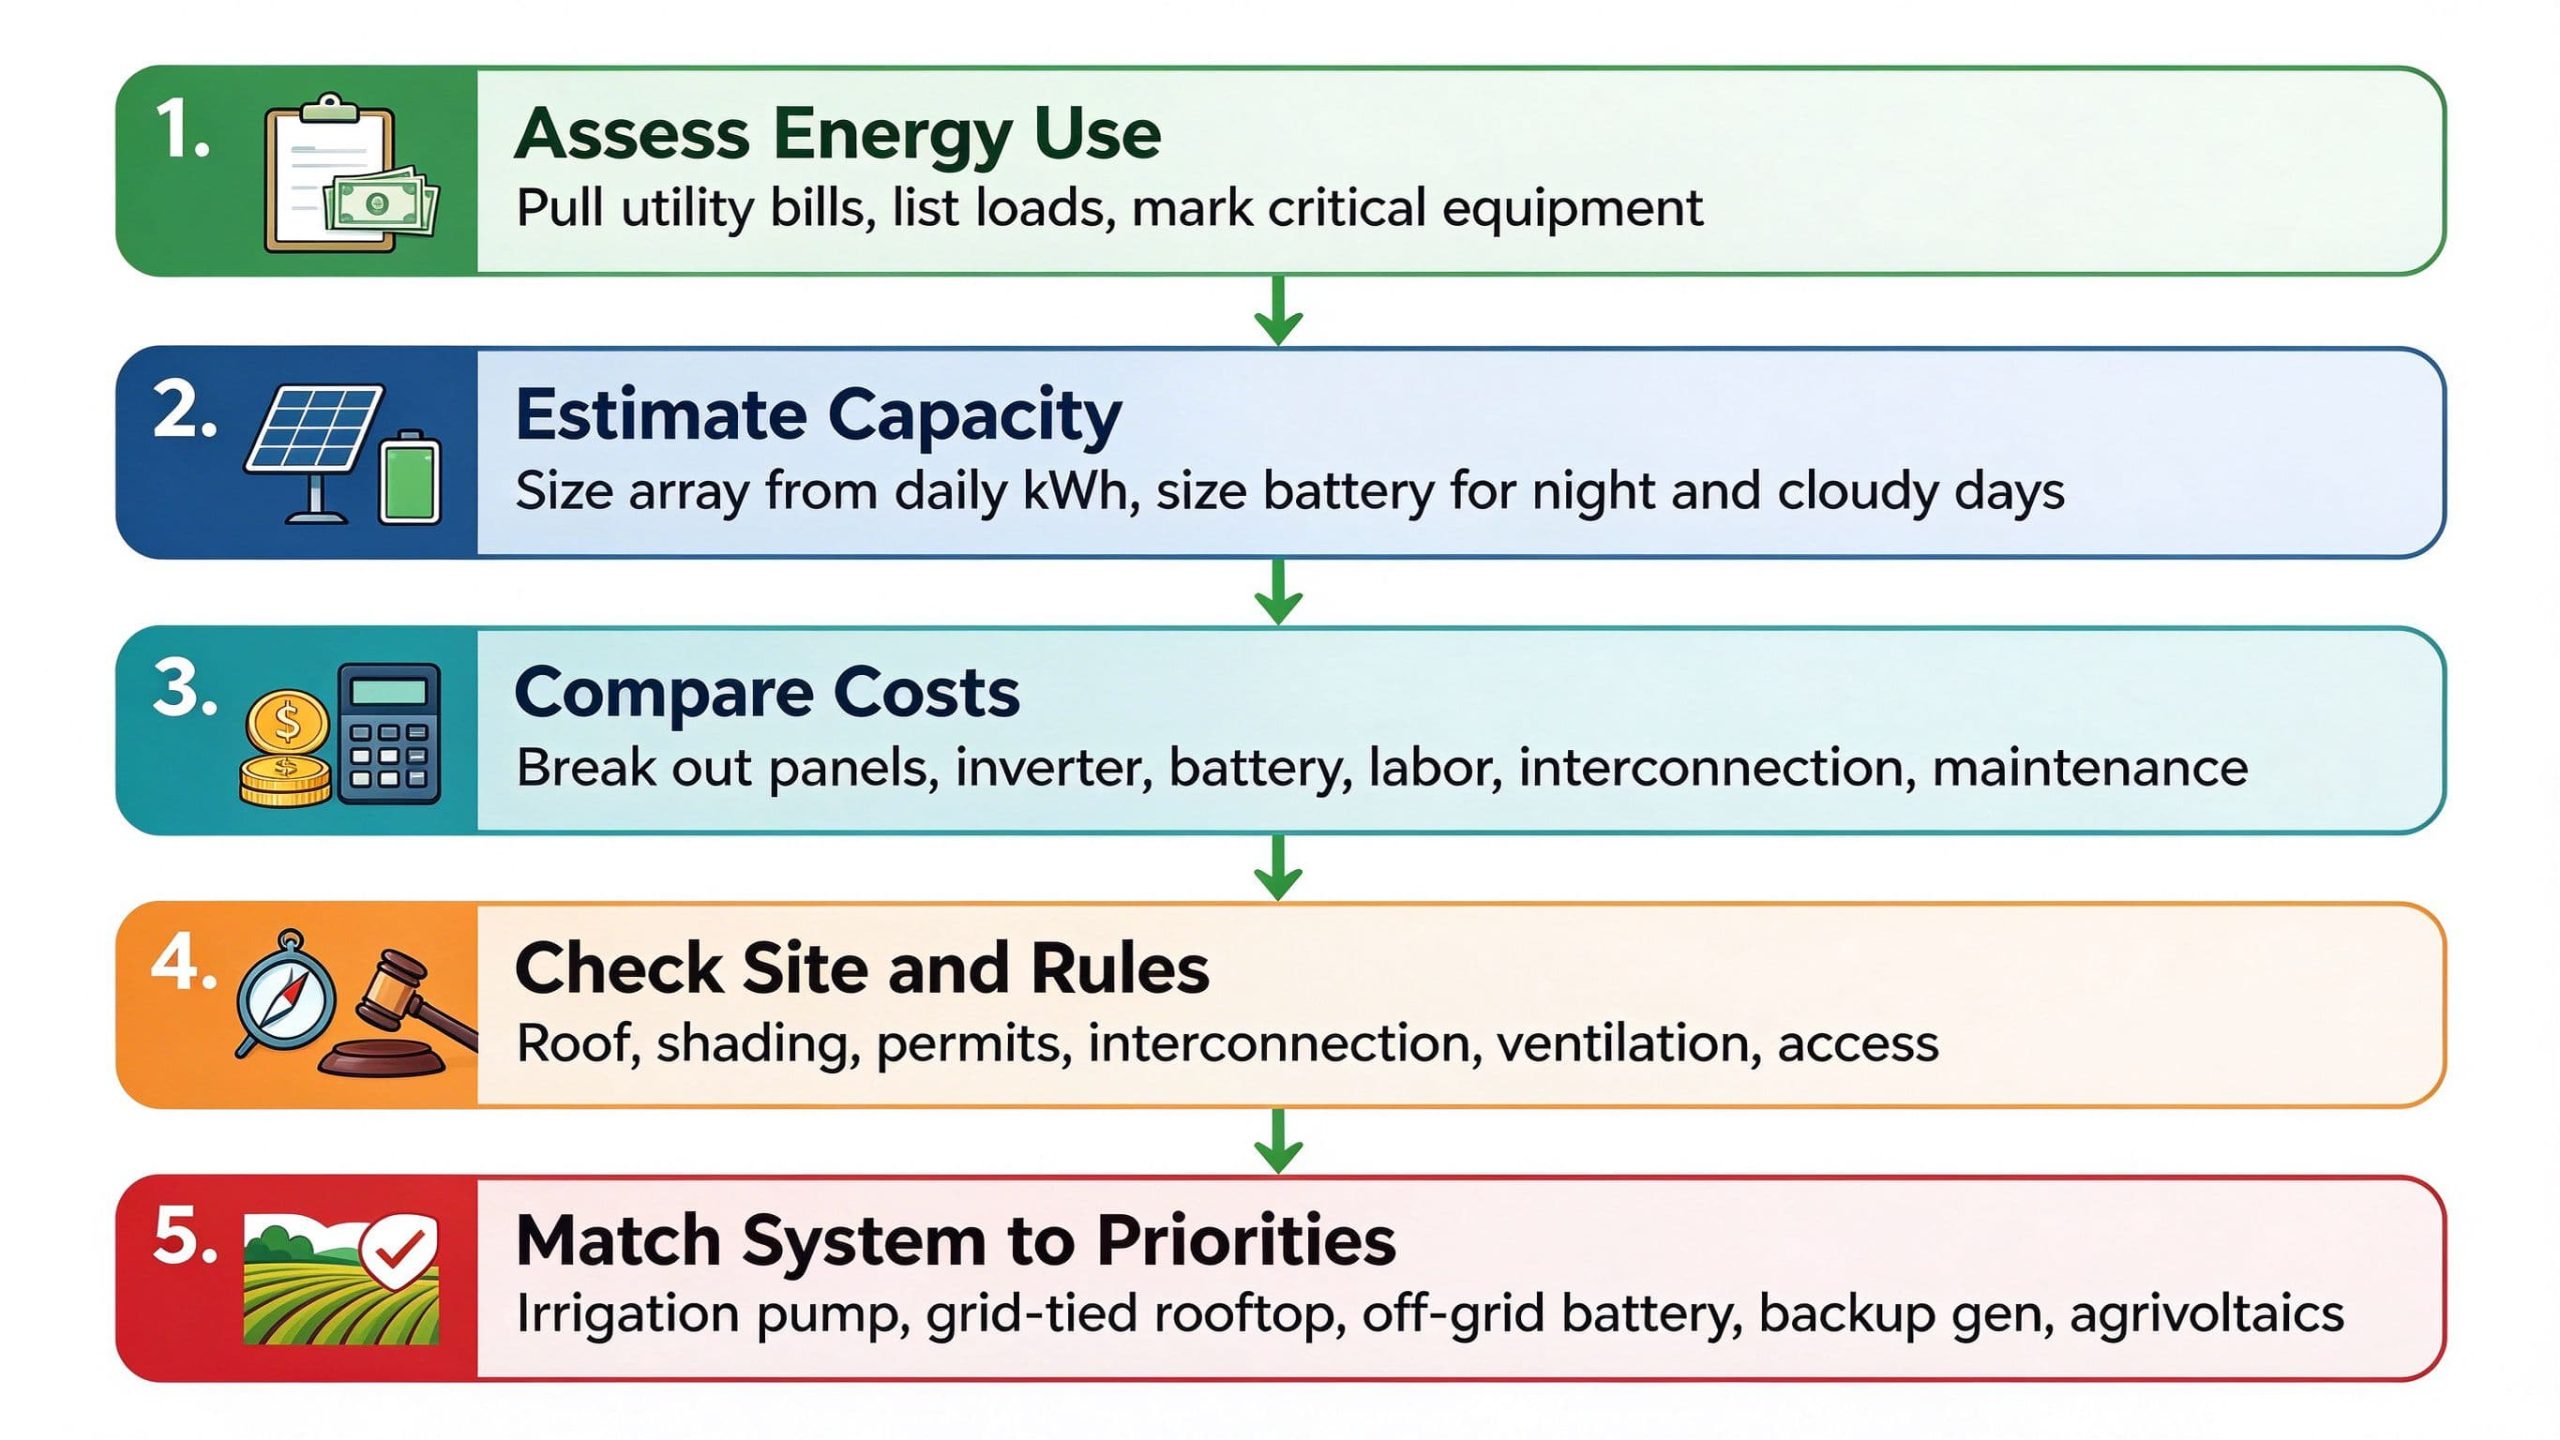
Planning a farm array is a sequence, not a panel-counting exercise. Working through the steps in order prevents the most expensive mistake, which is buying hardware before the load and site are understood. The sequence runs in five moves: audit the actual energy consumption on the farm, estimate how much solar and battery capacity that load demands, compare the full installed cost against the long-term economics, walk the site and regulations before ordering equipment, and then narrow the options to the system type that matches the farm’s priorities. Skipping ahead to panel selection is where most under-sized or over-sized projects start.
Step 1 — Assess Farm Energy Consumption
Pull 12 months of utility bills. List every major motor, compressor, and heater with its rated watts and run hours. Separate continuous loads from startup loads. A milking compressor and a well pump both draw much more current when they start than when they run. That inrush shapes inverter sizing. Mark which loads must keep running during an outage. The rest can wait.
Step 2 — Estimate Solar Capacity and Battery Requirements
Size the array from daily kWh use divided by the effective sun hours at the site, then derate for temperature, wiring, and soiling. In dusty farm regions, soiling losses run higher than residential numbers. Size the battery bank from night-time use, the number of cloudy days the farm wants to ride through, and the allowed depth of discharge. Lithium banks allow deeper discharge. Lead-acid banks need roughly twice the nameplate capacity to deliver the same usable energy.
Step 3 — Compare Installation Costs and Long-Term Economics
A real bid breaks out panels, inverters, racking, batteries, cabling, protection devices, labor, and interconnection. Add insurance, annual cleaning, and expected replacement cycles for batteries and inverters. Compare the annual diesel displacement or utility savings against the financed payment. Do not accept a promised payback period without seeing the assumptions behind it. Fuel prices and weather both move, and the farm should stress-test the design against both.
Step 4 — Check Site Conditions, Regulations, and Maintenance
Walk the site with a compass and a shade assessment. Roofs need structural verification before panels go on. Ground mounts need drainage planning. Batteries need a ventilated, temperature-controlled room. Interconnection permits, electrical inspections, and utility paperwork all take time on a farm schedule. Plan maintenance access. Panels in dairy barns and feedlots get coated with dust and ammonia film. They need washing.
Step 5 — Choose a System Based on Farm Priorities
-
Daytime irrigation only. Start with a solar pump and a storage tank.
-
Stable grid, high daytime use. Consider a rooftop grid-tied array.
-
Remote site with night loads. Size an off-grid or hybrid battery system.
-
Critical refrigeration or milking. Plan backup generation, not just panels.
-
High-value crops under shade. Evaluate agrivoltaics against extra racking cost.
What Types of Farm Solar Power Systems Are Suitable for Farms?
Once the load list is clear, the system type is mostly a question of grid access and reliability needs. Five configurations cover the vast majority of farm installations. This section walks through each one: grid-tied arrays for farms already on the utility, off-grid systems with battery storage for remote sites, hybrid systems that pair solar with a generator for critical loads, dedicated solar irrigation pumps for pumping water, and the physical placement choices between rooftop, ground-mounted, and elevated agrivoltaic arrays. Each fits a different combination of load, site, and budget, and the comparison table at the end makes the trade-offs explicit.
Grid-Tied Farm Solar Power
A grid-tied array sends power to the building’s loads first and exports surplus to the utility. It is the lowest-cost option per installed watt because it skips the battery bank. It also stops producing during a grid outage unless the installer adds anti-islanding protection and a backup interface. That matters if the farm’s milking system or chiller cannot tolerate an outage.
Off-Grid Farm Solar Power with Battery Storage
Off-grid systems pair panels with a charge controller, inverter, and battery bank sized for the farm’s night-time and cloudy-day load. They are the right choice where running a three-phase line to the property would cost more than the solar itself. Batteries add capital and cycle-life limits. Lead-acid banks tolerate deeper discharge poorly. Lithium banks cost more per usable kWh but last longer. Either way, oversizing the battery is cheaper than undersizing it and buying a generator to cover every cloudy week.
Hybrid Farm Solar Power with Backup Power
Hybrid systems combine solar, batteries, and a diesel or propane generator in one coordinated controller. The generator starts only when the battery is low or the load demand exceeds what solar can deliver. This is the proven setup for farms that cannot tolerate downtime but want to cut fuel use. The Railroad Valley irrigation project covered in the related farm solar case study uses exactly this hybrid approach to power a 500-acre off-grid alfalfa operation.
Solar-Powered Irrigation Systems
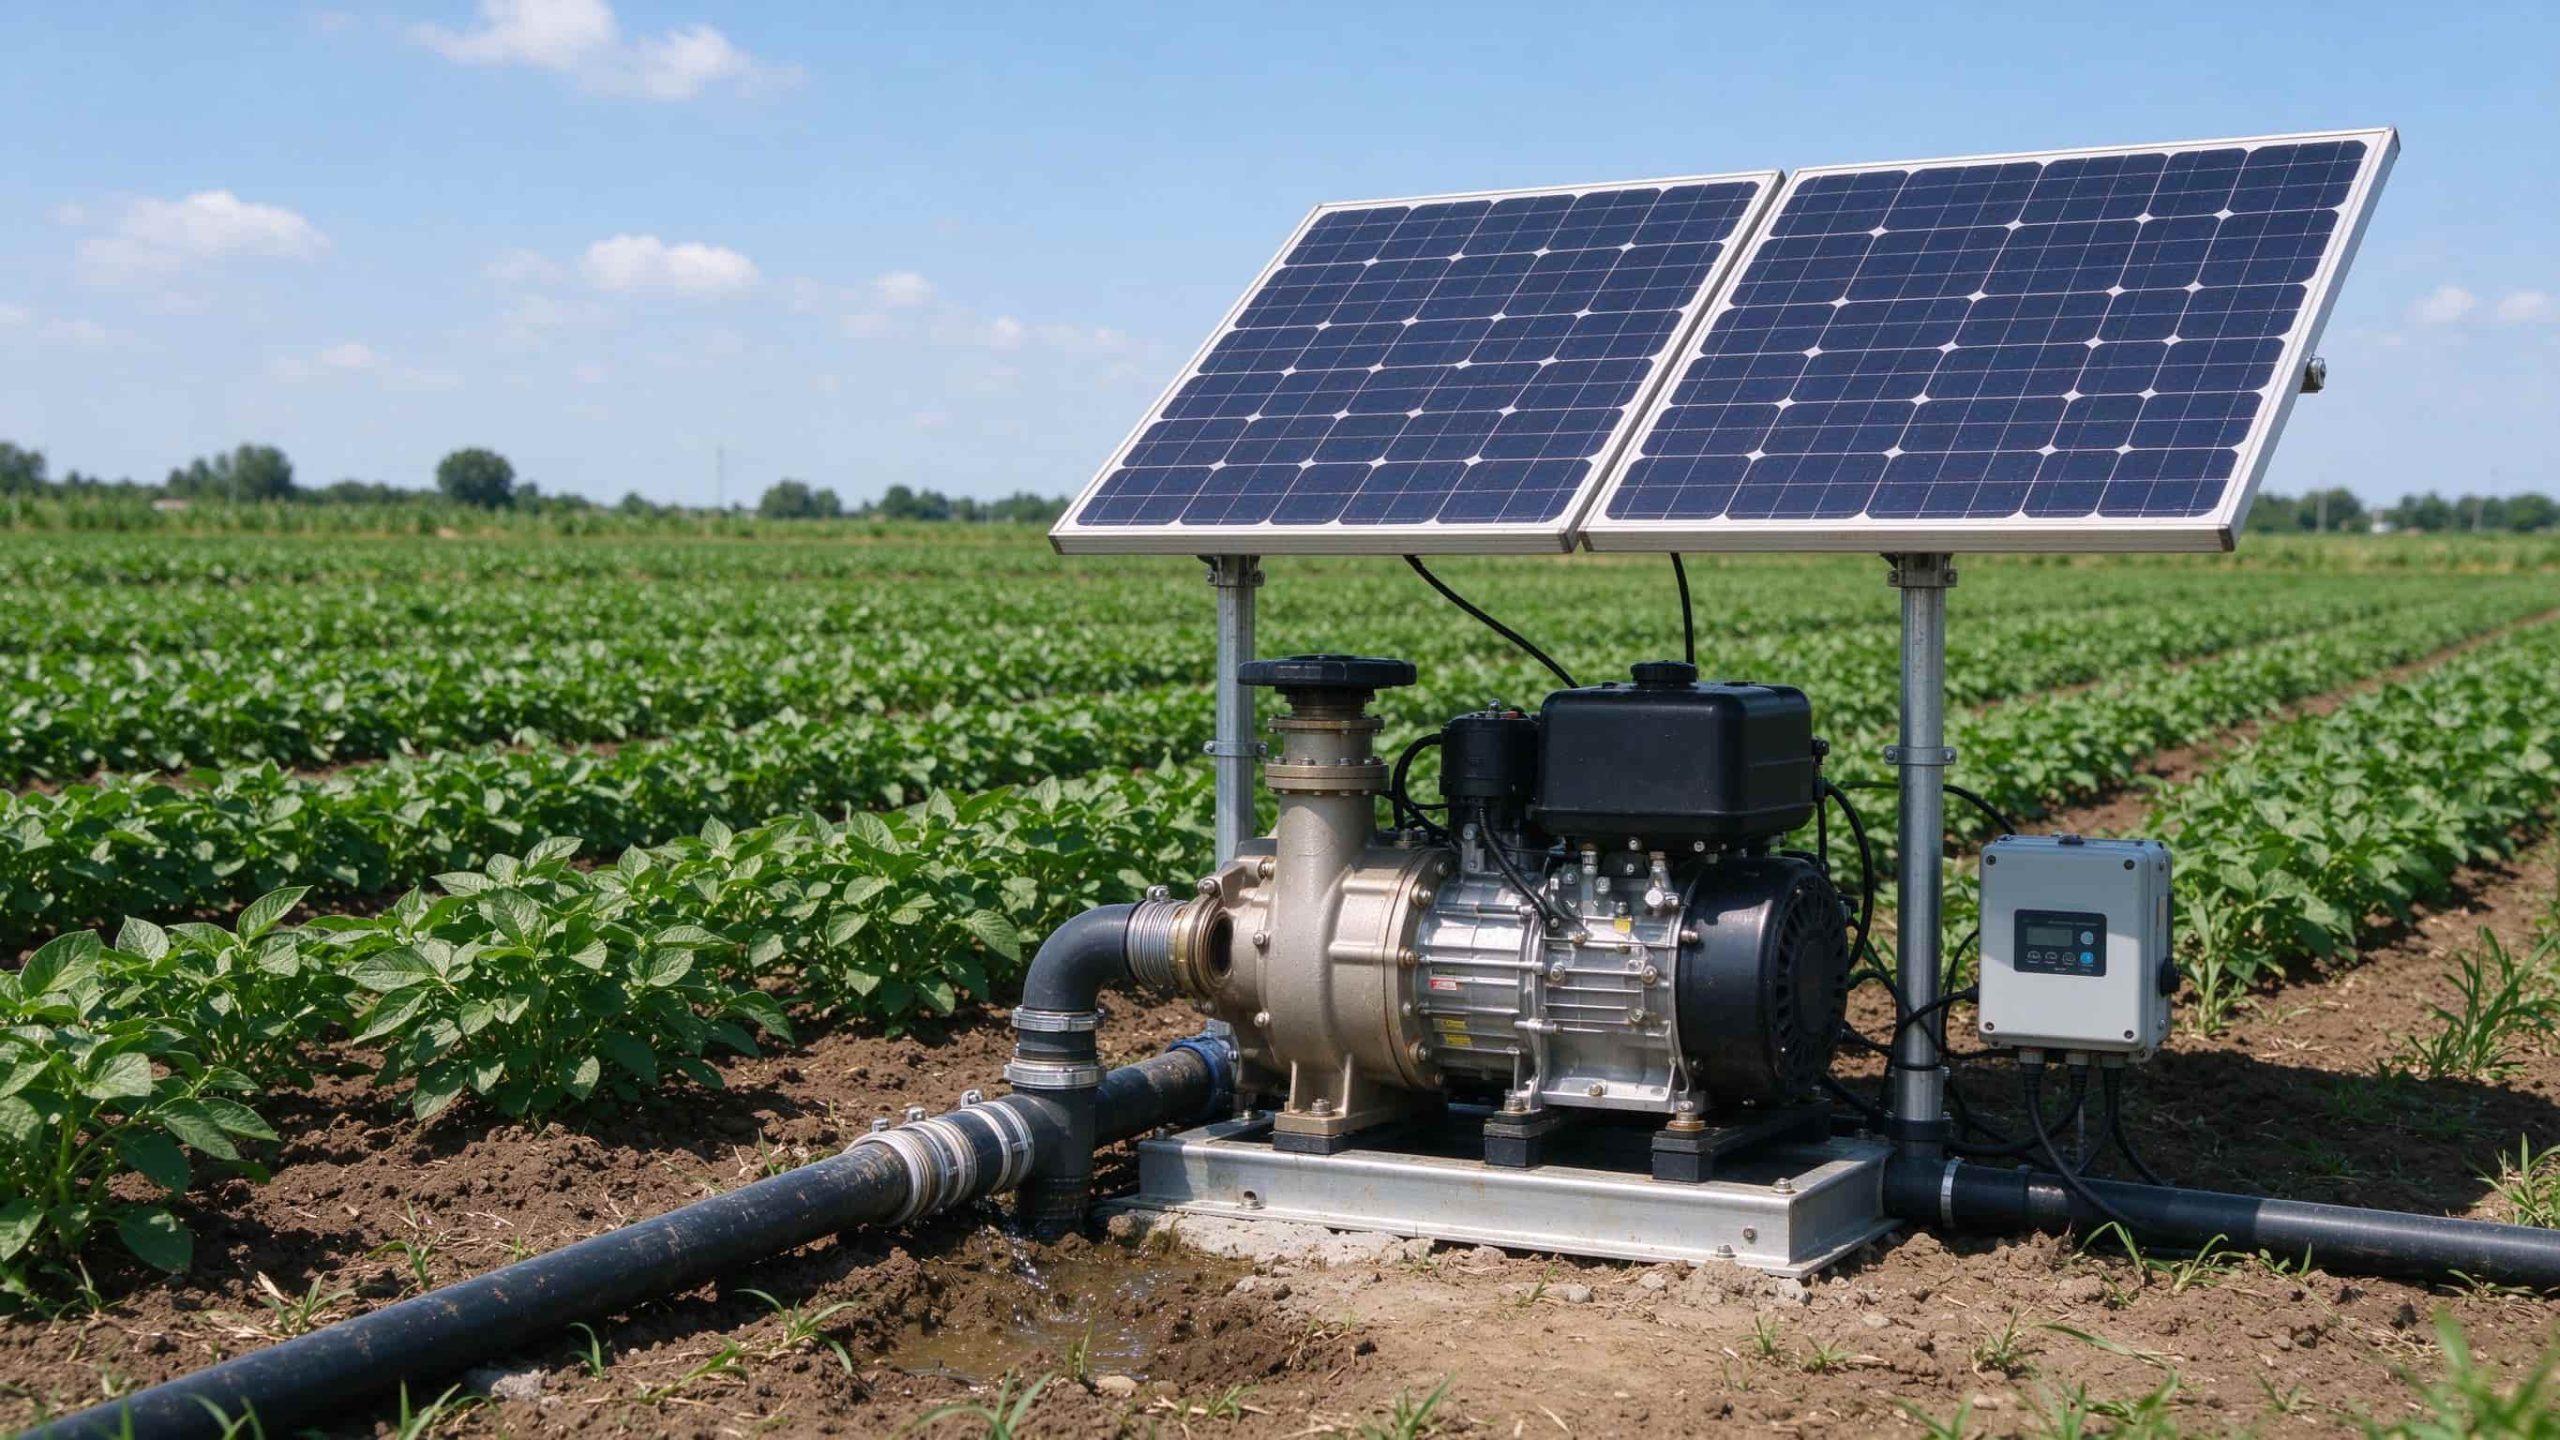
A dedicated solar pump skips the battery and the grid entirely. The panel array feeds a pump controller that adjusts motor speed to available sun. These systems work well where irrigation happens during daylight and a storage tank holds water for the rest of the day. Sizing follows pump flow, head, and daily water volume, not field acres. A 500-acre pivot and a 5-acre vegetable plot need very different arrays.
Rooftop, Ground-Mounted Solar, and Agrivoltaics
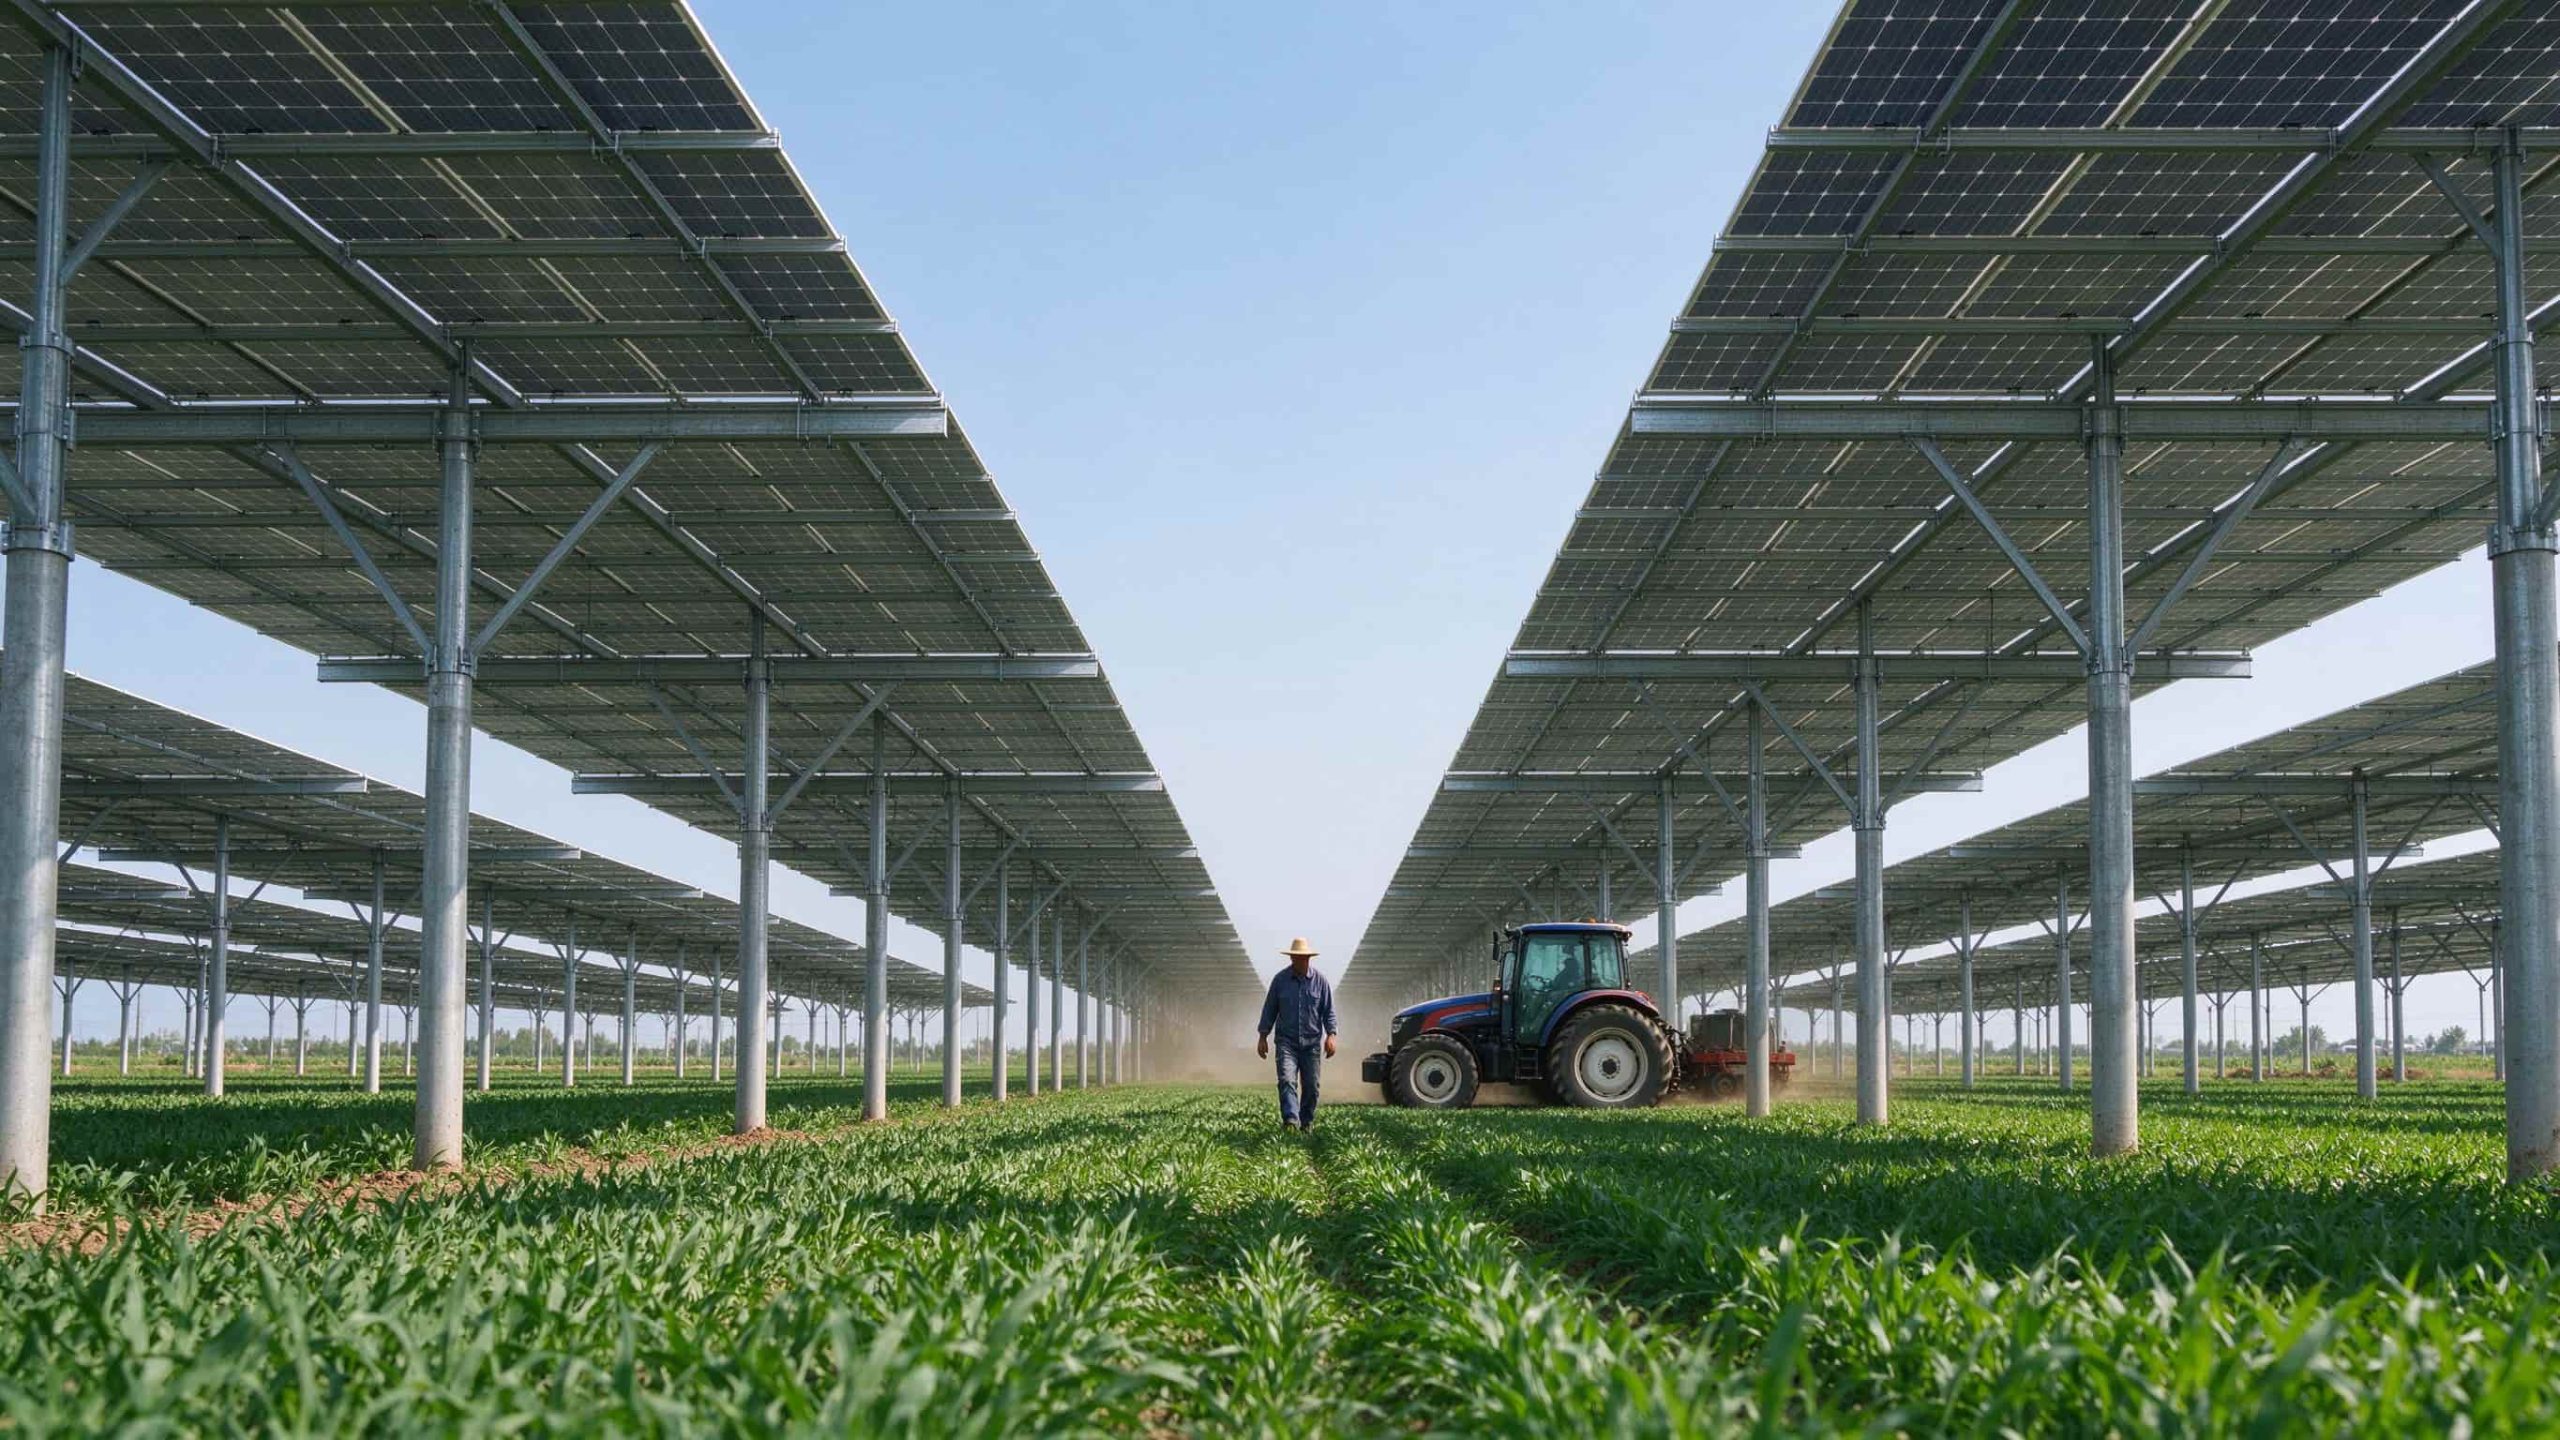
Rooftop systems use existing structure and cost little extra land. Ground-mounted arrays on steel racks are easier to angle and clean but consume field space. Agrivoltaics raises panels high enough that a tractor can pass underneath and crops can grow in the shade below. The National Renewable Energy Laboratory agrivoltaics research notes that the elevated racking and wider spacing raise per-watt cost, which means agrivoltaics suits high-value crops more than commodity acreage.
|
System type
|
Best suited for
|
Main consideration
|
|---|---|---|
|
Grid-tied solar
|
Farms with reliable grid power and daytime loads
|
Interconnection rules, backup interface if needed
|
|
Off-grid solar with batteries
|
Remote sites with no practical grid extension
|
Battery capacity, autonomy days, battery chemistry
|
|
Hybrid solar with generator
|
Critical loads that cannot ride out cloudy spells
|
Controller coordination, fuel storage, maintenance
|
|
Solar irrigation
|
Daytime pumping and water storage
|
Pump horsepower, head, daily volume, VFD
|
|
Agrivoltaics
|
High-value crops where shade helps the crop
|
Elevated racking cost, spacing, equipment access
|
Matching the Right System to the Right Farm
A farm solar power system works when they start from the load list and the site, not from a catalog. Grid-tied arrays suit farms that already have power. Off-grid and hybrid systems suit remote and critical loads. Solar irrigation is its own discipline, sized to the pump rather than the acreage. Agrivoltaics is a specialized tool, not a default. The most useful next step is a load audit, followed by site-specific quotes for the system type that audit points to. If you are early in the process, leave your biggest loads and your nearest-grid distance in the comments. The right starting configuration becomes obvious once those two numbers are on the table.